Payment Types
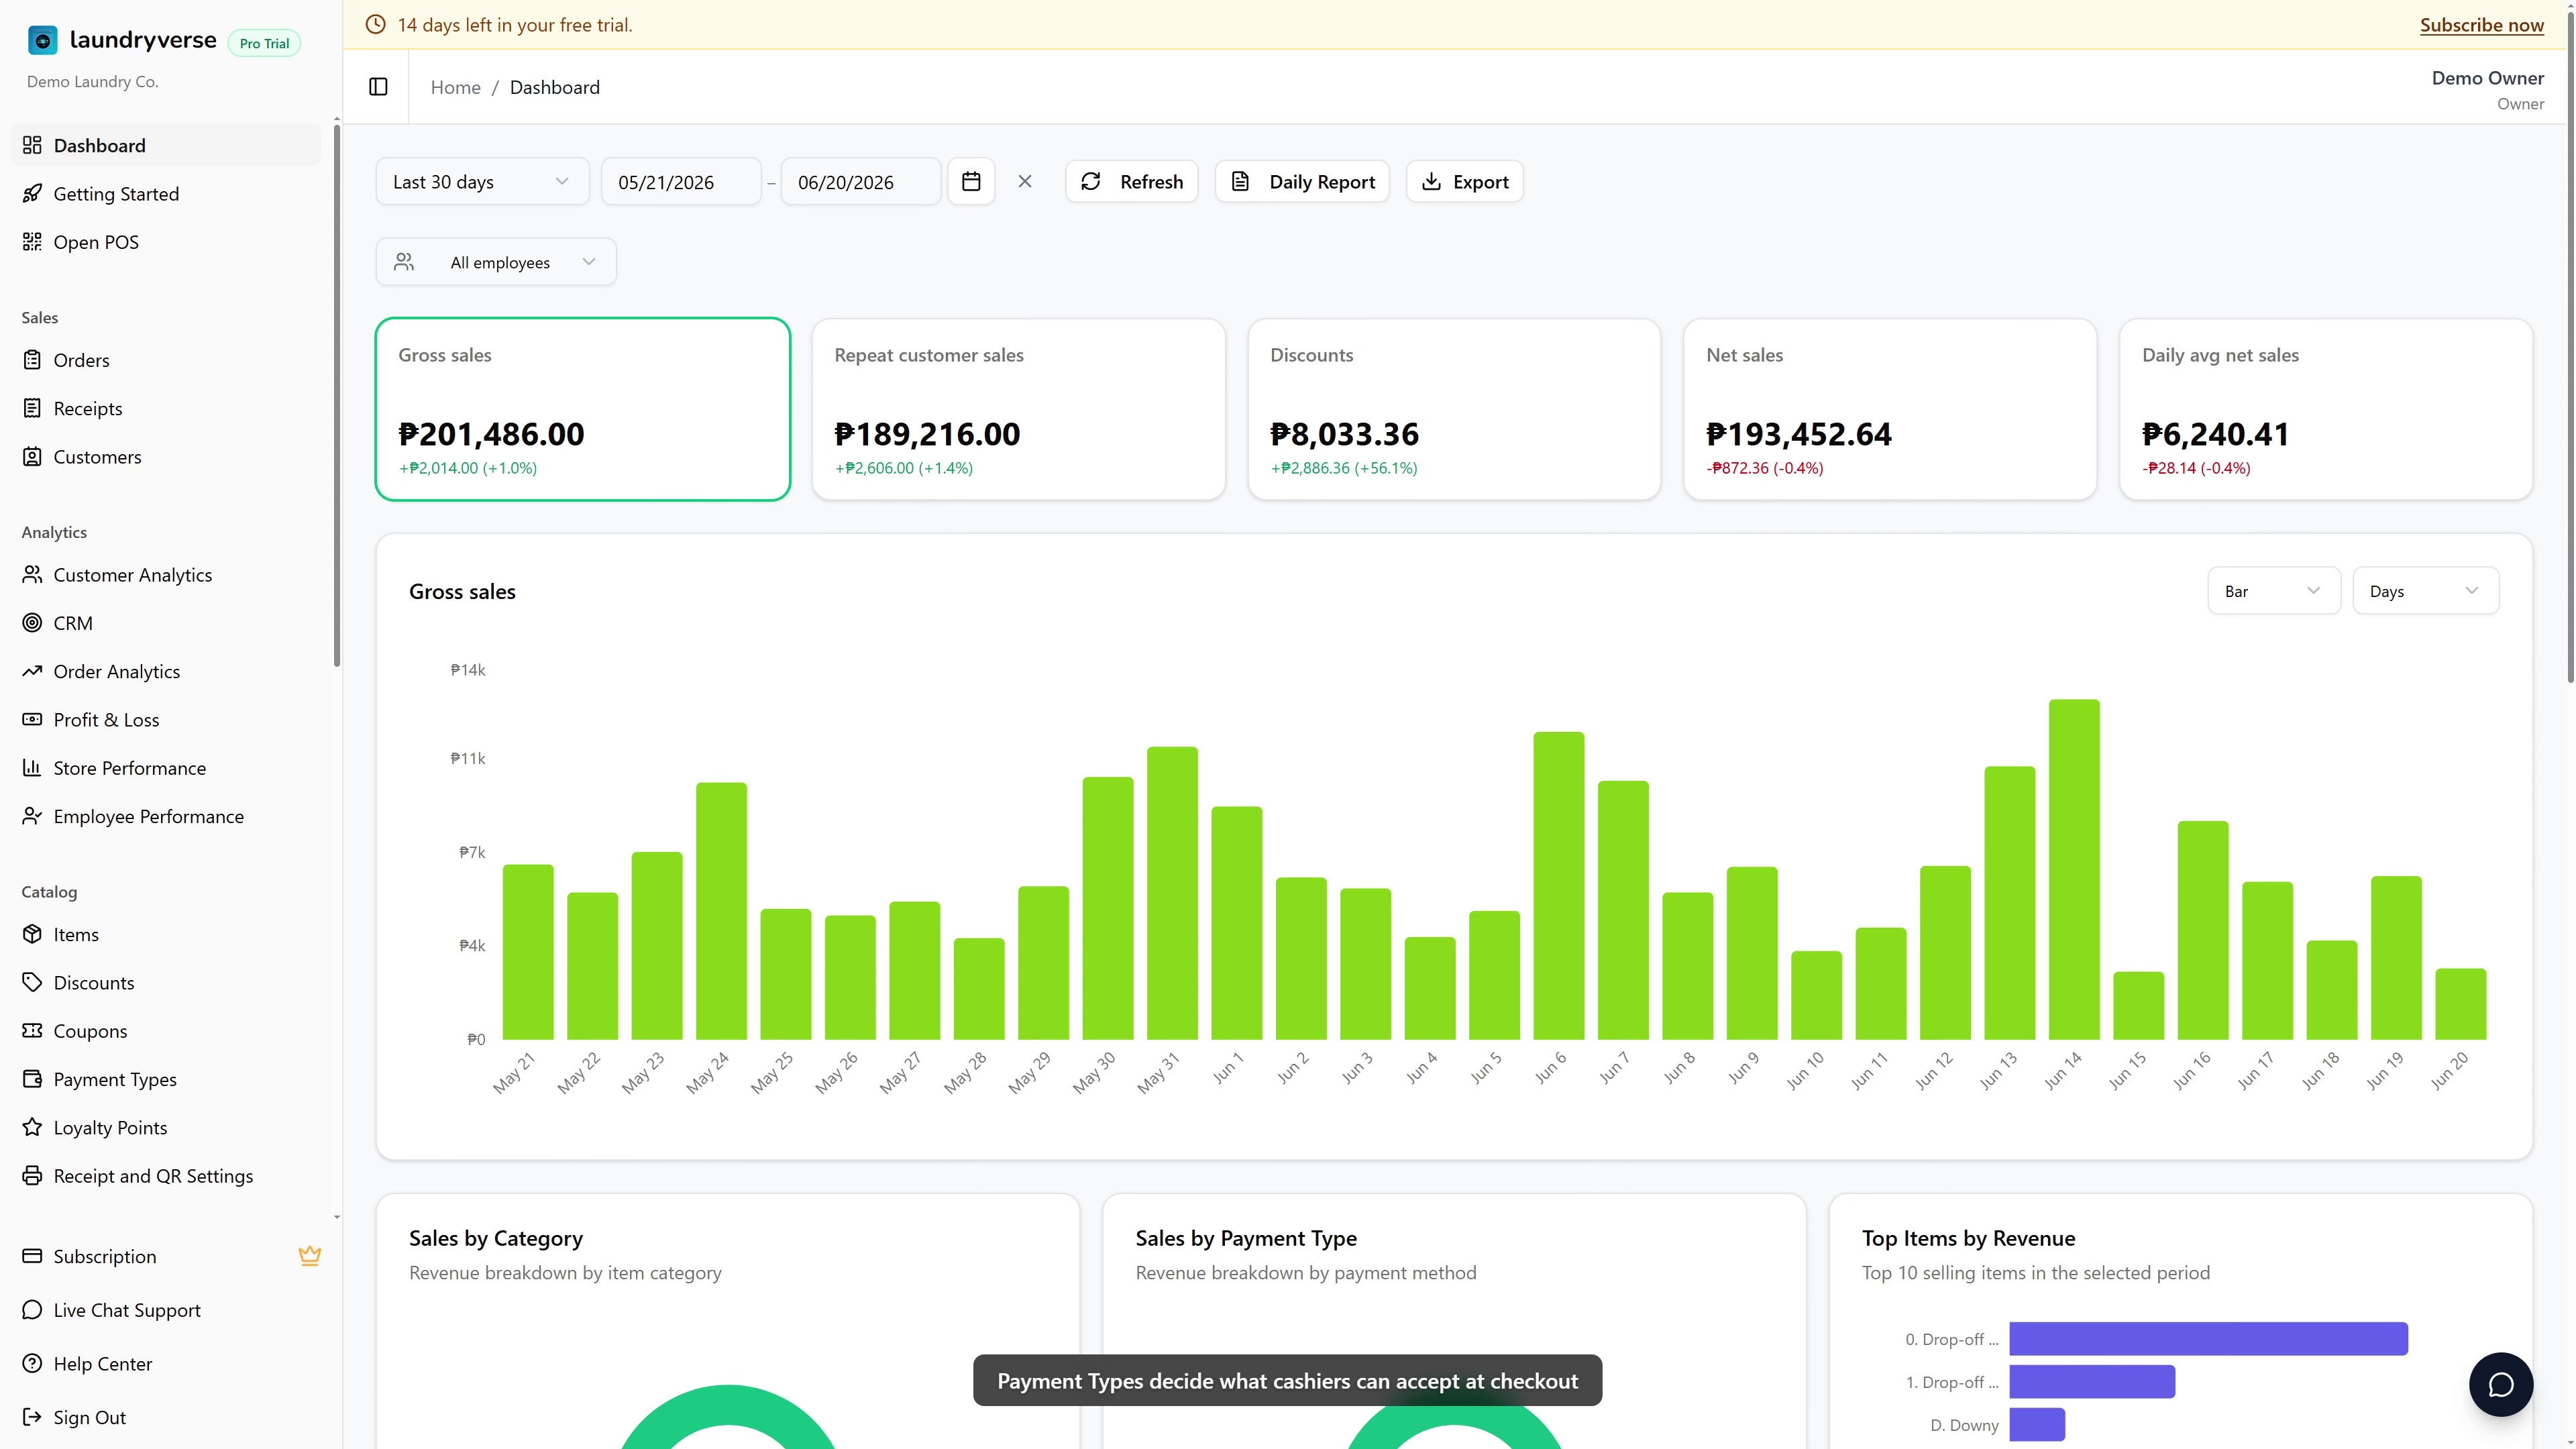
Decide which payment methods cashiers can accept at checkout. Cash, GCash, Maya, Card, bank transfer, and anything else. Without a payment type configured here, your POS register can only take Cash. About 3 minutes.
Adding, editing, or deleting payment types requires the Manage items permission (dashboard:items:manage). Owners have Manage items by default; grant it to Manager-style roles in Dashboard → Roles & Permissions for staff who maintain the catalog. Without this permission, the Payment Types sidebar entry stays hidden and any direct visit is blocked at the server.
Before you start
You don't need anything else configured first. Payment types are independent of items, stores, and devices. If you want auto-confirmation for Maya QR payments, you'll also need a Maya Business Manager account so you can paste the webhook URL into its settings. See section 5.
A new shop usually has Cash plus one or two e-wallets (GCash, Maya). Add those three first, then add Card or bank-transfer entries only when a customer asks for them. Cashiers tap less when the picker is short.
The seeded Cash entry is created automatically with every new tenant so you can ring up sales on day one without touching this page.
1. Open the Payment Types page
From the dashboard, navigate to Catalog → Payment Types in the sidebar. The table shows every payment method your POS register currently accepts.
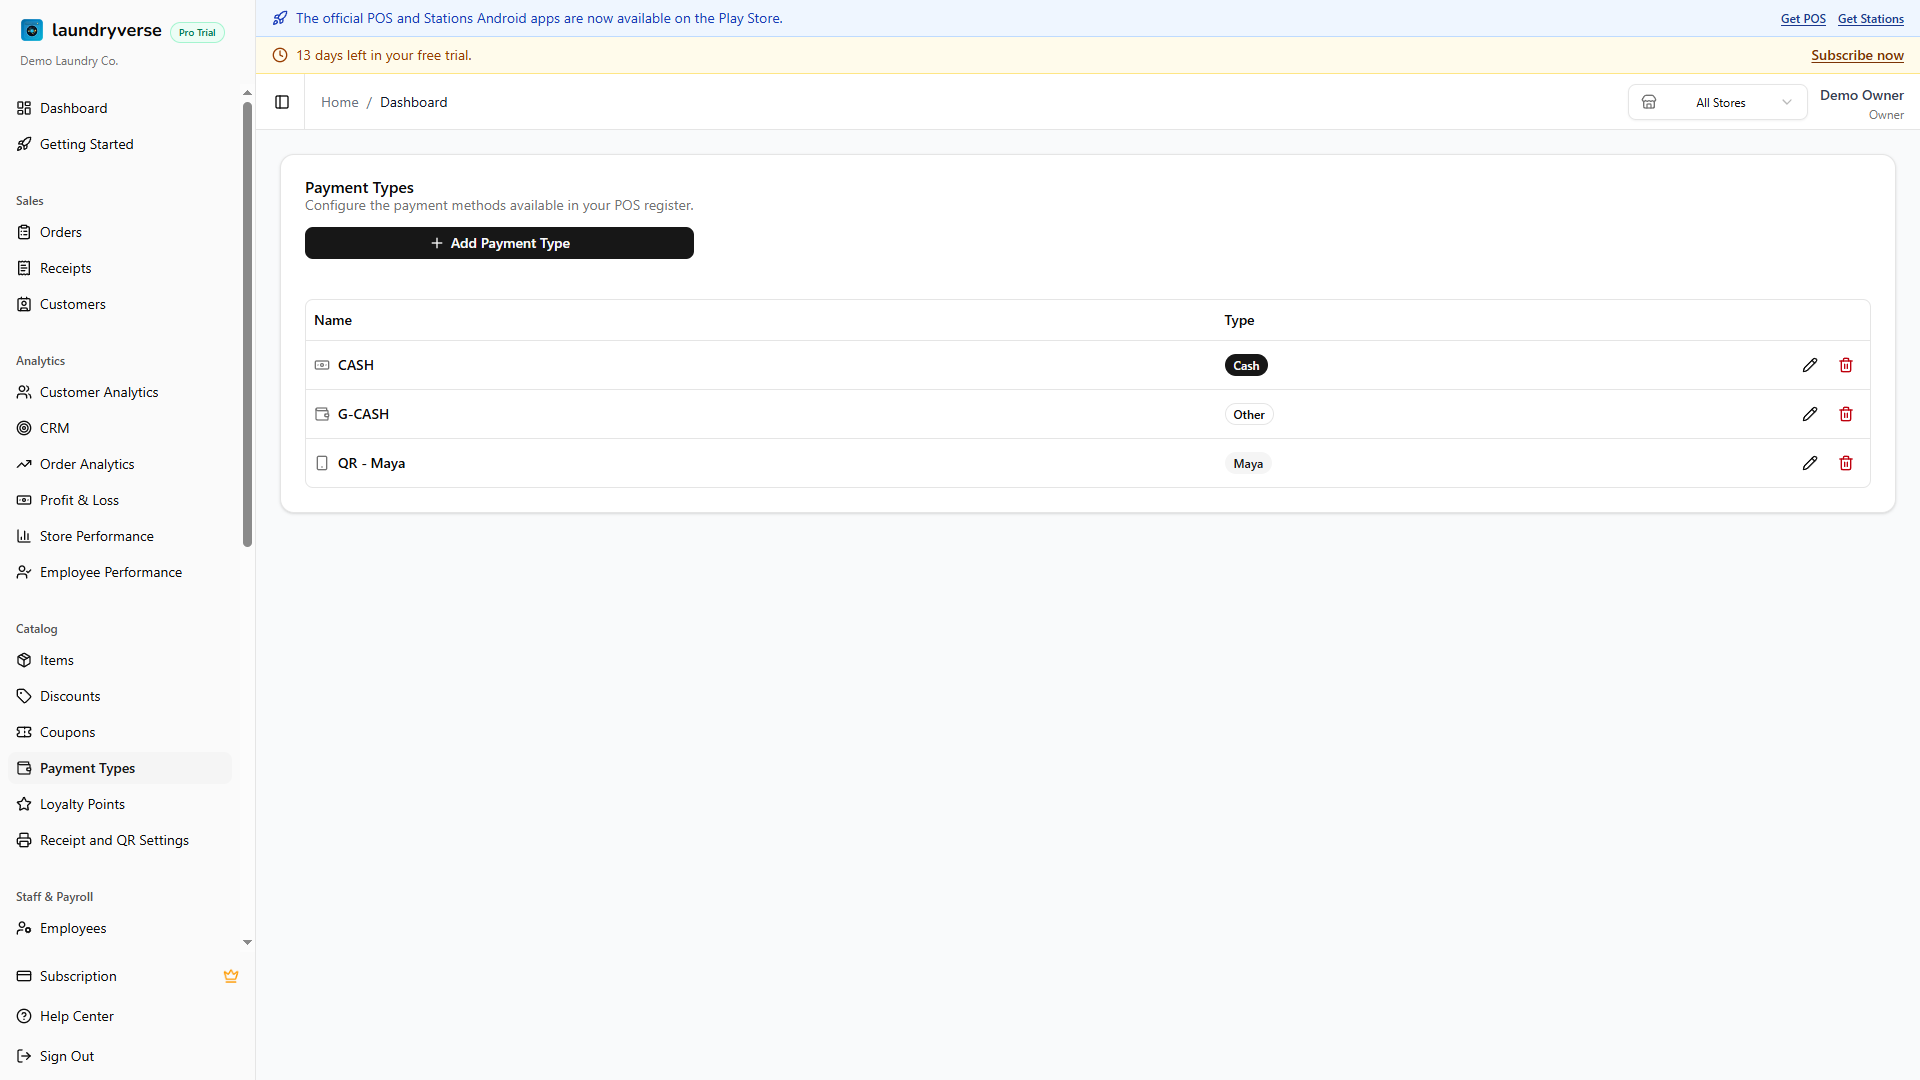
Each row shows:
| Column | What it shows |
|---|---|
| Name | The label cashiers tap at checkout (e.g., GCash, BPI Bank Transfer). |
| Type | The category badge with its icon. One of Cash, Card, GCash, Maya, or Other. |
| Actions | Pencil to edit, trash to delete. |
The Add Payment Type button sits in the card header on the right.
2. The five built-in categories
Every payment type maps to one of five categories. The category controls the icon shown on the POS register and how reports group the totals.
| Category | What it's for |
|---|---|
| Cash | Physical pesos. Hits the cash drawer and the Expected Cash total at shift close. |
| Card | Credit or debit cards via a separate terminal. |
| GCash | GCash QR or send-to-number. Cashier confirms the payment manually. |
| Maya | Maya QR or send-to-number. Supports the Maya auto-confirmation webhook. |
| Other | Anything else: bank transfer, Coins.ph, store credit, "pay later". |
You can have multiple entries in the same category. One Cash entry per drawer, or separate GCash entries for different store accounts. The cashier picks the exact one at checkout, and shift reports break the totals down per entry.
3. Add a payment type
Click Add Payment Type in the card header to open the form.
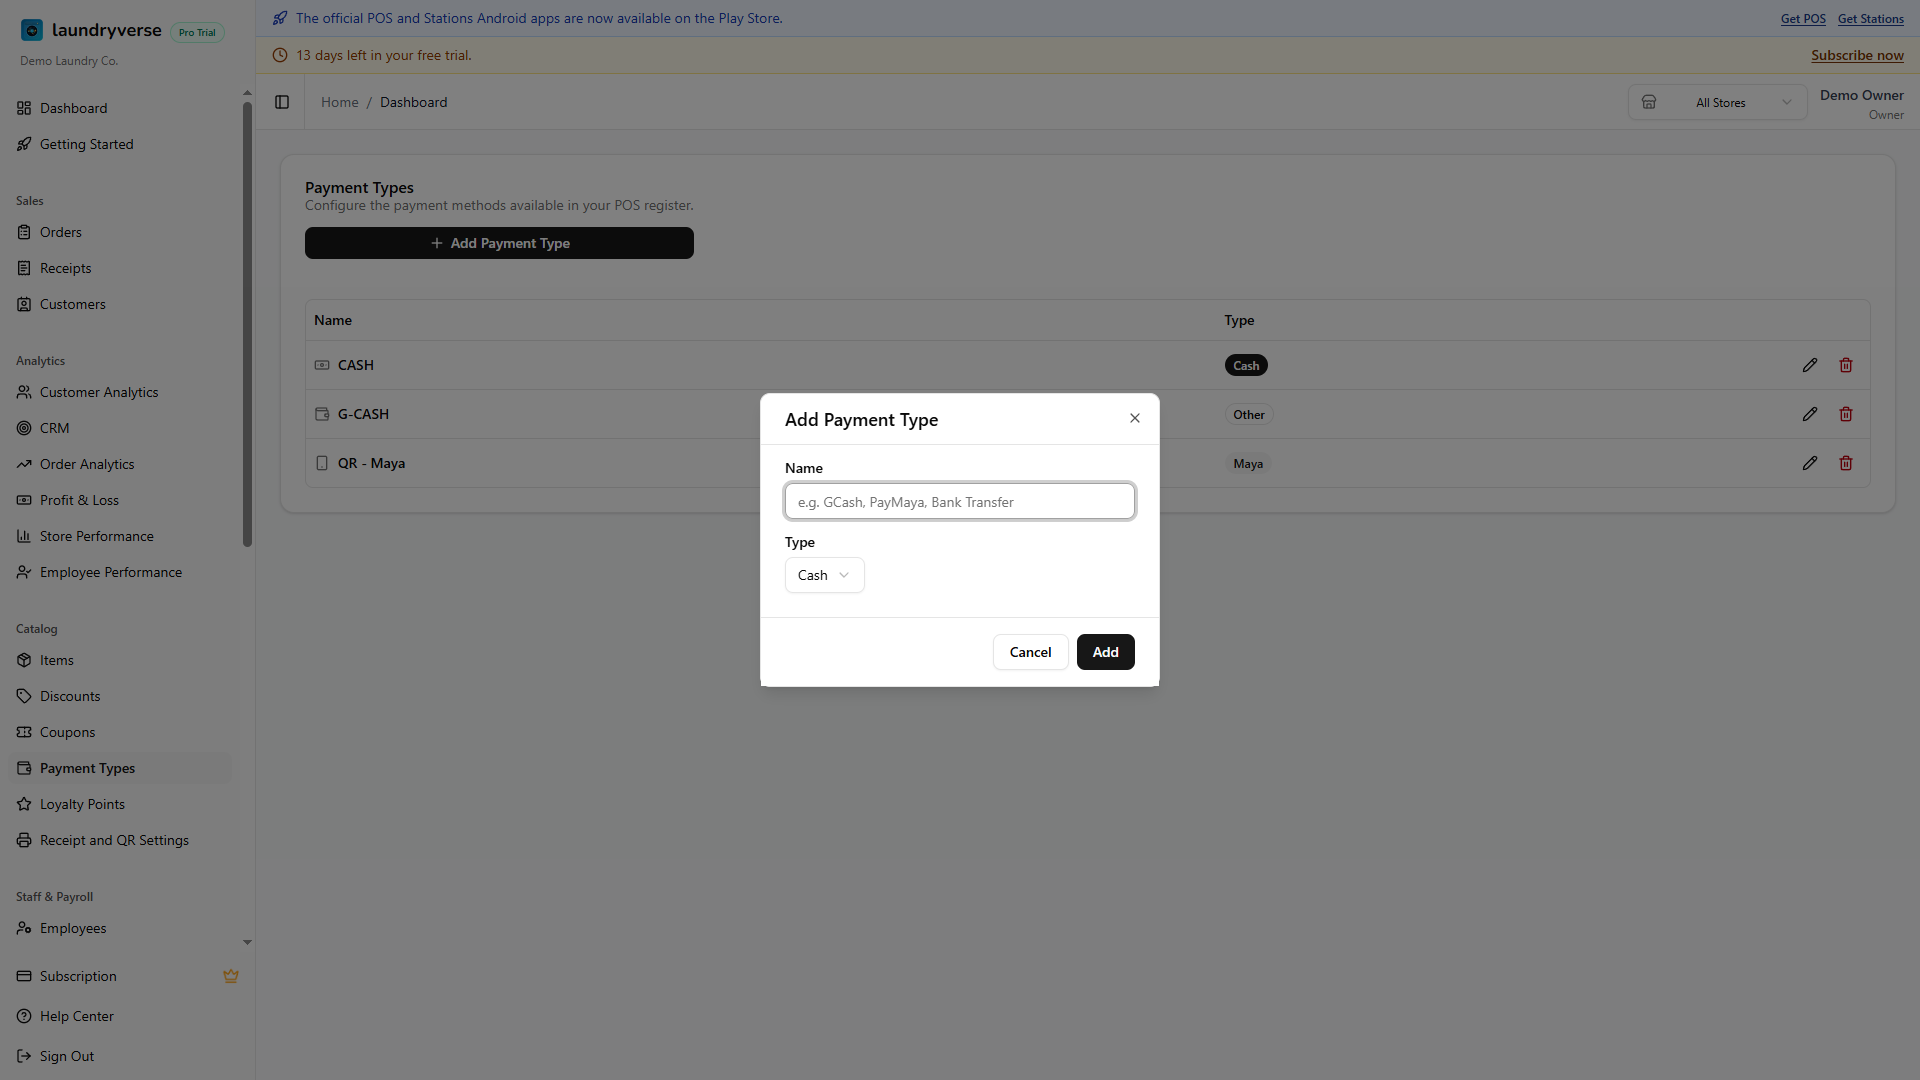
Fill in:
- Name (required): what cashiers see at checkout. Keep it short.
- Type: pick one of Cash, Card, GCash, Maya, or Other. Picking Maya reveals a webhook URL field, covered in section 5.
Click Add and the new payment type immediately appears in the POS register's payment picker. Cashiers don't need to reload.
Two rows both labelled GCash read confusingly in the shift report. GCash Main and GCash Branch 2 are much easier to reconcile. Same rule for card terminals (BDO Card, Metrobank Card) and bank-transfer accounts (BPI Transfer, UnionBank Transfer).
4. Edit or delete a payment type
In the actions column on the right of each row:
- Edit (pencil): opens the form pre-filled with current values. Change the name or category. Past receipts are unaffected; the POS register picks up the new label on the next page load.
- Delete (trash): removes the type from the picker after confirmation. Past receipts that reference the deleted type keep showing the original name for accounting integrity, only future payments lose the option.
The deleted type stops appearing on the POS register for new sales right away.
5. Maya auto-confirmation
If you have a Maya Business Manager account, the Maya payment type can auto-receive QR payment notifications so the cashier doesn't have to manually confirm. The order is marked paid as soon as the Maya webhook fires.
When you pick Maya as the type in the form, the dialog shows a Webhook URL field with a copy button:
- Click the copy icon next to the URL.
- Open Maya Business Manager → Settings → Webhooks.
- Paste the URL into the webhook configuration and save.
After that, every Maya QR payment routed to your account fires the webhook, and the matching order lights up as Paid automatically on the POS.
The webhook URL is per-tenant. It's safe to share inside your shop's Maya Business Manager but don't post it publicly. If you suspect the URL leaked, delete the Maya payment type and re-add it. A fresh URL is generated.
Other categories (GCash, Card, Other) don't have an integration yet. Cashiers confirm the payment manually after seeing it land in the receiving app.
6. How payment types show up in the POS
When a cashier presses Charge on an order, the payment picker lists every type you've configured here, in alphabetical order by name. Tapping one logs the payment against the order, splits between multiple types if needed (see Split Payments), and prints the receipt with the type name on the Tendered line.
- Cash payments deduct from the Expected Cash on the cash drawer and feed the shift's cash variance calculation.
- Non-cash types (Card, GCash, Maya, Other) don't touch the cash drawer. They show in shift reports as separate line items so you can reconcile each provider against its own statement.
Common issues
"Cashiers only see Cash at checkout"
Either no other payment types have been added yet, or the cashier was looking at the POS before you added them and hasn't reloaded. Open the items page on the POS register and pull down to refresh, then try Charge again. New payment types appear in the picker.
"Maya webhook URL field doesn't appear"
The webhook URL field only shows when you set the Type to Maya. If you picked GCash, Cash, Card, or Other, switch the dropdown to Maya and the field appears below the Name input.
"I deleted a payment type but it still shows on old receipts"
That's the intended behaviour. Deleting a type removes it from the picker for future sales, but historical receipts keep showing the original name so your bookkeeping stays accurate. The deletion only affects new transactions.
"A payment type with this name already exists"
Names are case-insensitive and unique per tenant. GCash and gcash count as the same name. Either edit the existing entry or pick a more specific name like GCash Branch 2.
"Maya QR payments still need manual confirmation"
The webhook either wasn't saved in Maya Business Manager, or it's pointed at a different URL. Re-open the Maya payment type in the dashboard, copy the URL again, and verify it's pasted exactly into Maya Business Manager → Settings → Webhooks. If the issue persists, delete the payment type and re-add it to regenerate the URL.
What's next?
- POS Payments: how cashiers use these types at checkout.
- Split Payments: combine two or more payment types on one order.
- Shift Reports: see the per-payment-type breakdowns at end of shift.
- Receipts: filter sales history by payment type.
Stuck? Email [email protected]. The founder reads every message.