Importing Past Sales
If you tracked sales on paper, in a notebook, in a spreadsheet, or in another system before LaundryVerse, you can bring that history in from a CSV file. Imported sales show up in your Receipts list and count toward your reports, analytics, and customer history, so the numbers reflect your whole business and not just the sales since you signed up. Most shops finish in a few minutes once the file is ready.
Importing past sales requires the View all receipts permission (dashboard:receipts:view_all), the same access that lets you see your full historical receipts list. The default Owner and Admin roles have it. The Manager role can view receipts but does not hold View all receipts, so the Import CSV button does not appear for managers. To let another role import, grant View all receipts in Roles & Permissions.
Before you start
A few things worth knowing up front:
- This imports receipts, not orders. Each row of sales becomes a receipt in your Receipts list. Nothing lands on the Order Board, because these are past sales that are already done, not active laundry jobs to work through. This is the right tool for history and reporting, not for re-creating open tickets.
- Item names only. You do not need to match anything to your catalog first. Whatever you type in the Item column is recorded as the line item name on the receipt. You can use the names you already wrote on paper.
- It is fully reversible. Every import is one batch. If something looks off, one click removes every receipt from that import. See Undo an import.
- It is safe to run more than once. Start with a small test file of a few rows, check the result in Receipts, undo it, then run your full history.
1. Prepare your file
The fastest way to get the format right is to start from the template.
Open the importer (next section) and click Download CSV template. The file opens in Excel or Google Sheets and already has the right column headers plus a few example rows you can replace with your own.
One row per item
Put one line item per row. When several rows share the same Receipt #, they are grouped into a single receipt with multiple line items. This is how you record a sale that had more than one service.
For example, these three rows become one receipt for Juan with three line items:
| Receipt # | Date | Customer | Phone | Item | Qty | Unit | Amount | Payment Method | Status |
|---|---|---|---|---|---|---|---|---|---|
| 1001 | 2026-03-09 | Juan Dela Cruz | 09171234567 | Wash | 8 | kg | 120 | Cash | paid |
| 1001 | 2026-03-09 | Juan Dela Cruz | 09171234567 | Fold | 1 | pcs | 50 | Cash | paid |
| 1001 | 2026-03-09 | Juan Dela Cruz | 09171234567 | Fabric Conditioner | 1 | pcs | 20 | Cash | paid |
If you leave Receipt # blank, each row becomes its own single line receipt. That is fine for simple walk-in sales where every transaction was one service.
Columns
| Column | Required | What to put |
|---|---|---|
| Receipt # | Optional | Your own receipt or reference number. Rows with the same number group into one receipt. Leave blank and each row stands alone. |
| Date | Required | The sale date as YYYY-MM-DD, for example 2026-03-09. |
| Customer | Optional | The customer name. Matched to an existing customer, or added as a new one. Leave blank for a walk-in. |
| Phone | Optional | The customer's phone number. Saved on the customer when a new one is created. |
| Item | Required | The service or product name, for example Wash & Fold. |
| Qty | Required | How many. For weight, the number of kilos. Must be greater than zero. |
| Unit | Optional | kg or pcs. Defaults to pcs if blank. |
| Amount | Required | The total for that line in pesos. The receipt total is the sum of its line amounts. A ₱ sign and commas are fine. |
| Payment Method | Optional | How they paid, for example Cash or GCash. A method you have not used before is added to your Payment Types. Defaults to Cash if blank. |
| Status | Optional | paid or unpaid. An unpaid row records a remaining balance on the receipt. Defaults to paid. |
The importer recognizes common header names, so you often do not have to rename anything. For example Service, Description, or Particulars are read as Item, Price, Total, or Subtotal as Amount, and Ref, Invoice, or OR number as Receipt #. As long as the four required columns are present under some recognizable name, the file will import.
2. Open the importer
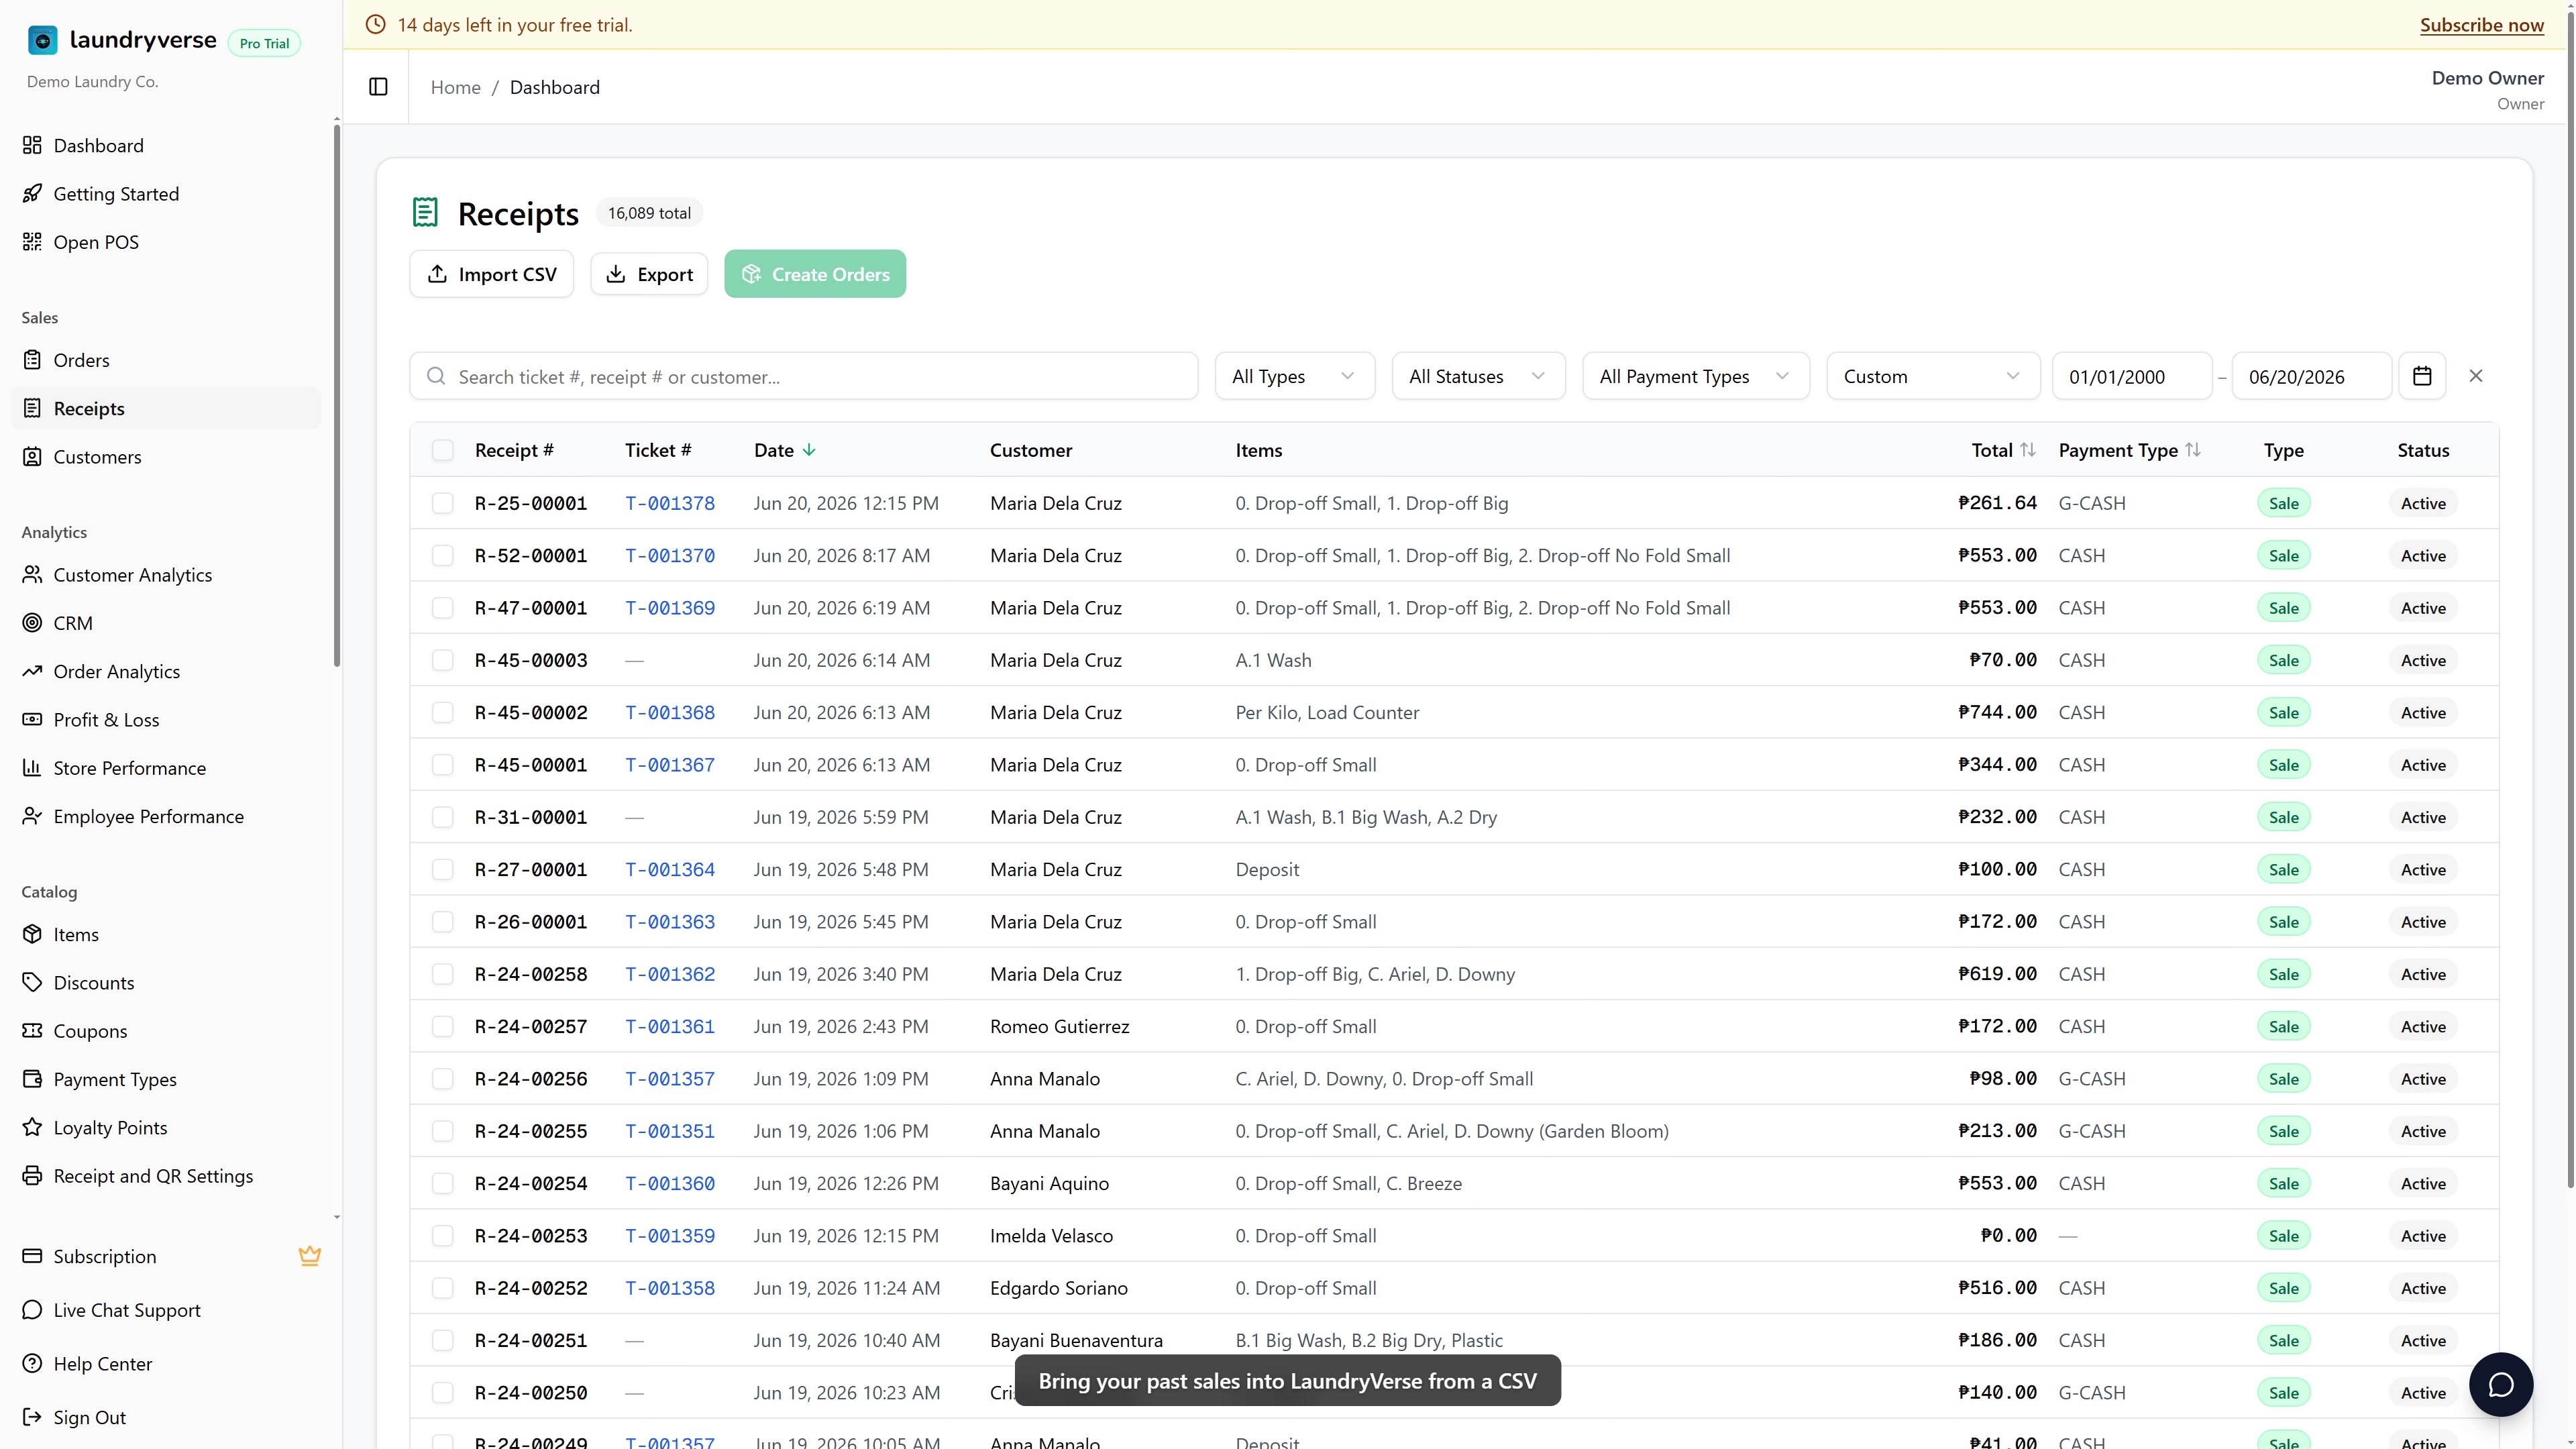
From the dashboard, go to Sales -> Receipts and click the Import CSV button in the page header.
The Import historical sales window opens. The Download CSV template link is at the top if you still need the template.
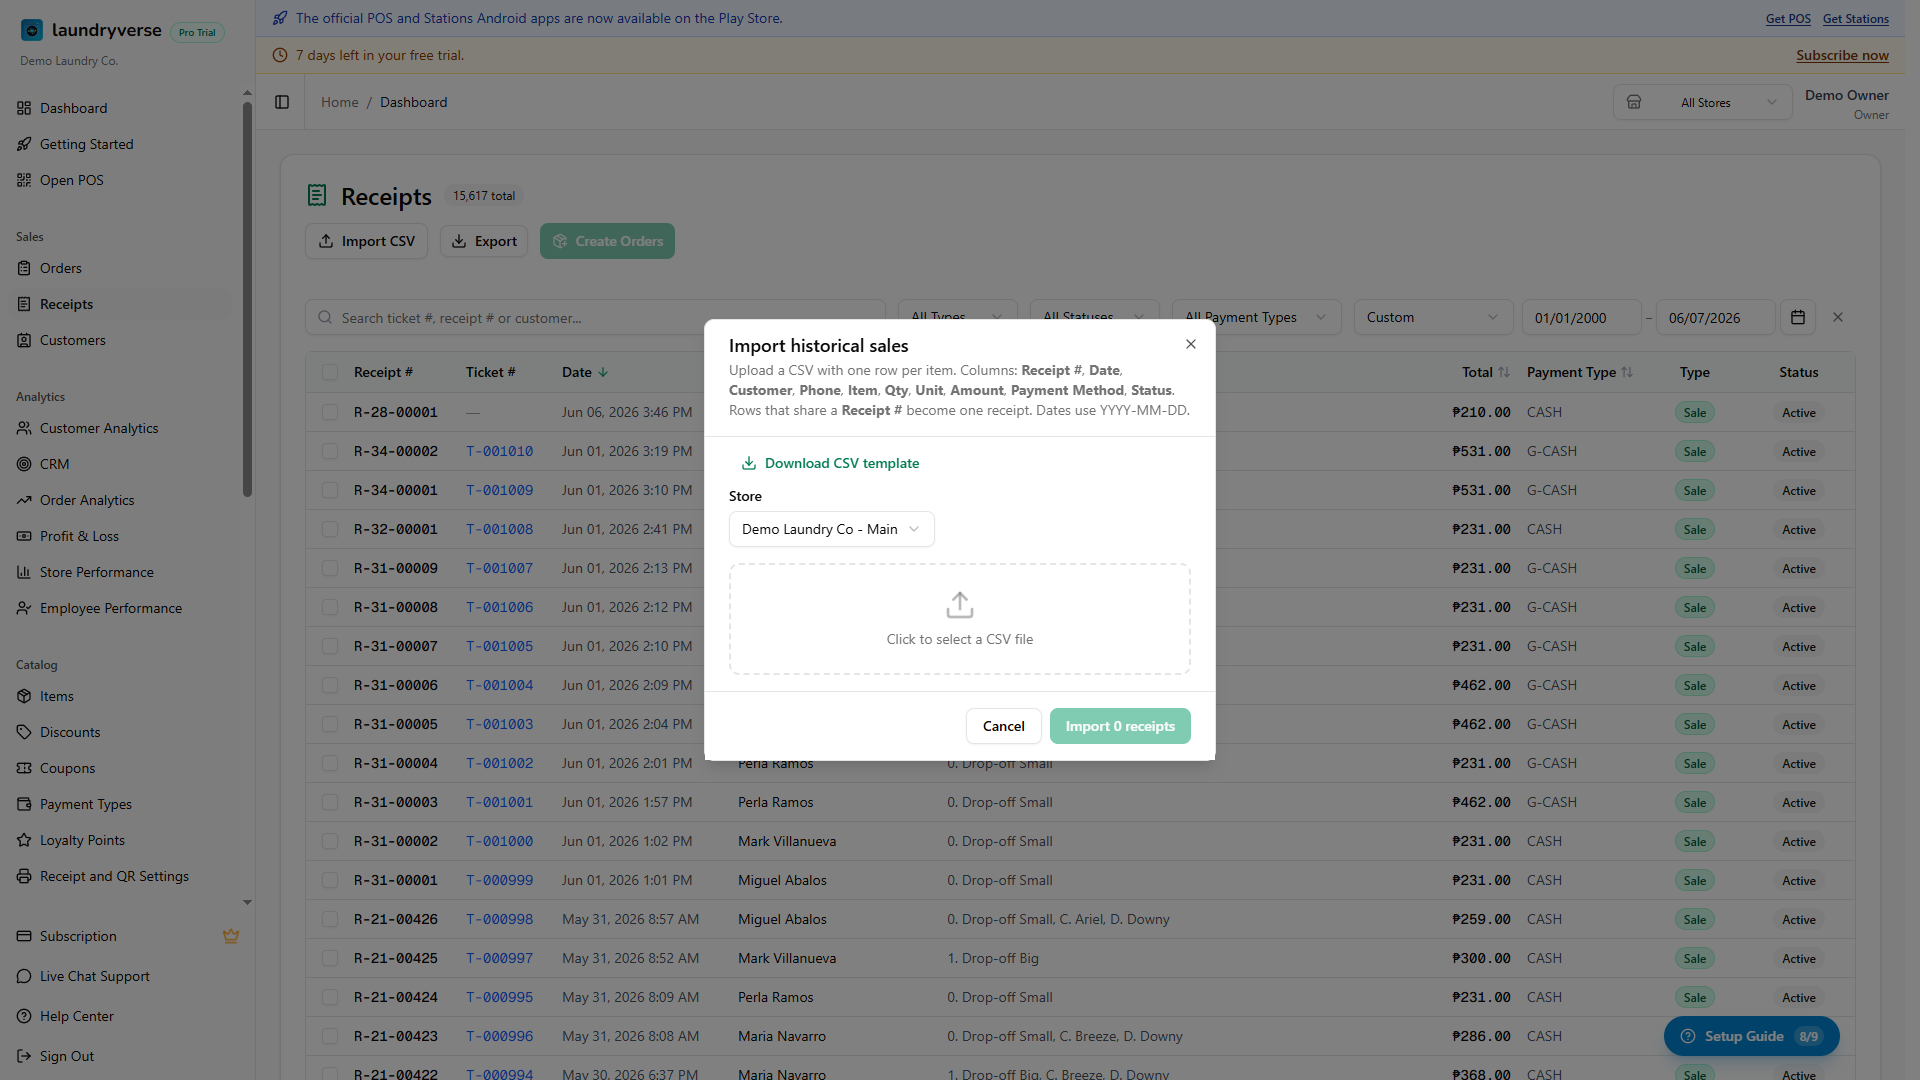
3. Pick the store and upload
- Choose the Store these sales belong to. On a single branch account this is already selected.
- Click the upload area and choose your CSV file.
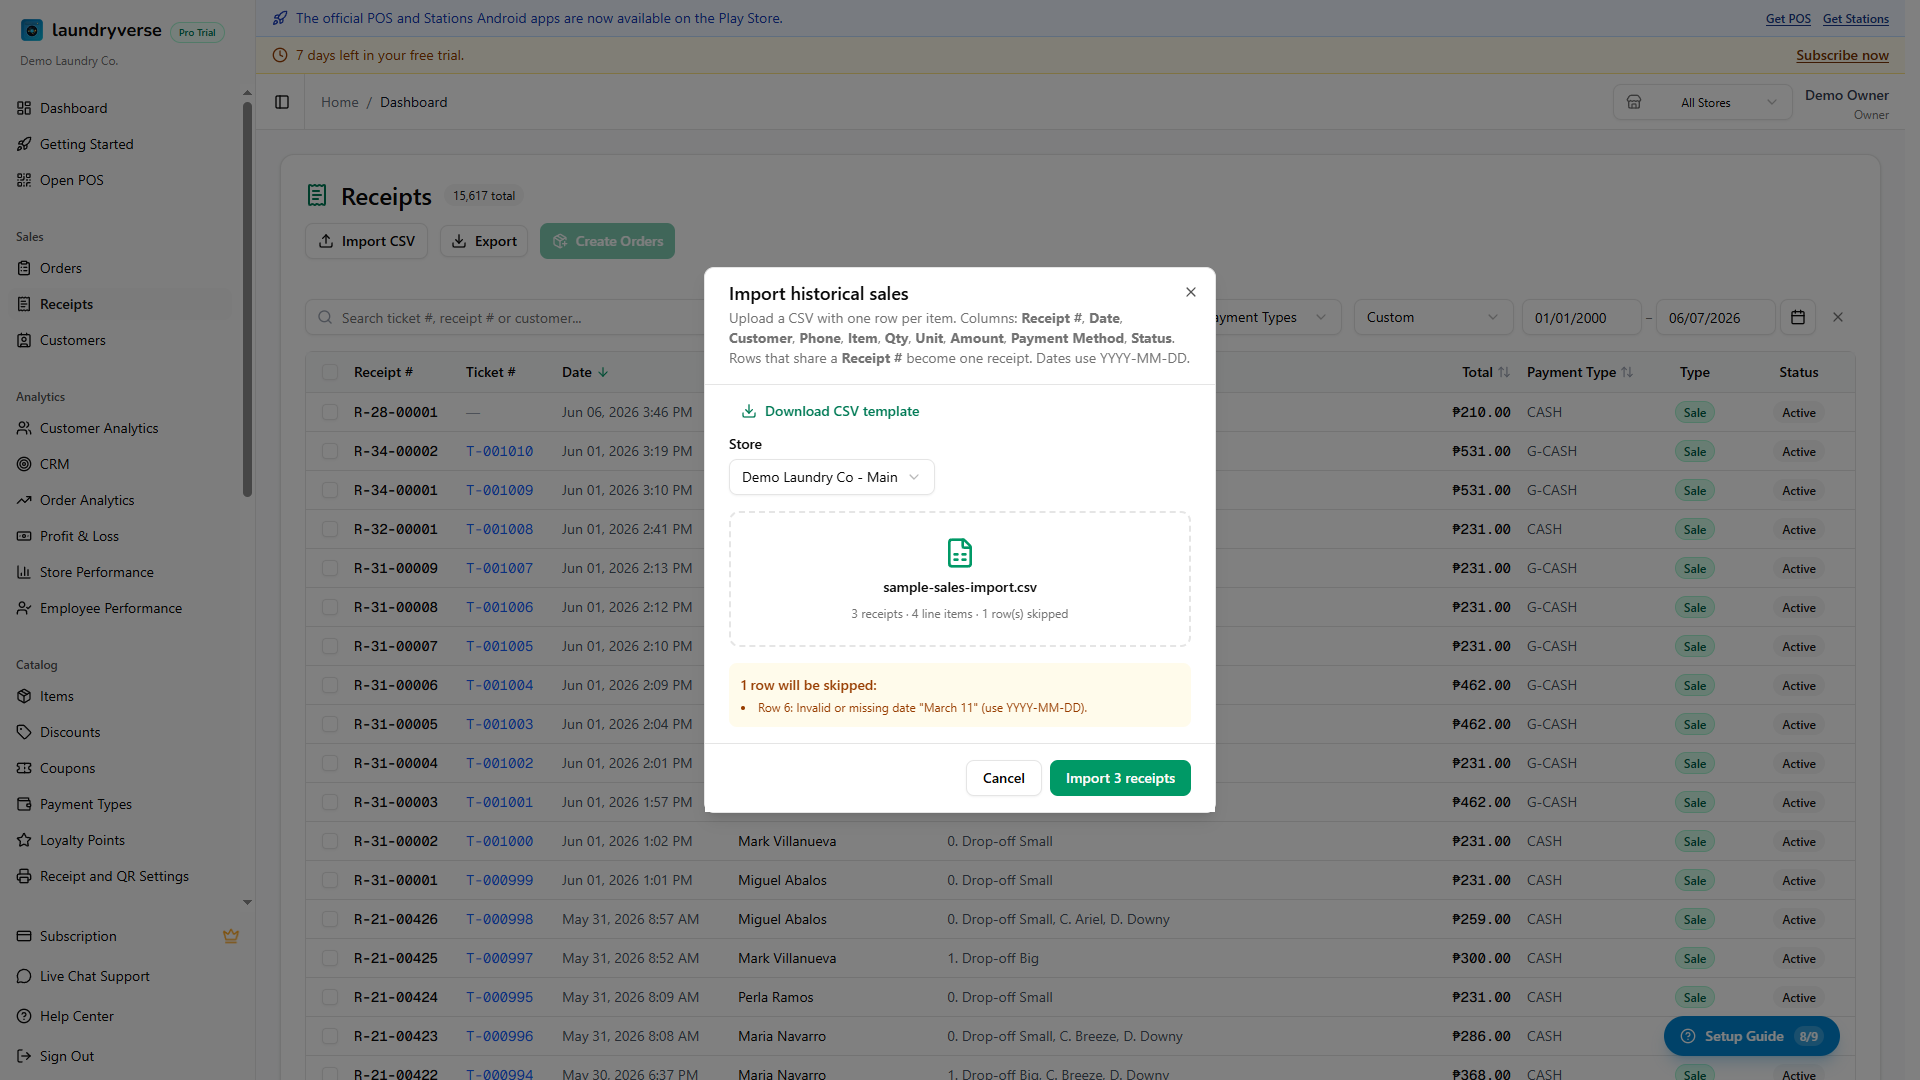
As soon as the file loads, you get a quick read of what it found, for example 12 receipts · 31 line items, so you can confirm the file looks right before importing.
4. Review what will be skipped
If any rows have a problem, they are listed before you import, with the row number and the reason, for example Row 7: Invalid or missing date "March 9" (use YYYY-MM-DD). The good rows still import; only the listed rows are left out. Fix them in your file and import again later if you want them in.
If a required column is missing entirely (Date, Item, Qty, or Amount), the whole file is held back with a message telling you which column to add. Compare your headers against the template and try again.
5. Import and watch the progress
Click Import. A progress bar tracks the receipts as they are created, for example Importing 18 of 31 receipts. The work runs in the background, so a large history keeps going even if it takes a moment.
When it finishes you see a summary, Imported 31 receipts, with a count of any skipped rows. The imported sales now appear in your Receipts list, each with a receipt number starting with IMP- so you can tell them apart from your everyday POS and Loyverse receipts.

The one click undo lives on this success screen. If you close the window mid import, the receipts still finish importing, but you would then remove them from the Receipts list one by one instead. For a large history, wait for the summary so the undo button is there if you need it.
6. Undo an import
On the summary screen, click Undo this import. Every receipt created by that import is removed in one step, and you get a confirmation of how many were removed. Use this whenever an import does not look right, fix your file, and run it again.
An import can be undone once, and only after it has finished.
Common issues
"The Import CSV button isn't there"
The button only shows for roles with the View all receipts permission, which by default is Owner and Admin. If you are a Manager or a custom role, ask an owner to import, or to grant your role View all receipts in Roles & Permissions.
"Some of my rows were skipped"
Each skipped row is listed with a reason. The usual causes are a date that is not in YYYY-MM-DD form, a blank or zero quantity, a blank item name, or an amount that is not a number. Fix those rows in your file and import them in a second run. The receipts that already imported are not affected.
"It says a required column is missing"
Your file needs a Date, an Item, a Qty, and an Amount column. The names can vary (see the tip in section 1), but all four must be present. Download the template and copy your data into it if you are unsure.
"My multi service sales came in as separate receipts"
Rows only group together when they share the same Receipt #. If each service ended up as its own receipt, the rows were missing a shared receipt number. Add the same number to every row of a sale and import again.
"These sales aren't showing on the Order Board"
That is expected. Imported sales are recorded as receipts for your history and reports, not as active orders. The Order Board is for laundry jobs you are still working on. If you need a past drop-off to appear as an order, see Create Orders from Receipts in the Receipts guide.
"I imported the wrong file"
Open the import again from the summary screen and click Undo this import while it is still showing. If you already closed it, the simplest fix is to import the correct file, then remove the wrong receipts from the Receipts list. Reach out to support if you imported a large batch and need a hand.
What's next?
- Receipts: where your imported sales live, alongside every sale taken at the POS. Filter by date or customer to find them.
- Reports & Analytics: imported sales feed your sales totals, payment breakdowns, and best sellers, so your history is part of the picture.
- Customers: rows with a name or phone are matched to existing customers or create new ones, building out your customer list from your past sales.
Stuck? Email [email protected]. The founder reads every message.