Inventory Ledger
The Inventory Ledger is the running history of every stock movement, in and out, for the items you track. It answers "where did my stock go?" while you are away from the shop, and it lets you make manual stock changes that are logged for everyone to see. About 4 minutes.
Viewing the Inventory Ledger requires the View inventory permission (inventory:view), the same permission as the Items page. Recording a manual stock change (a restock or an adjustment) requires Manage items (dashboard:items:manage). Owners have both by default; grant them to staff roles in Dashboard → Roles & Permissions.
Before you start
You'll need at least one item with Track Stock turned on and assigned to a store. See Managing Items. Two things fill the ledger:
- Sales of tracked items at the POS, which subtract stock automatically.
- Manual stock changes you record yourself (restocks and adjustments).
A brand-new shop will have an empty ledger until the first sale or restock.
1. Open the Inventory Ledger
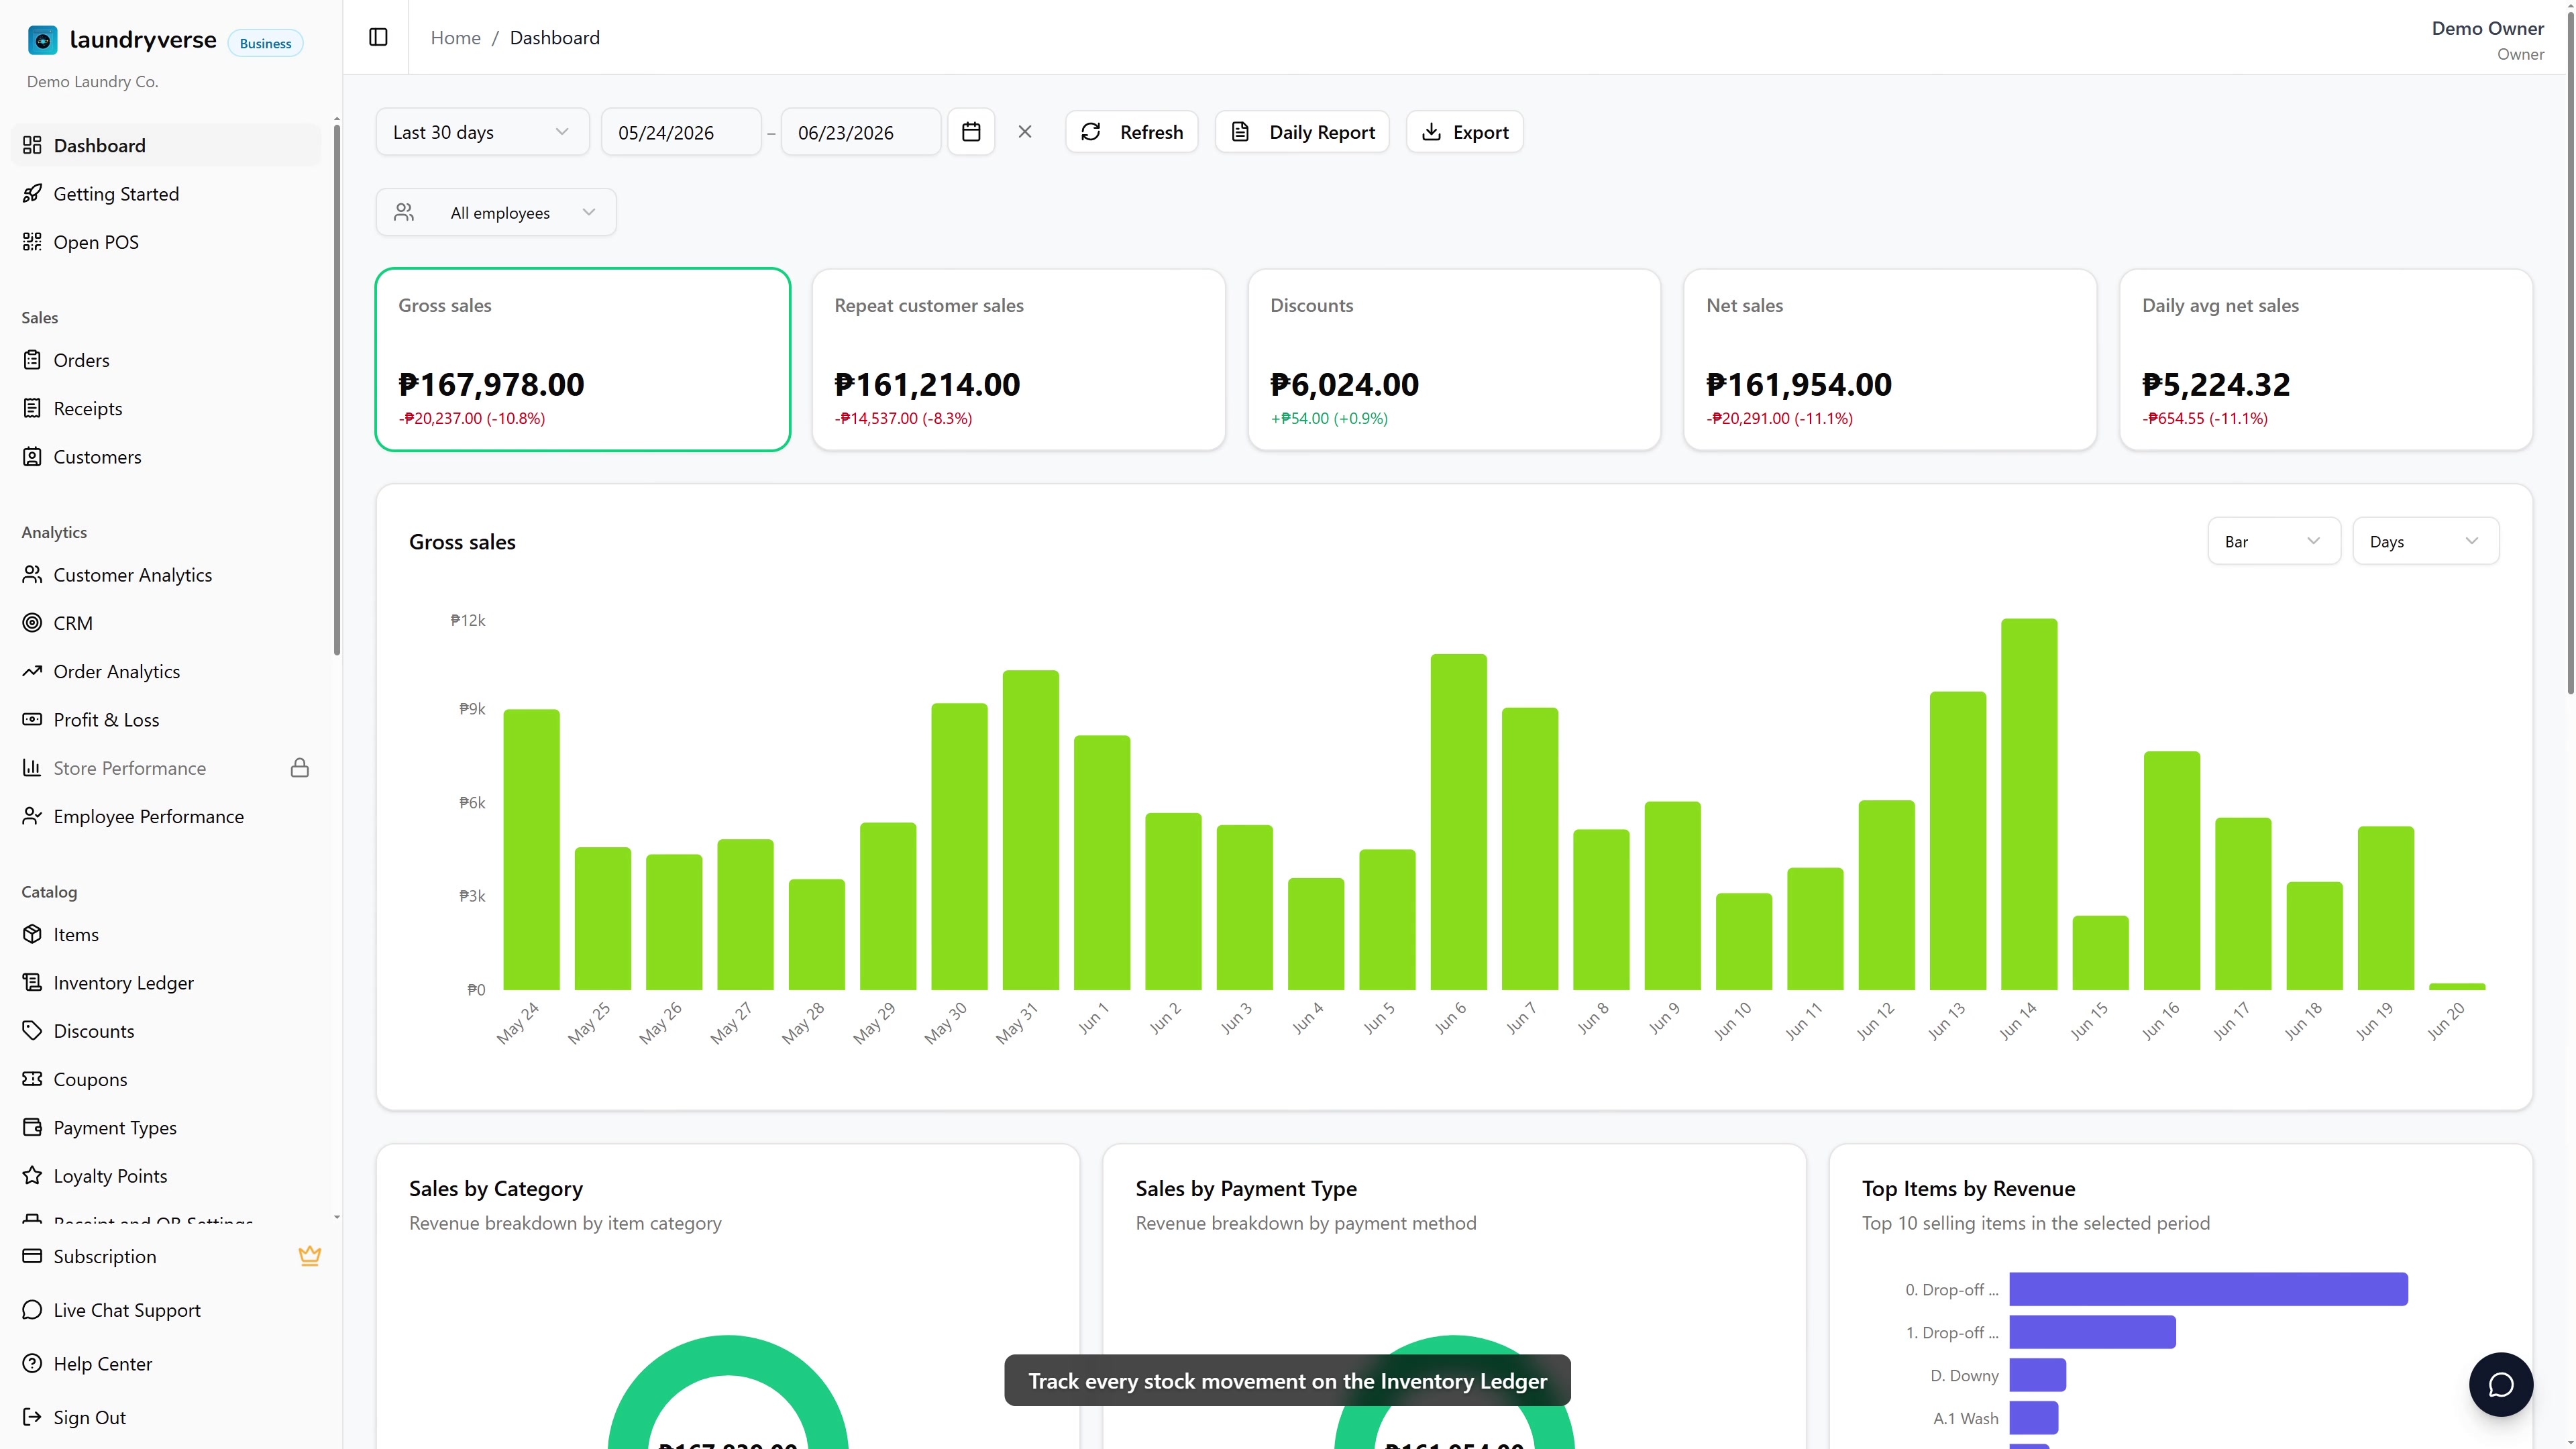
From the dashboard, go to Catalog → Inventory Ledger in the sidebar.
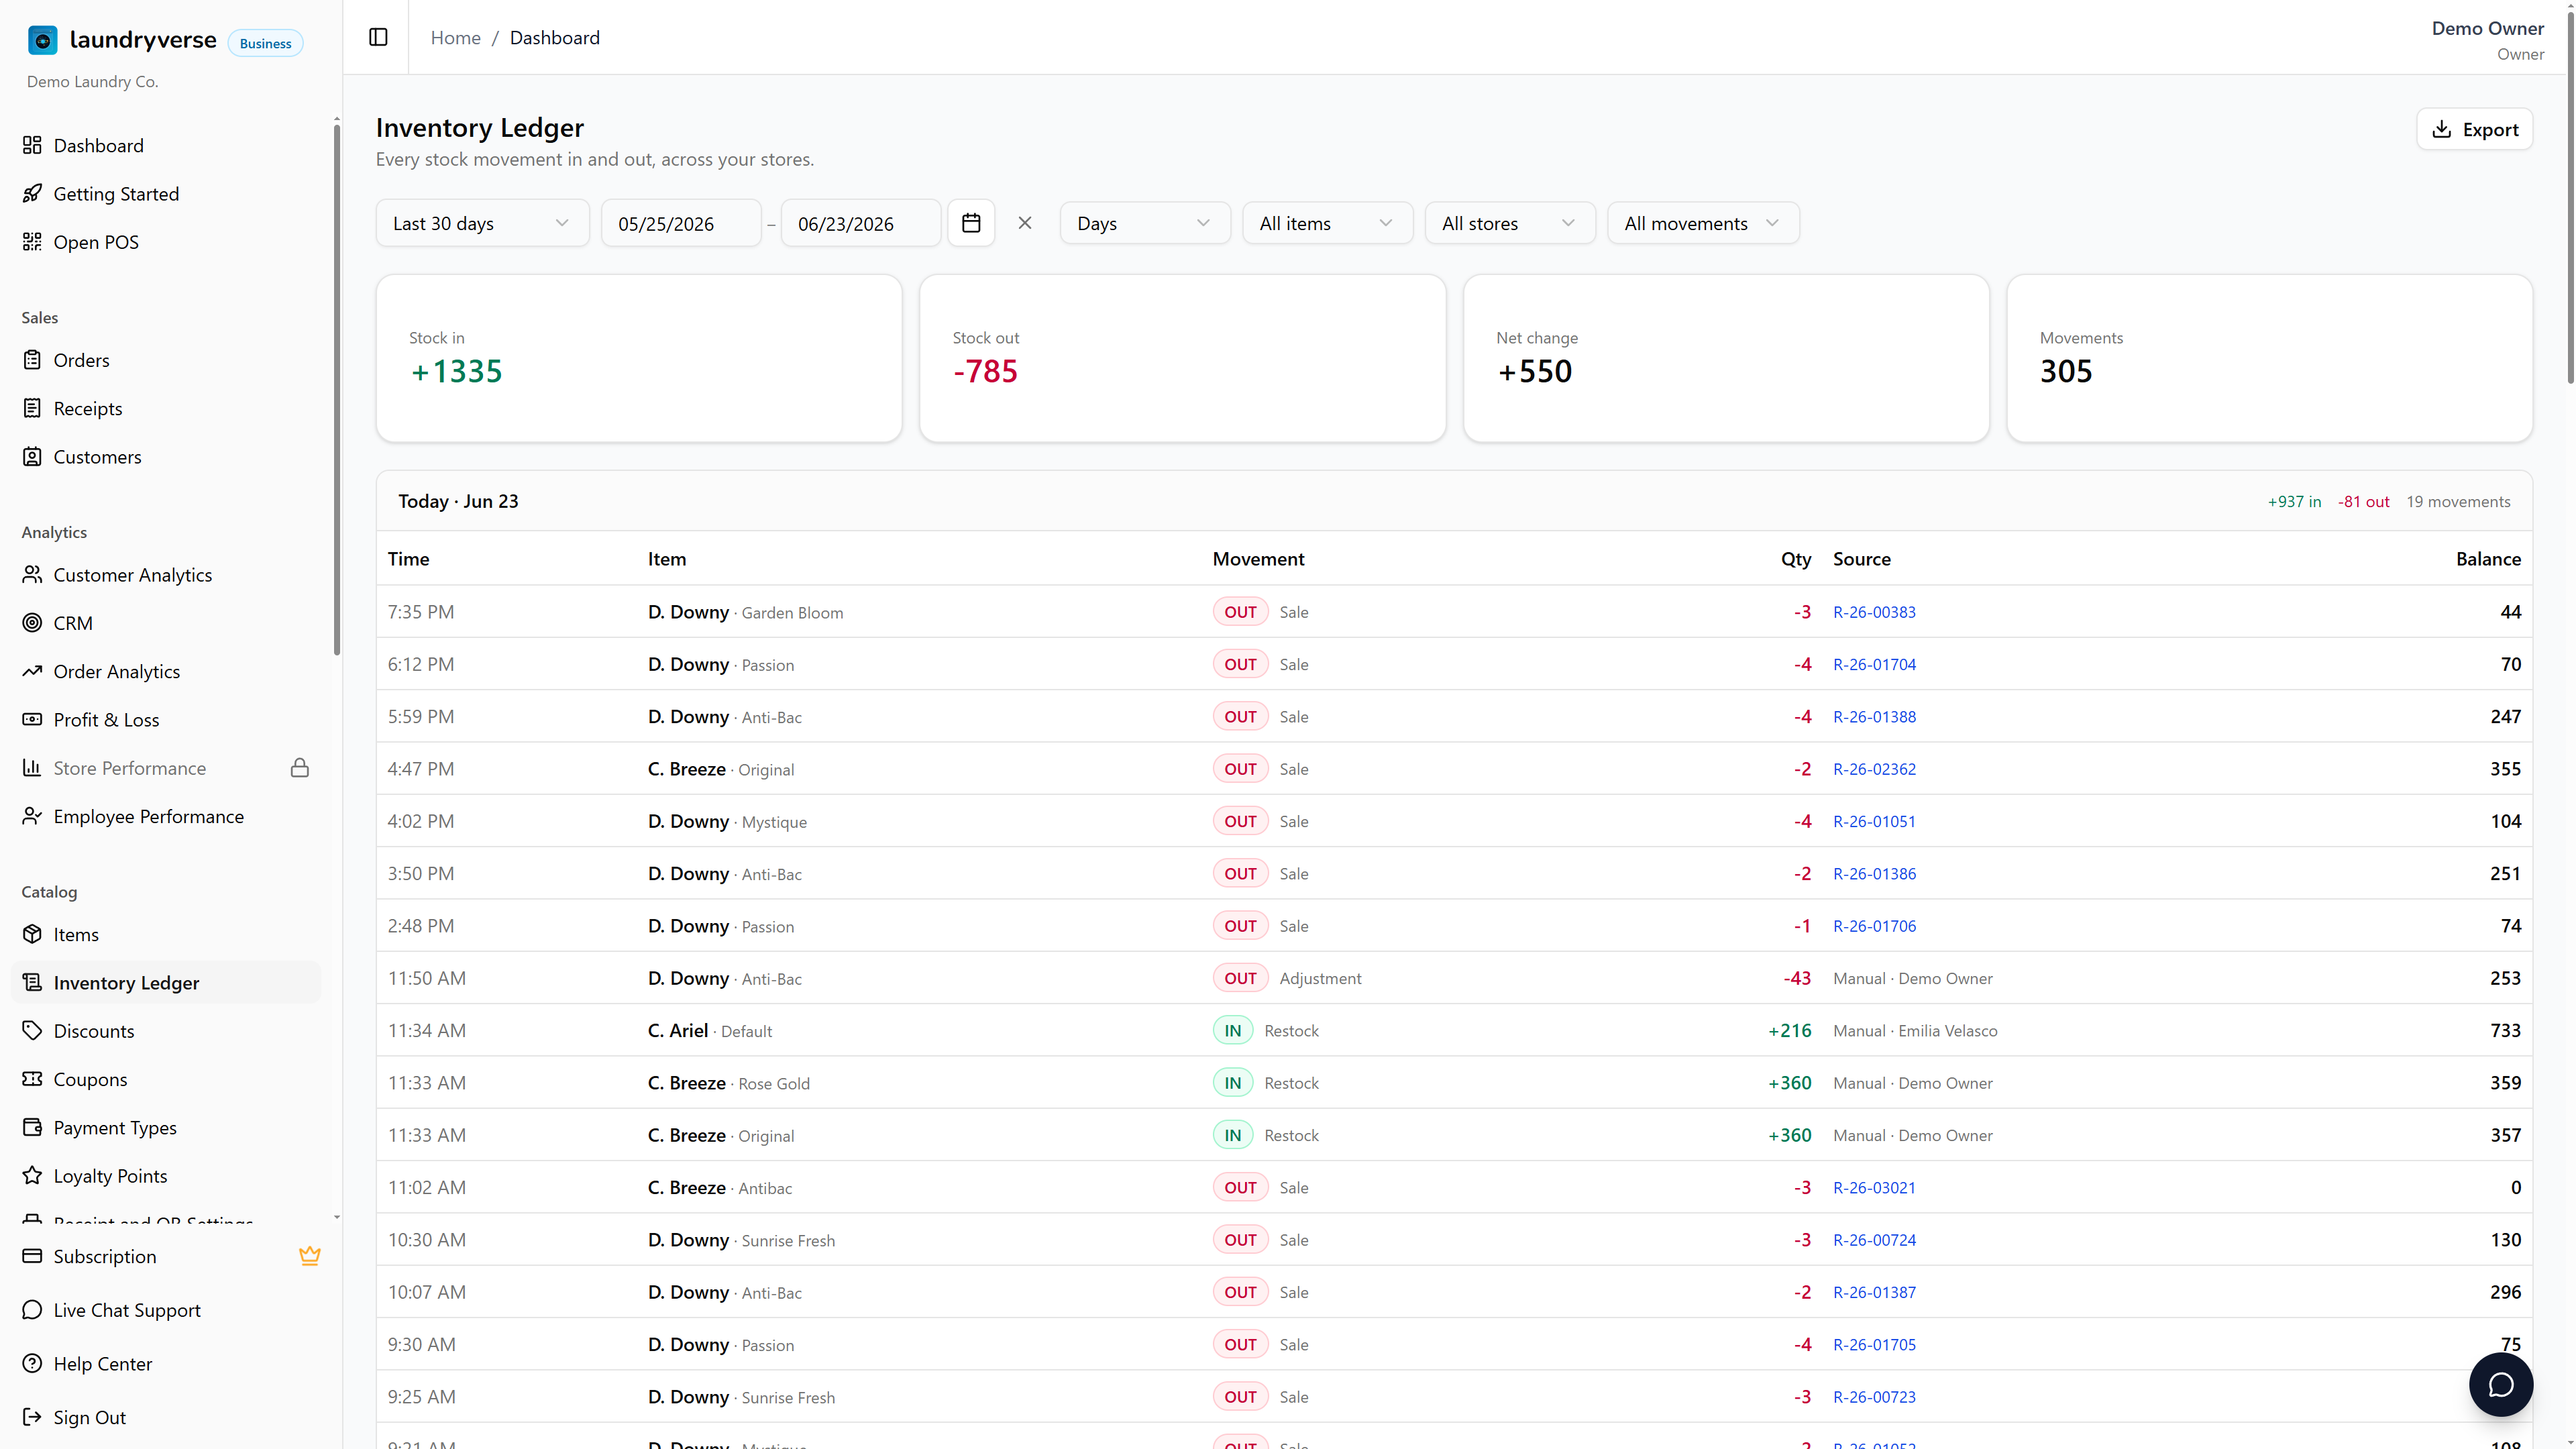
The summary cards across the top show, for whatever range you have selected:
| Card | What it shows |
|---|---|
| Stock in | Total units added (restocks plus cancelled sales). |
| Stock out | Total units removed (sales plus downward adjustments). |
| Net change | Stock in minus stock out. |
| Movements | How many individual movements happened. |
2. Pick a date range
Use the date range picker at the top left to choose what the ledger covers. Pick a preset (Today, Last 30 days, This month, Last month, Last 3 months, Last 6 months, Past year, Year to date) or set exact From and To dates with the calendar. The view defaults to the last 30 days.
3. Group by Days, Weeks, or Months
The Group by control next to the range changes how movements are summarized:
- Days lists every individual movement, with a running balance after each one. Best for a recent, detailed look.
- Weeks and Months roll the movements up into a per-variant summary for each period, sorted so your best-selling variant sits on top. Best for spotting trends over a longer range.
For "what sold over the last half year", choose Last 6 months and group by Months. For "what happened this week", choose a recent range and group by Days.
4. Read the daily view
When grouped by Days, each day is its own section with a header showing that day's totals. Every row is one movement:
| Column | What it shows |
|---|---|
| Time | When the movement happened. |
| Item | The item and its variant. Tap the name to open the item's full history (see section 7). |
| Movement | An IN or OUT tag plus the type: Sale, Sale cancelled, Restock, or Adjustment. |
| Qty | How many units moved. Green and positive for stock in, red and negative for stock out. |
| Source | The receipt number for a sale, or "Manual" plus the staff member's name for a restock or adjustment. |
| Balance | Units on hand right after that movement. |
5. Read the weekly or monthly rollup
When grouped by Weeks or Months, each period is a section, and every row is one item variant:
| Column | What it shows |
|---|---|
| Item · Variant | The item and variant. |
| Stock in | Units added in that period. |
| Stock out | Units removed in that period. |
| Net | The difference for the period. |
| Ending balance | Units on hand at the end of that period. |
Rows are sorted by stock out, so your best seller is on top.
6. Filter the ledger
Three filters narrow what you see: Item, Store, and Movement type (Sales, Cancellations, Restocks, or Adjustments).
When you filter by a movement type, the Balance and Ending balance columns go blank. A running balance only makes sense across every movement type, so showing it for a single type would be misleading.
On a phone, all of these controls collapse behind a single Filters button that slides up from the bottom of the screen.
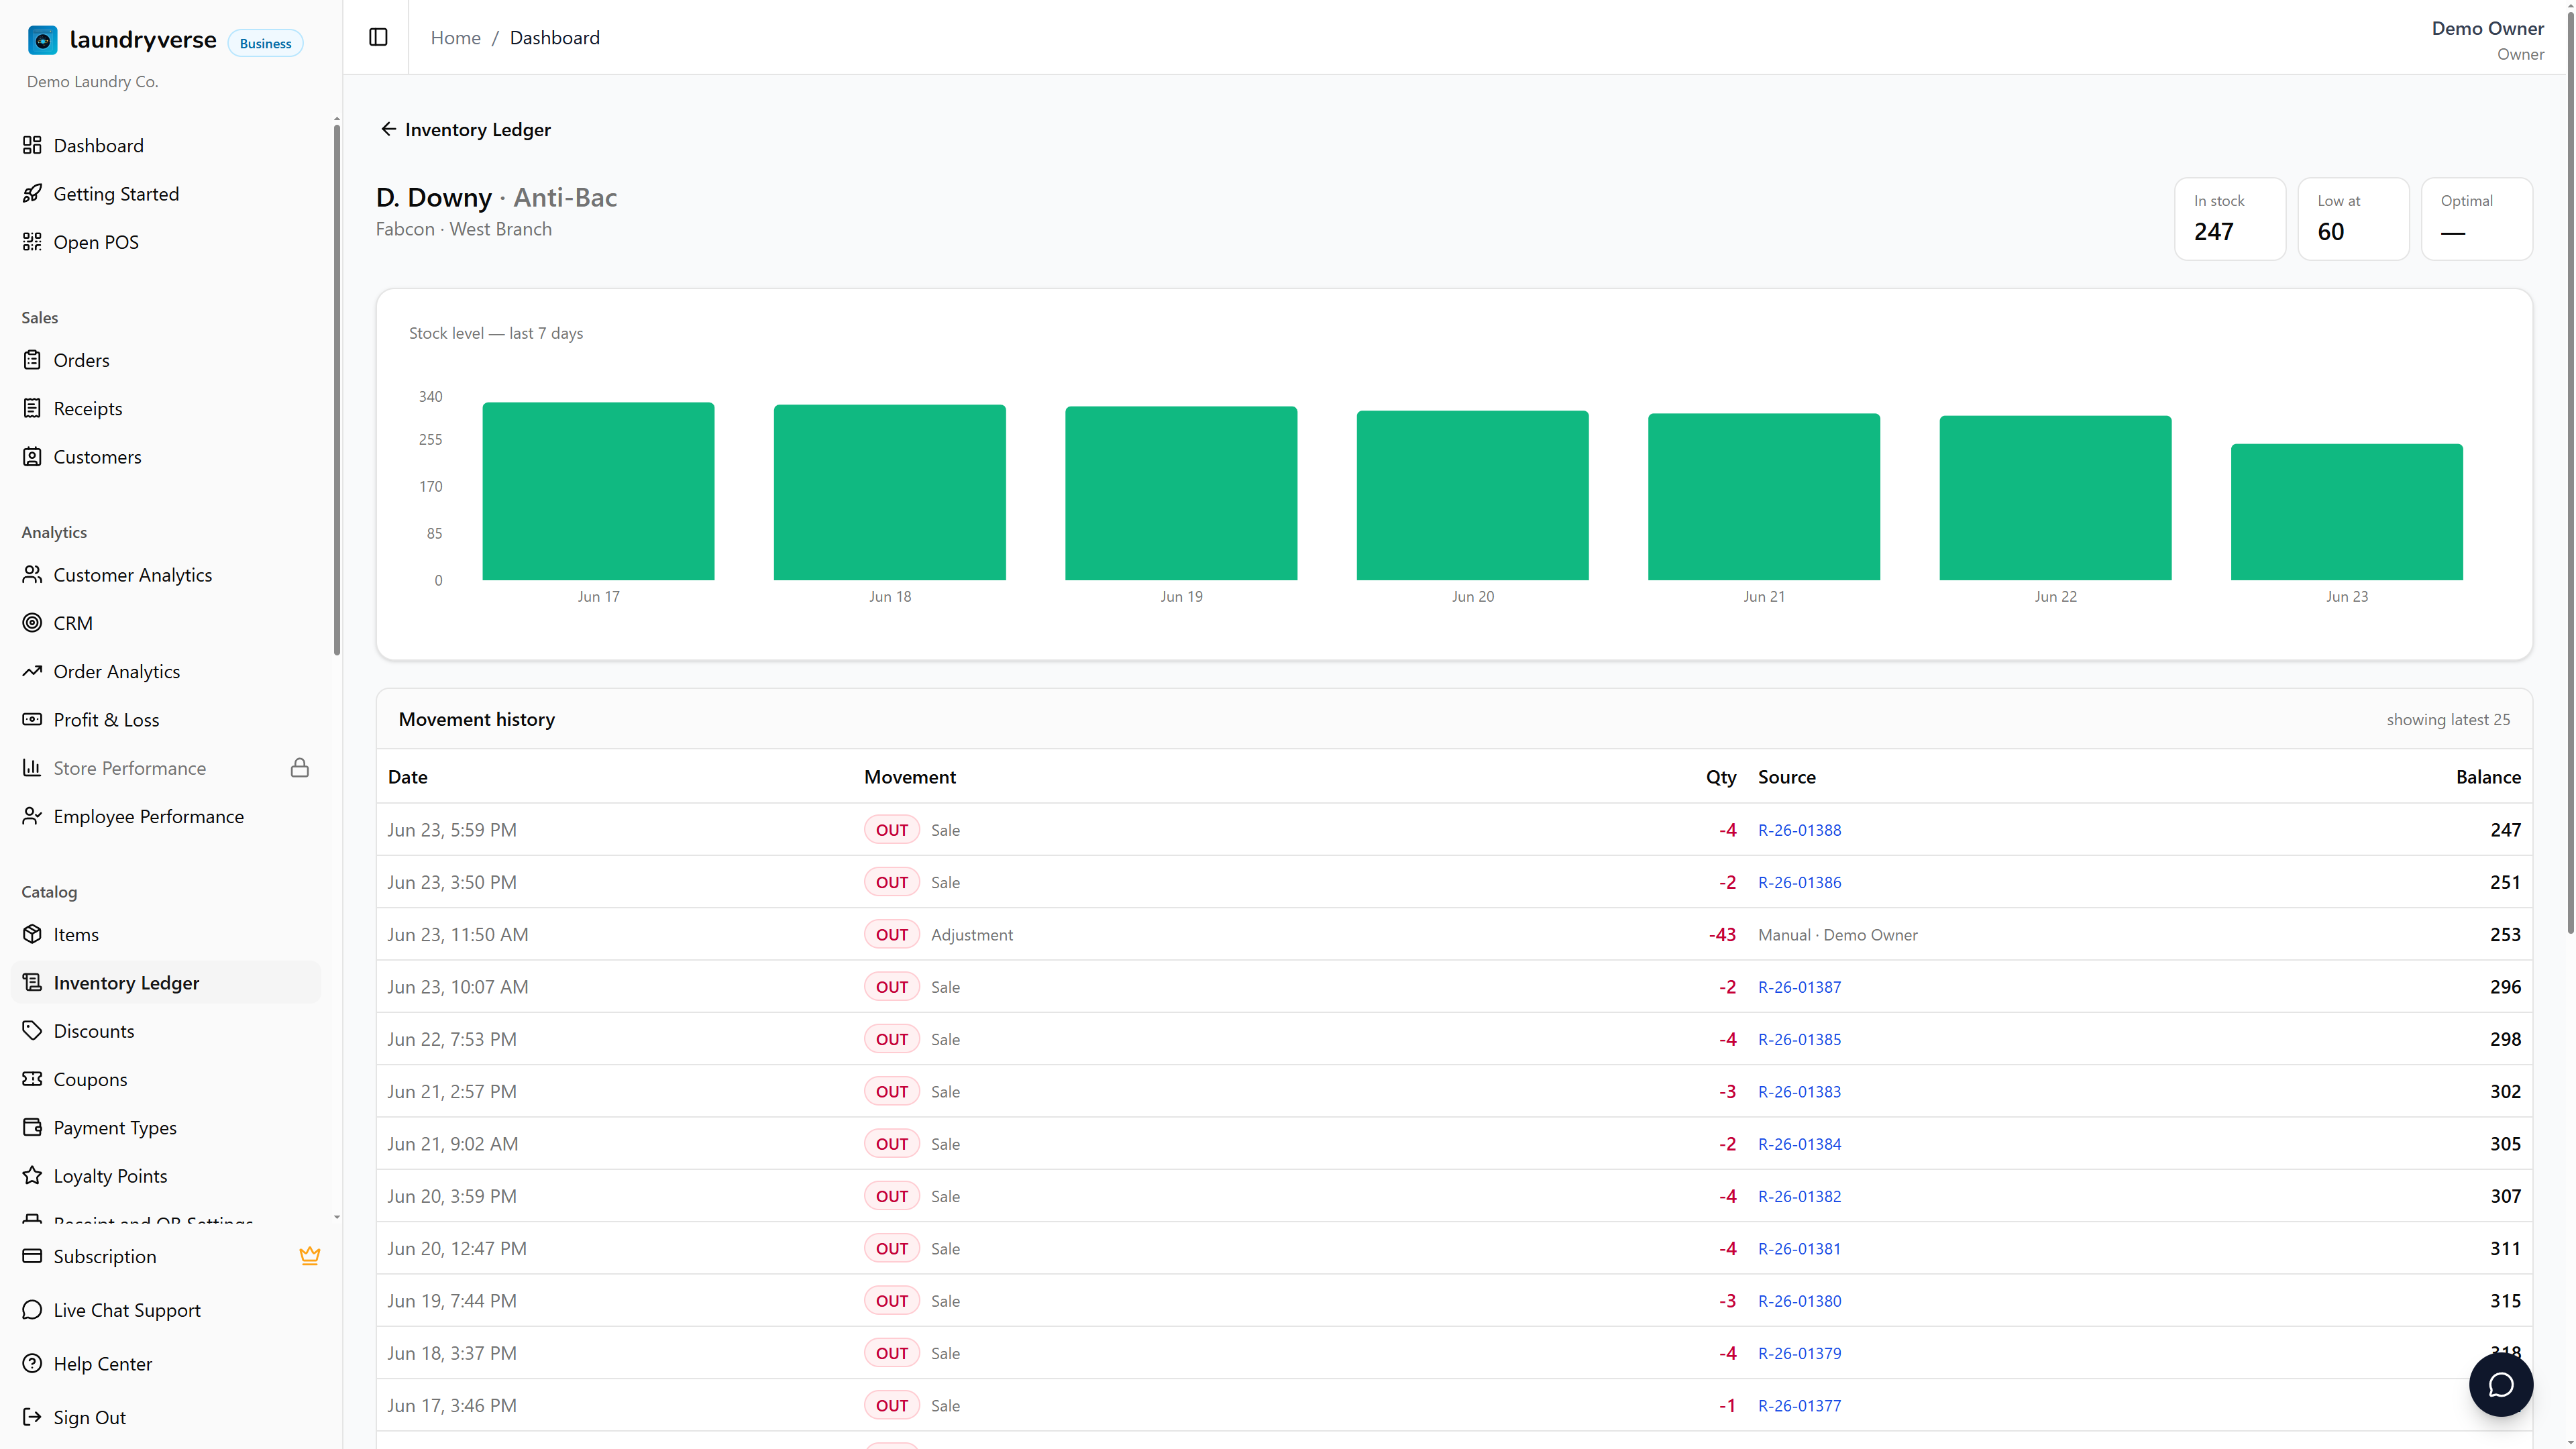
7. Drill into one item
Tap any item name in the ledger to open that item's own page. It shows the current stock on hand, the low and optimal thresholds, a 7-day stock level chart, and the full list of recent movements for that item with a running balance. This is the fastest way to answer "what happened to this one item?".
8. Adjust stock by hand
When you receive a delivery or need to fix a count, you record the change on the item itself, and it shows up in the ledger right away.
- Go to Catalog → Items and open the item.
- In the Stores section, the on-hand number for each store is read-only. Tap Adjust on the store row you want to change.
- Choose Restock (adds stock you received) or Adjustment (add or remove units to fix a count, log spoilage, or correct a recount).
- Enter the quantity, add an optional note, and apply.
The change is recorded in the ledger immediately, tagged with your name and your note. Adjustments made from the POS also appear in your Activity Log, so you can always see who changed stock and why.
Stock changes are recorded as movements rather than typed in directly. That keeps a clean history and means a count you enter can never silently wipe out a sale that happened at the same moment.
9. Export to a spreadsheet
The Export button downloads the full selected range as a CSV file you can open in Excel or Google Sheets. It always covers the entire range, not just the page on screen.
A note on long ranges
To keep the page quick, long views are split into pages of seven (seven days, seven weeks, or seven months at a time), with Previous and Next at the bottom. The summary cards at the top always reflect the whole range, not just the current page.
The balance is worked out from your current stock on hand, counted backwards through the history. So the latest balance always matches the live stock count on the Items page, even for an item you only started tracking partway through.
Common issues
"The ledger is empty"
Nothing has moved yet for the range and filters you've picked. The ledger fills from sales of tracked items and manual stock changes. Widen the date range, clear any item or movement-type filter, and make sure at least one item has Track Stock turned on (see Managing Items). A brand-new shop stays empty until its first sale or restock.
"The Balance column is blank"
You have a movement-type filter active (Sales, Restocks, and so on). A running balance only makes sense across every type of movement, so it's hidden while you're looking at just one. Set the movement-type filter back to All movements to see balances again.
"A balance looks wrong, or goes negative"
The balance is reconstructed from your current stock on hand, counted backwards. The most recent balance always matches the live count on the Items page. For an item you only started tracking partway through, the oldest balances can dip below zero, because there's no earlier history to count back from. That's expected and doesn't affect today's count.
"I don't see the Inventory Ledger, or there's no Adjust button"
Opening the ledger needs the View inventory permission, and recording a restock or adjustment needs Manage items. Owners have both by default. Ask your owner to grant them in Dashboard > Roles & Permissions. The Adjust button also only appears on items that have Track Stock turned on.
What's next?
- Managing Items: turn on stock tracking, set low-stock thresholds, and record restocks and adjustments.
- Activity Log: see who did what on the POS, including stock adjustments made at the counter.
- Reports & Analytics: pair stock movement with sales to see which services move the most product.
Stuck? Email [email protected]. The founder reads every message.