Roles & Permissions
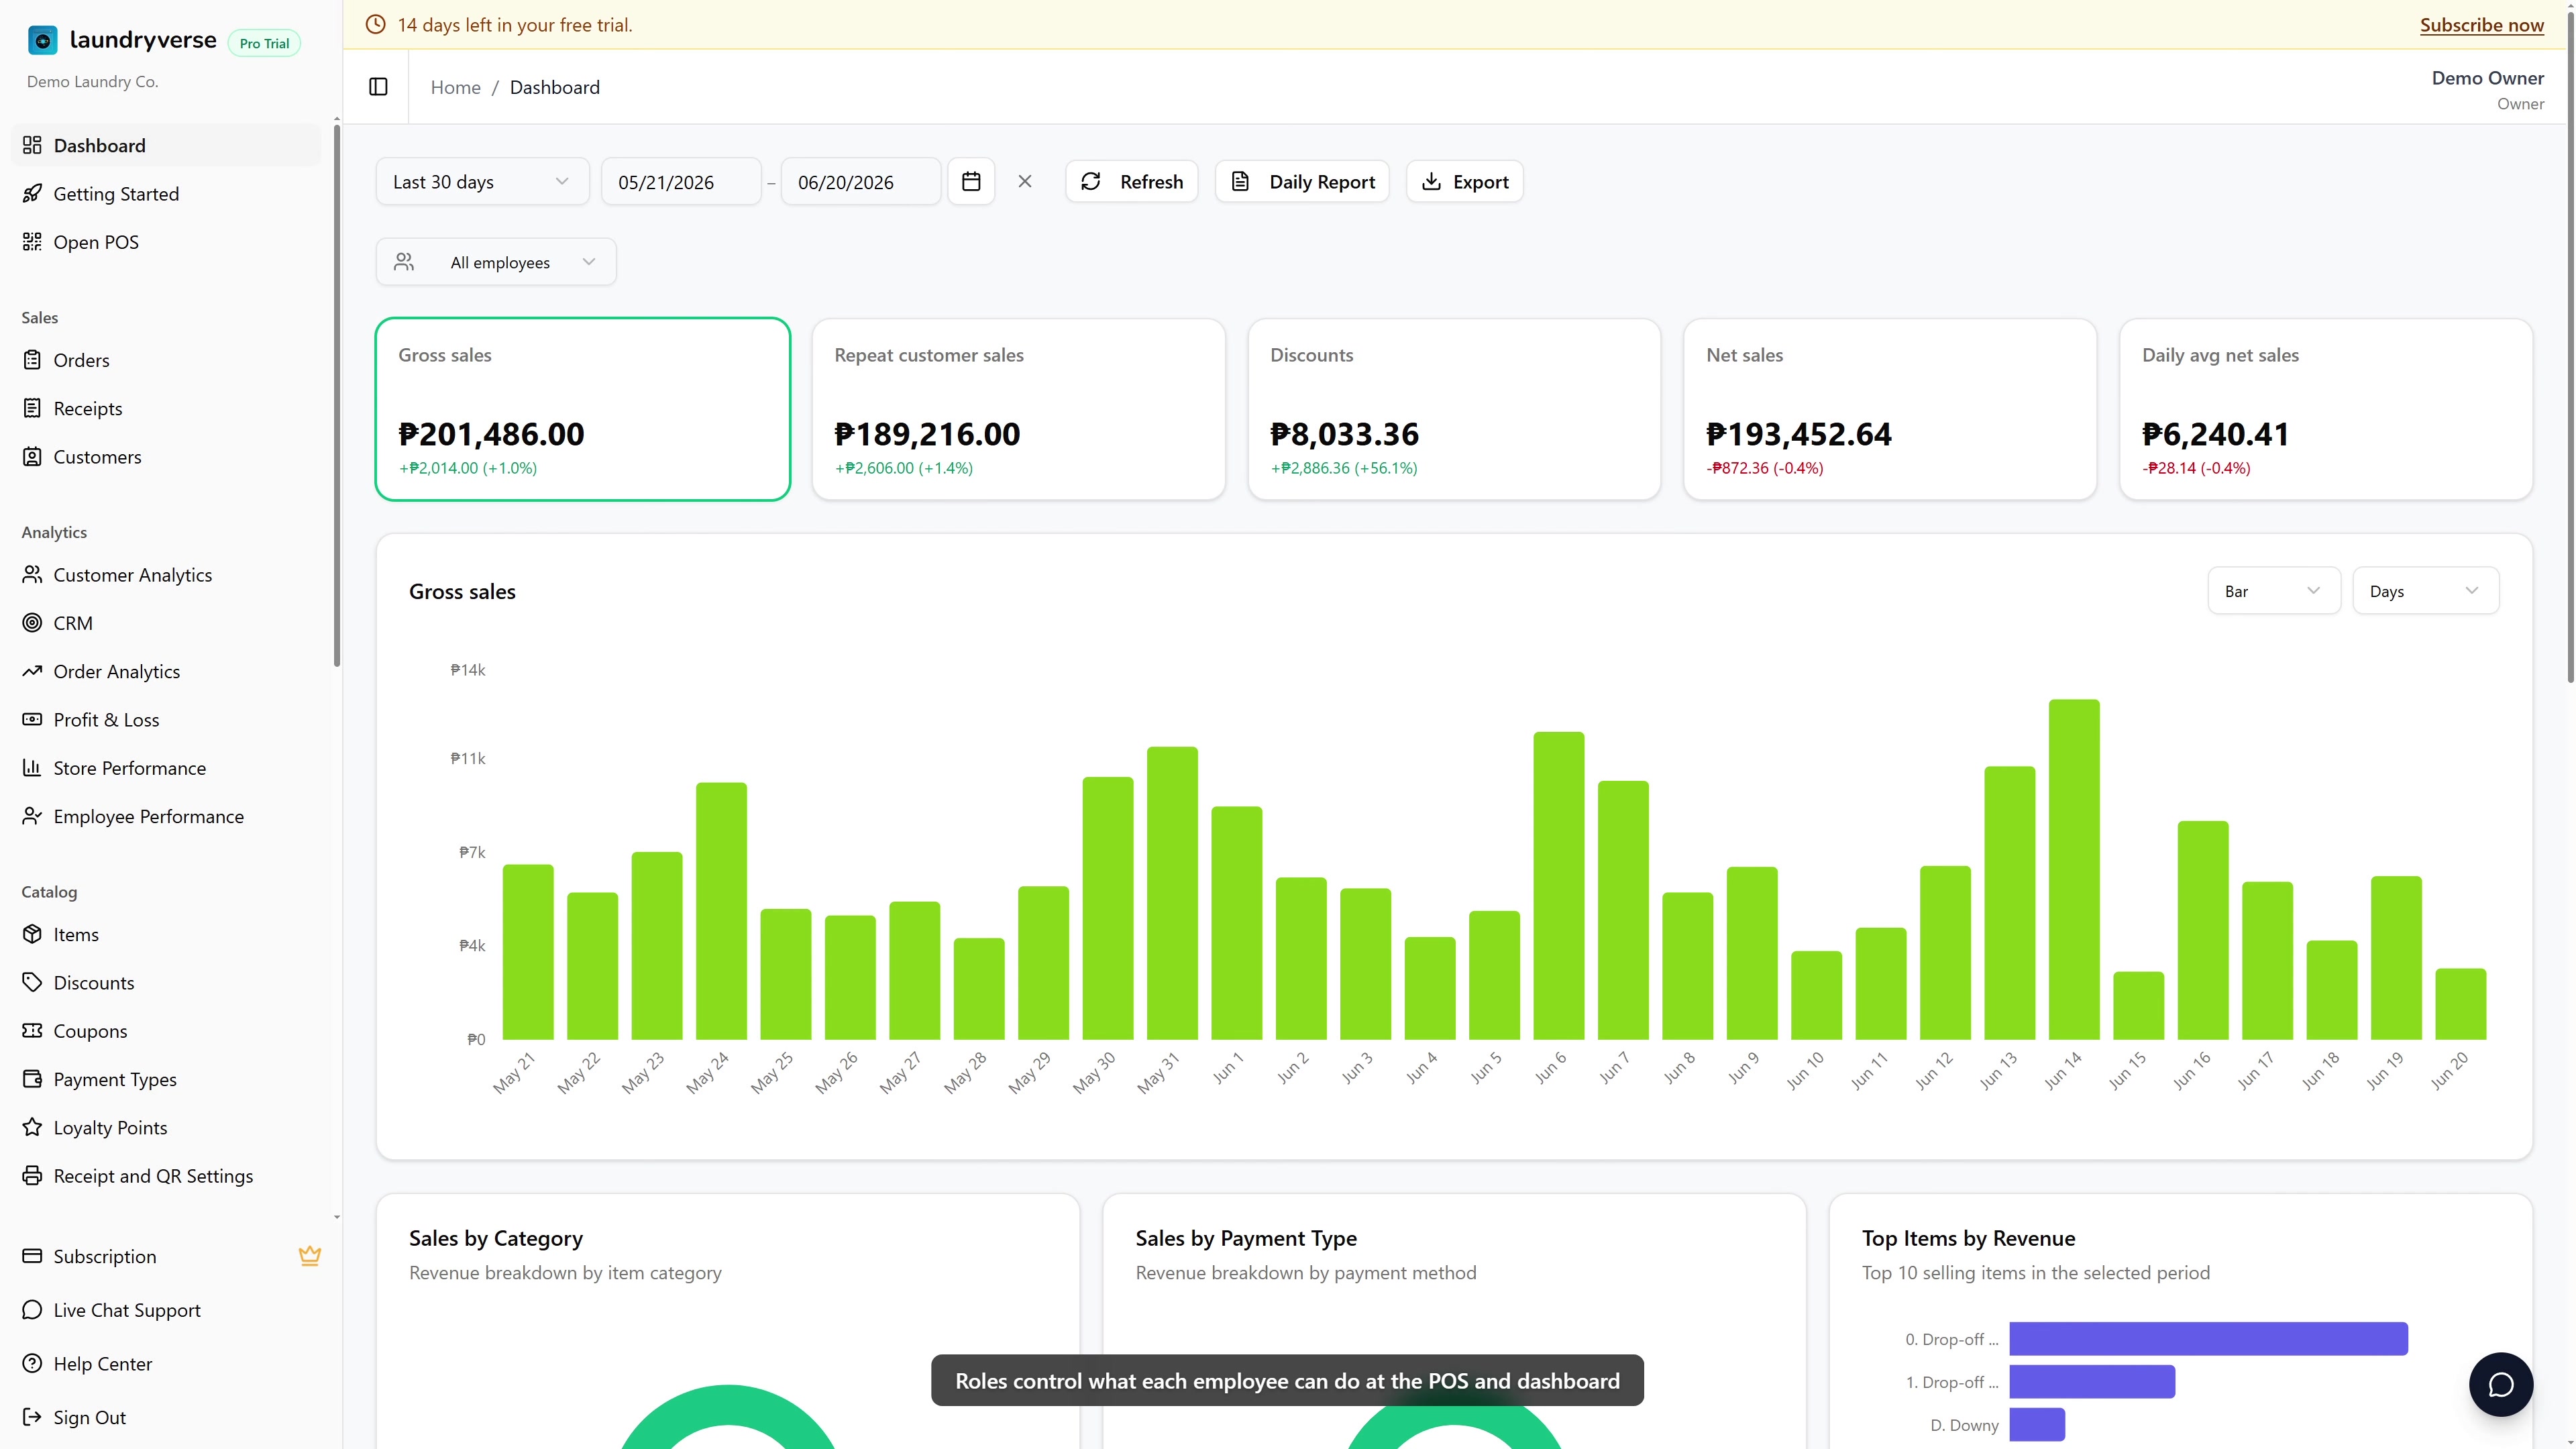
Roles control what each employee can do, both at the counter (POS) and in the back-office (Dashboard). Define a role once, tick the permissions it should grant, then assign it to as many employees as you need. About 4 minutes.
Creating, editing, or deleting roles requires the Manage roles permission (roles:manage). The default Owner and Admin roles both hold it. To let a trusted manager adjust permissions without bothering the owner, grant Manage roles to their role here, then invite that employee to the dashboard via the Dashboard access card on their employee page. See Employees for the invite flow. The Owner role itself cannot be edited or deleted regardless of who holds Manage roles, so the permission catalog stays tamper-proof.
Before you start
You don't need anything else configured first. Roles are independent of stores, items, and devices. LaundryVerse seeds four roles automatically the first time you open this page, so you can start by assigning those before you build any custom ones.
Most shops never need a fully custom role. Owner, Admin, Manager, and Cashier already cover the common shapes. Open a default role in view mode to confirm what it grants, then clone it as a starting point only if you need something the defaults can't express.
1. Open the Roles page
From the dashboard, navigate to Staff & Payroll → Roles in the sidebar. The table shows every role on your account, default or custom.
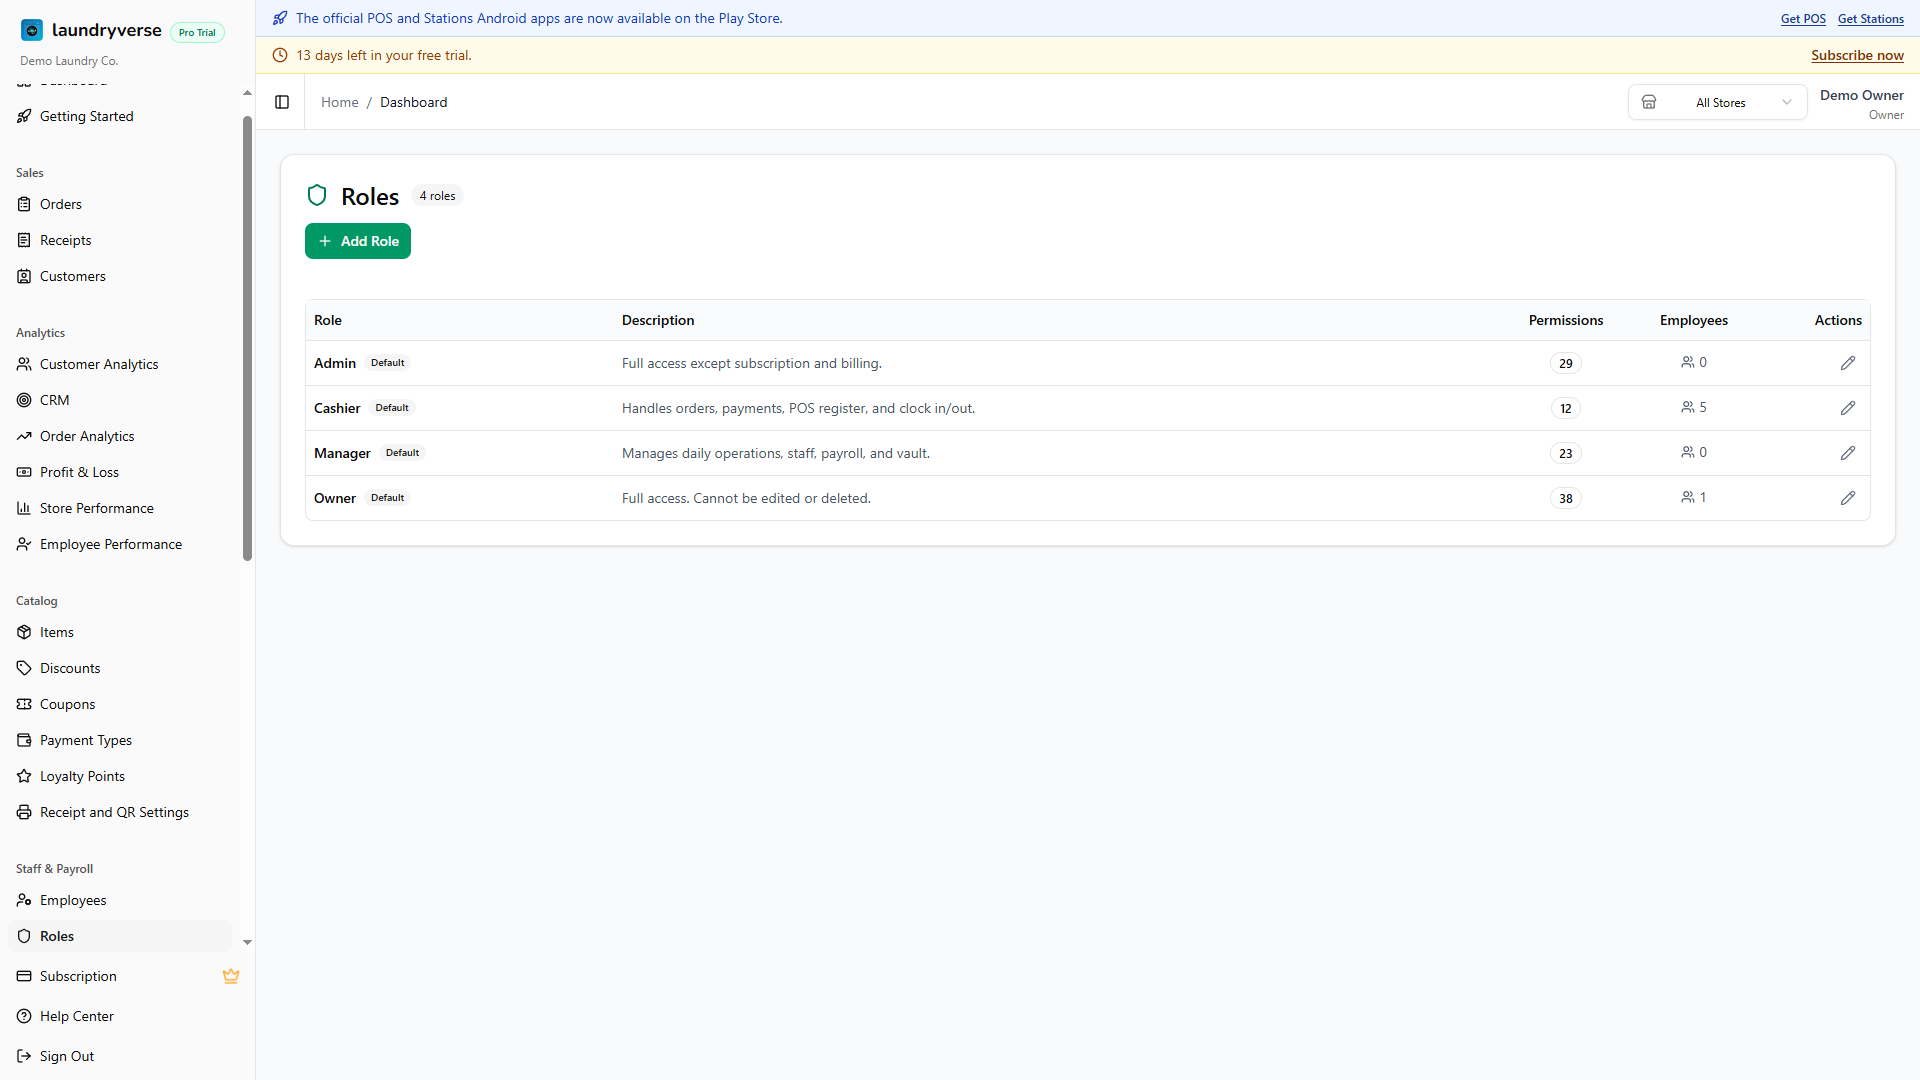
Each row shows:
| Column | What it shows |
|---|---|
| Role | Name plus a Default badge if it's one of the four seeded roles. |
| Description | Short note describing what the role is for. Optional on custom roles. |
| Permissions | Count of permissions currently granted to this role. |
| Employees | How many active employees have this role attached. |
| Actions | Pencil to edit (or view, for the Owner role). Trash to delete (only on custom roles). |
The Add Role button sits in the card header on the right.
2. The four default roles
LaundryVerse ships with four pre-built roles. The Owner role cannot be edited or deleted. The other three can be customized, renamed, or used as cloning templates.
| Role | Best for | What it grants by default |
|---|---|---|
| Owner | The shop owner | Every permission in the catalog, including billing and subscription. Always full access. |
| Admin | A trusted manager who shouldn't touch billing | Every permission except Manage subscription. |
| Manager | Daily operations lead | All POS permissions (except removing items from open tickets, which stays manager-controlled) plus dashboard operational permissions: receipts, customers, items, employees, shifts, payroll, expenses, LPG, vault, reports. No subscription, no role admin, no device or store admin. |
| Cashier | Counter staff | POS-only: view and edit orders, ring up sales, apply discounts, refund receipts, open and close shifts, view receipts, attach customers, clock in and out, complete task reminders. Cannot remove items from open tickets and cannot override load status. |
If you re-open a default role after a LaundryVerse update that added new permissions, the new boxes appear unchecked. The Owner role is special-cased to always grant the full catalog, so you never need to revisit it.
3. Permission areas and categories
Permissions are split into two areas in the role editor, each grouped into categories for quick scanning.
Point of Sale covers the counter tablet:
| Category | What it covers |
|---|---|
| Orders | View orders, edit orders, add and remove items on open tickets, override load status, void short change. |
| Register & shifts | Use the register, apply discounts, refund receipts, open and close shifts, view shift reports, view receipts, search and manage customers, manage LPG tanks, clock in and out, task reminders. |
Dashboard covers the back-office:
| Category | What it covers |
|---|---|
| Sales & Data | View receipts, view all historical receipts, delete orders, view customers, view inventory, view reports. |
| Catalog | Manage items (also gates payment types, discounts, coupons, loyalty, and receipt settings) and manage customers. |
| Staff & Payroll | Manage employees, shifts, and payroll. |
| Operations | Manage expenses, LPG, and the vault. |
| Administration | Sign in to dashboard, manage stores, devices, roles, settings, and subscription. |
Tick the checkbox next to a category label to toggle every permission in that group at once. The category checkbox shows an indeterminate state if only some of its permissions are selected.
The owner always has every permission. For other staff to use these dashboard permissions, invite them to the dashboard via the Dashboard access card on their employee page. Once invited, they sign in with their own email and password, and their role's dashboard permissions take effect. See Employees for the invite flow.
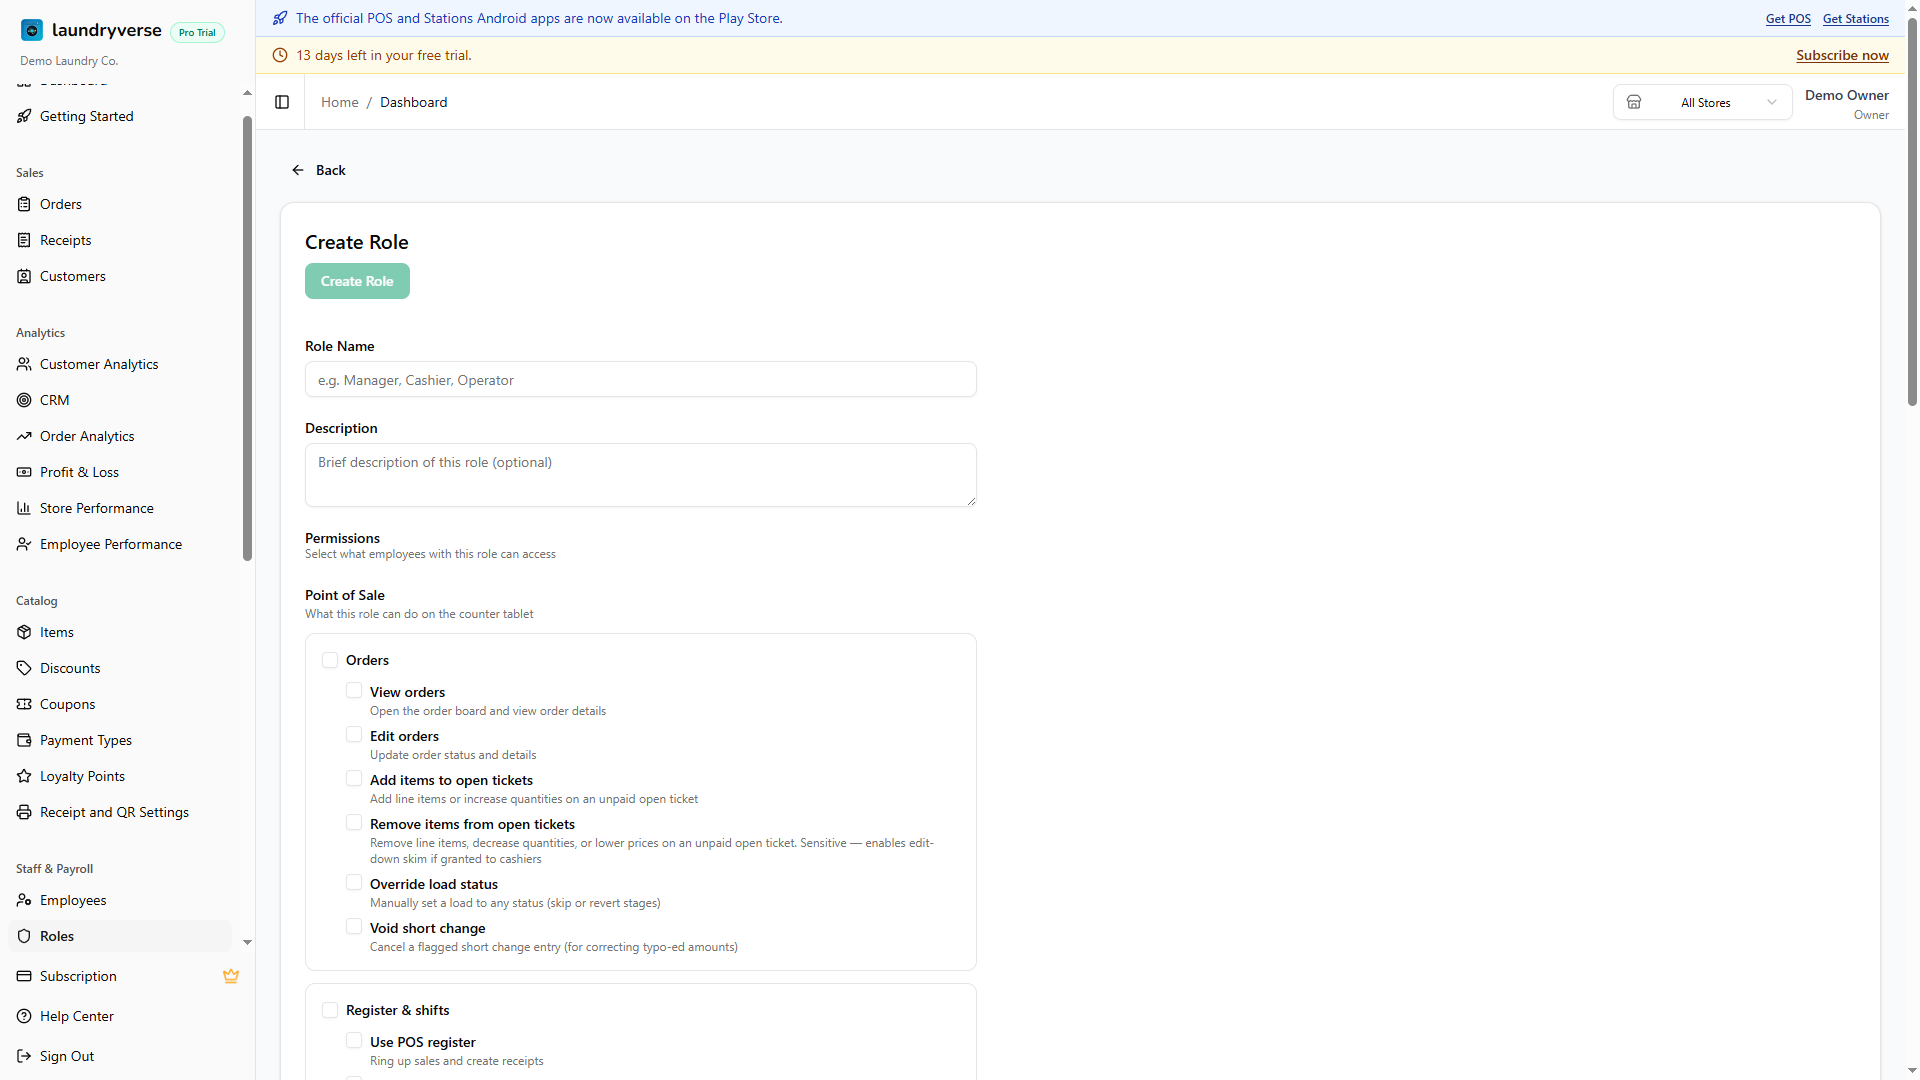
4. Create a custom role
Click Add Role in the card header on the Roles page. The new-role editor opens.
- Type a Role Name. Keep it short and specific so it reads clearly in the Employees table.
- Optionally fill in a Description so other admins know what the role is for.
- Tick the permissions the role should grant, grouped by area and category as covered above.
- Click Create Role. The new role lands in the table and is immediately available in the Employees role picker.
Role names are unique per tenant. If a name conflict shows up, pick a more specific label like Cashier Branch 2 or Senior Cashier.
5. Edit or delete a role
In the actions column on each row:
- Edit (pencil) opens the role detail page with every field editable. Changes apply the next time an employee with this role signs in to the POS. An active session may need a sign-out and sign-back-in to pick up new permissions.
- Delete (trash) removes the role after confirmation. Any employees currently holding the deleted role have it automatically detached from their record, so they don't end up with a dangling reference. The role itself is gone, the employee record stays.
The Owner role has no delete action. Opening it shows a read-only "View Role" view, with every checkbox locked so the catalog remains tamper-proof.
Default roles other than Owner can be renamed and have their permissions adjusted, but they can't be deleted. The Default badge stays on them so you can tell them apart from custom roles.
6. Assign a role to an employee
Roles take effect when they're attached to an Employee record. The assignment lives on the Employee, not the role.
- Navigate to Staff & Payroll → Employees.
- Click an employee to edit them, or click Add Employee to create one.
- Tick one or more roles in the Role checklist on the employee form.
- Save.
See Employees for the full add-employee flow.
The role takes effect the next time the employee signs in to the POS. If they're already signed in when you update their role, they may need to sign out and back in for the new permissions to apply during that session.
7. POS behavior when a permission is missing
The POS is designed to hide affordances rather than crash when an employee lacks a permission. A few examples:
- Order board without View orders: the board still loads but shows a "you don't have permission to view orders" panel. Clock in and out remains accessible from the universal nav menu, so an employee without board access can still clock in.
- Customer attach without Search customers: the dialog opens but shows an empty state. The Add and Edit buttons are hidden when Manage customers is missing.
- Open or close shift without Open/close shifts: the "Open Shift" link is hidden from the order board. Cashiers without this permission see a read-only board until a manager opens the shift.
- Discounts and coupons without Apply discounts: the Add Discount and Apply Coupon buttons are hidden during checkout.
- Remove items from open tickets without Remove items from open tickets: the quantity-down, line-delete, and price-down actions are hidden on the open-ticket cart. Cashiers can still extend a ticket if they have Add items to open tickets, just not reduce it.
This last split exists to limit the "edit-down skim" risk: a cashier reducing a ticket right before payment, taking the original amount in cash, and pocketing the difference. By default only Owner and Admin can remove items. Manager intentionally does not.
Common issues
"Cashier still locked out of a feature after I granted the permission"
POS sessions cache permissions for the session's lifetime. The cashier needs to sign out and back in on the POS for the new permission set to take effect. Pulling-to-refresh on the order board isn't enough.
"I can't find a permission for a feature I see on the POS"
A handful of POS surfaces aren't permission-gated yet (for example, the customer display screen, the sidebar nav itself). If you can see the surface on the POS without any role attached, there's no permission to grant or revoke. If you suspect a missing gate, email support so the team can prioritize adding it.
"Owner role shows missing checkboxes after a LaundryVerse update"
The Owner role is special-cased to always grant the full catalog regardless of what's stored on its record. The unchecked boxes are a visual artifact only, runtime authorization still grants every permission. You don't need to re-tick anything.
"I deleted a role but employees still have it"
Deleting a role automatically detaches it from every employee that held it. If an employee row still shows a role you don't recognize, refresh the Employees page, the stale value clears once the page reloads.
"A role with this name already exists"
Role names are unique per tenant. Pick a more specific label like Cashier Night Shift or Manager Branch 2. The check is case-insensitive, so Cashier and cashier count as the same name.
"Role doesn't appear in the Employee role picker"
The Employee form lists every role on your account. If a new role is missing, the form might be holding stale data from before you created it. Save and re-open the employee, or refresh the Employees page, and the new role appears.
What's next?
- Employees: attach the roles you defined here to actual staff.
- Stores: scope where each employee can sign in.
- Scheduling: build weekly shift schedules from your active employees.
Stuck? Email [email protected]. The founder reads every message.