Customers
Customers is the CRM landing page in the dashboard, one paginated table of every repeat customer your shop has ever rung up, plus inline tools to add a profile, tag customers, edit contact info, adjust loyalty points, or delete a record. New customers attach to orders at the POS automatically, this page is where you keep them clean. About 3 minutes.
Two permissions gate this page. View customers (dashboard:customers:view) is required just to open it and read the table. Manage customers (dashboard:customers:manage) is required to add a profile, edit one, delete one, or adjust loyalty points. The default Owner, Admin, and Manager roles hold both, so anyone in those roles sees the page and can use every dialog on it. The default Cashier role holds neither at the dashboard level, cashiers can attach and create customers at the POS register through the separate pos:customers:manage permission, but the Customers page in the sidebar is hidden from them. To let another role manage customers from the dashboard, grant both permissions in Roles & Permissions.
Before you start
Most shops won't add customers from this page on day one. The faster path is to attach a customer at the POS register, which auto-creates the profile and starts counting visits and lifetime spend immediately, see Attaching Customers at the POS. The dashboard Customers page exists for what comes after, cleaning up duplicates, filling in a phone number that was skipped at the counter, fixing a typo in a name, or making a manual loyalty correction.
A few things worth knowing up front:
- The table only shows customers, not orders. Order history for a customer lives on the Orders page, filtered by name or phone.
- CSV export of the customer table works on every plan. On Starter it covers customers added in the last 30 days; Business and above export your full customer list. See Subscription & Billing.
- Deeper segmentation, customer churn buckets, and SMS bulk campaigns live on the separate CRM page, not here. Customer Analytics charts (visit frequency, top spenders) live on the Reports & Analytics Customer Analytics tab.
- Deletes are soft deletes, the record is hidden but not destroyed, so a delete by mistake can be reversed by support.
1. Open the Customers page
From the dashboard, navigate to Sales -> Customers in the sidebar.
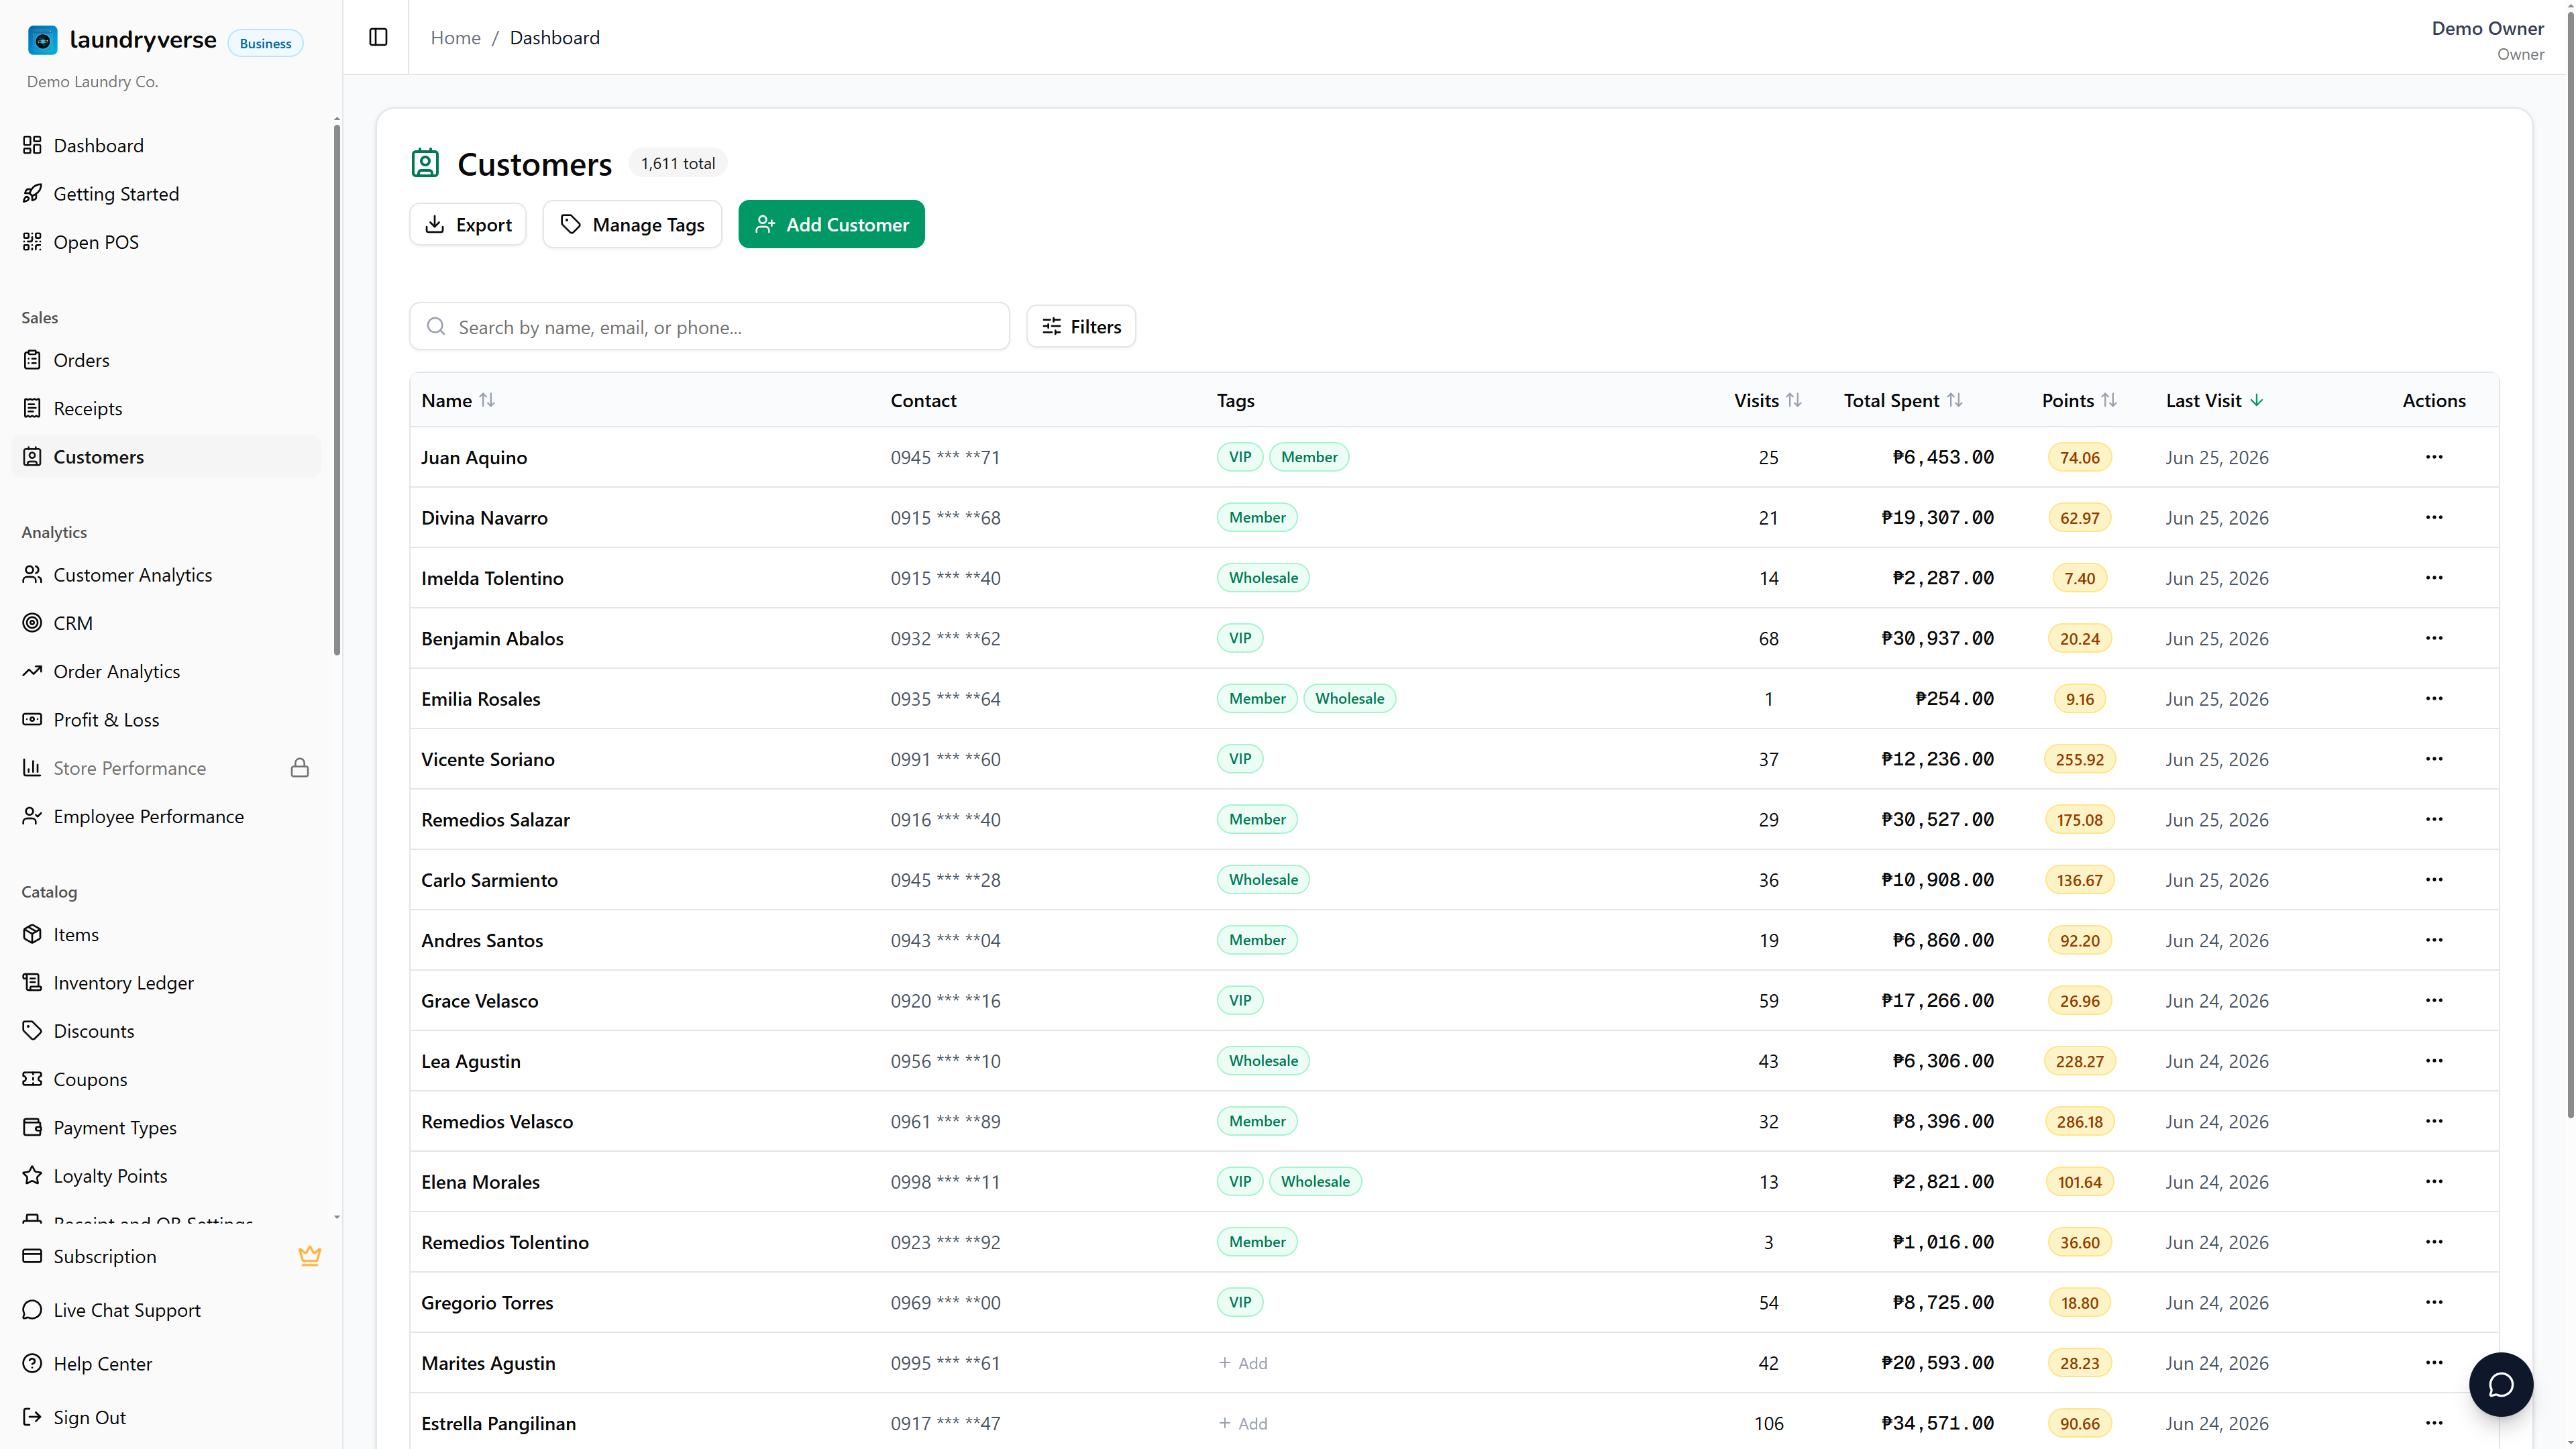
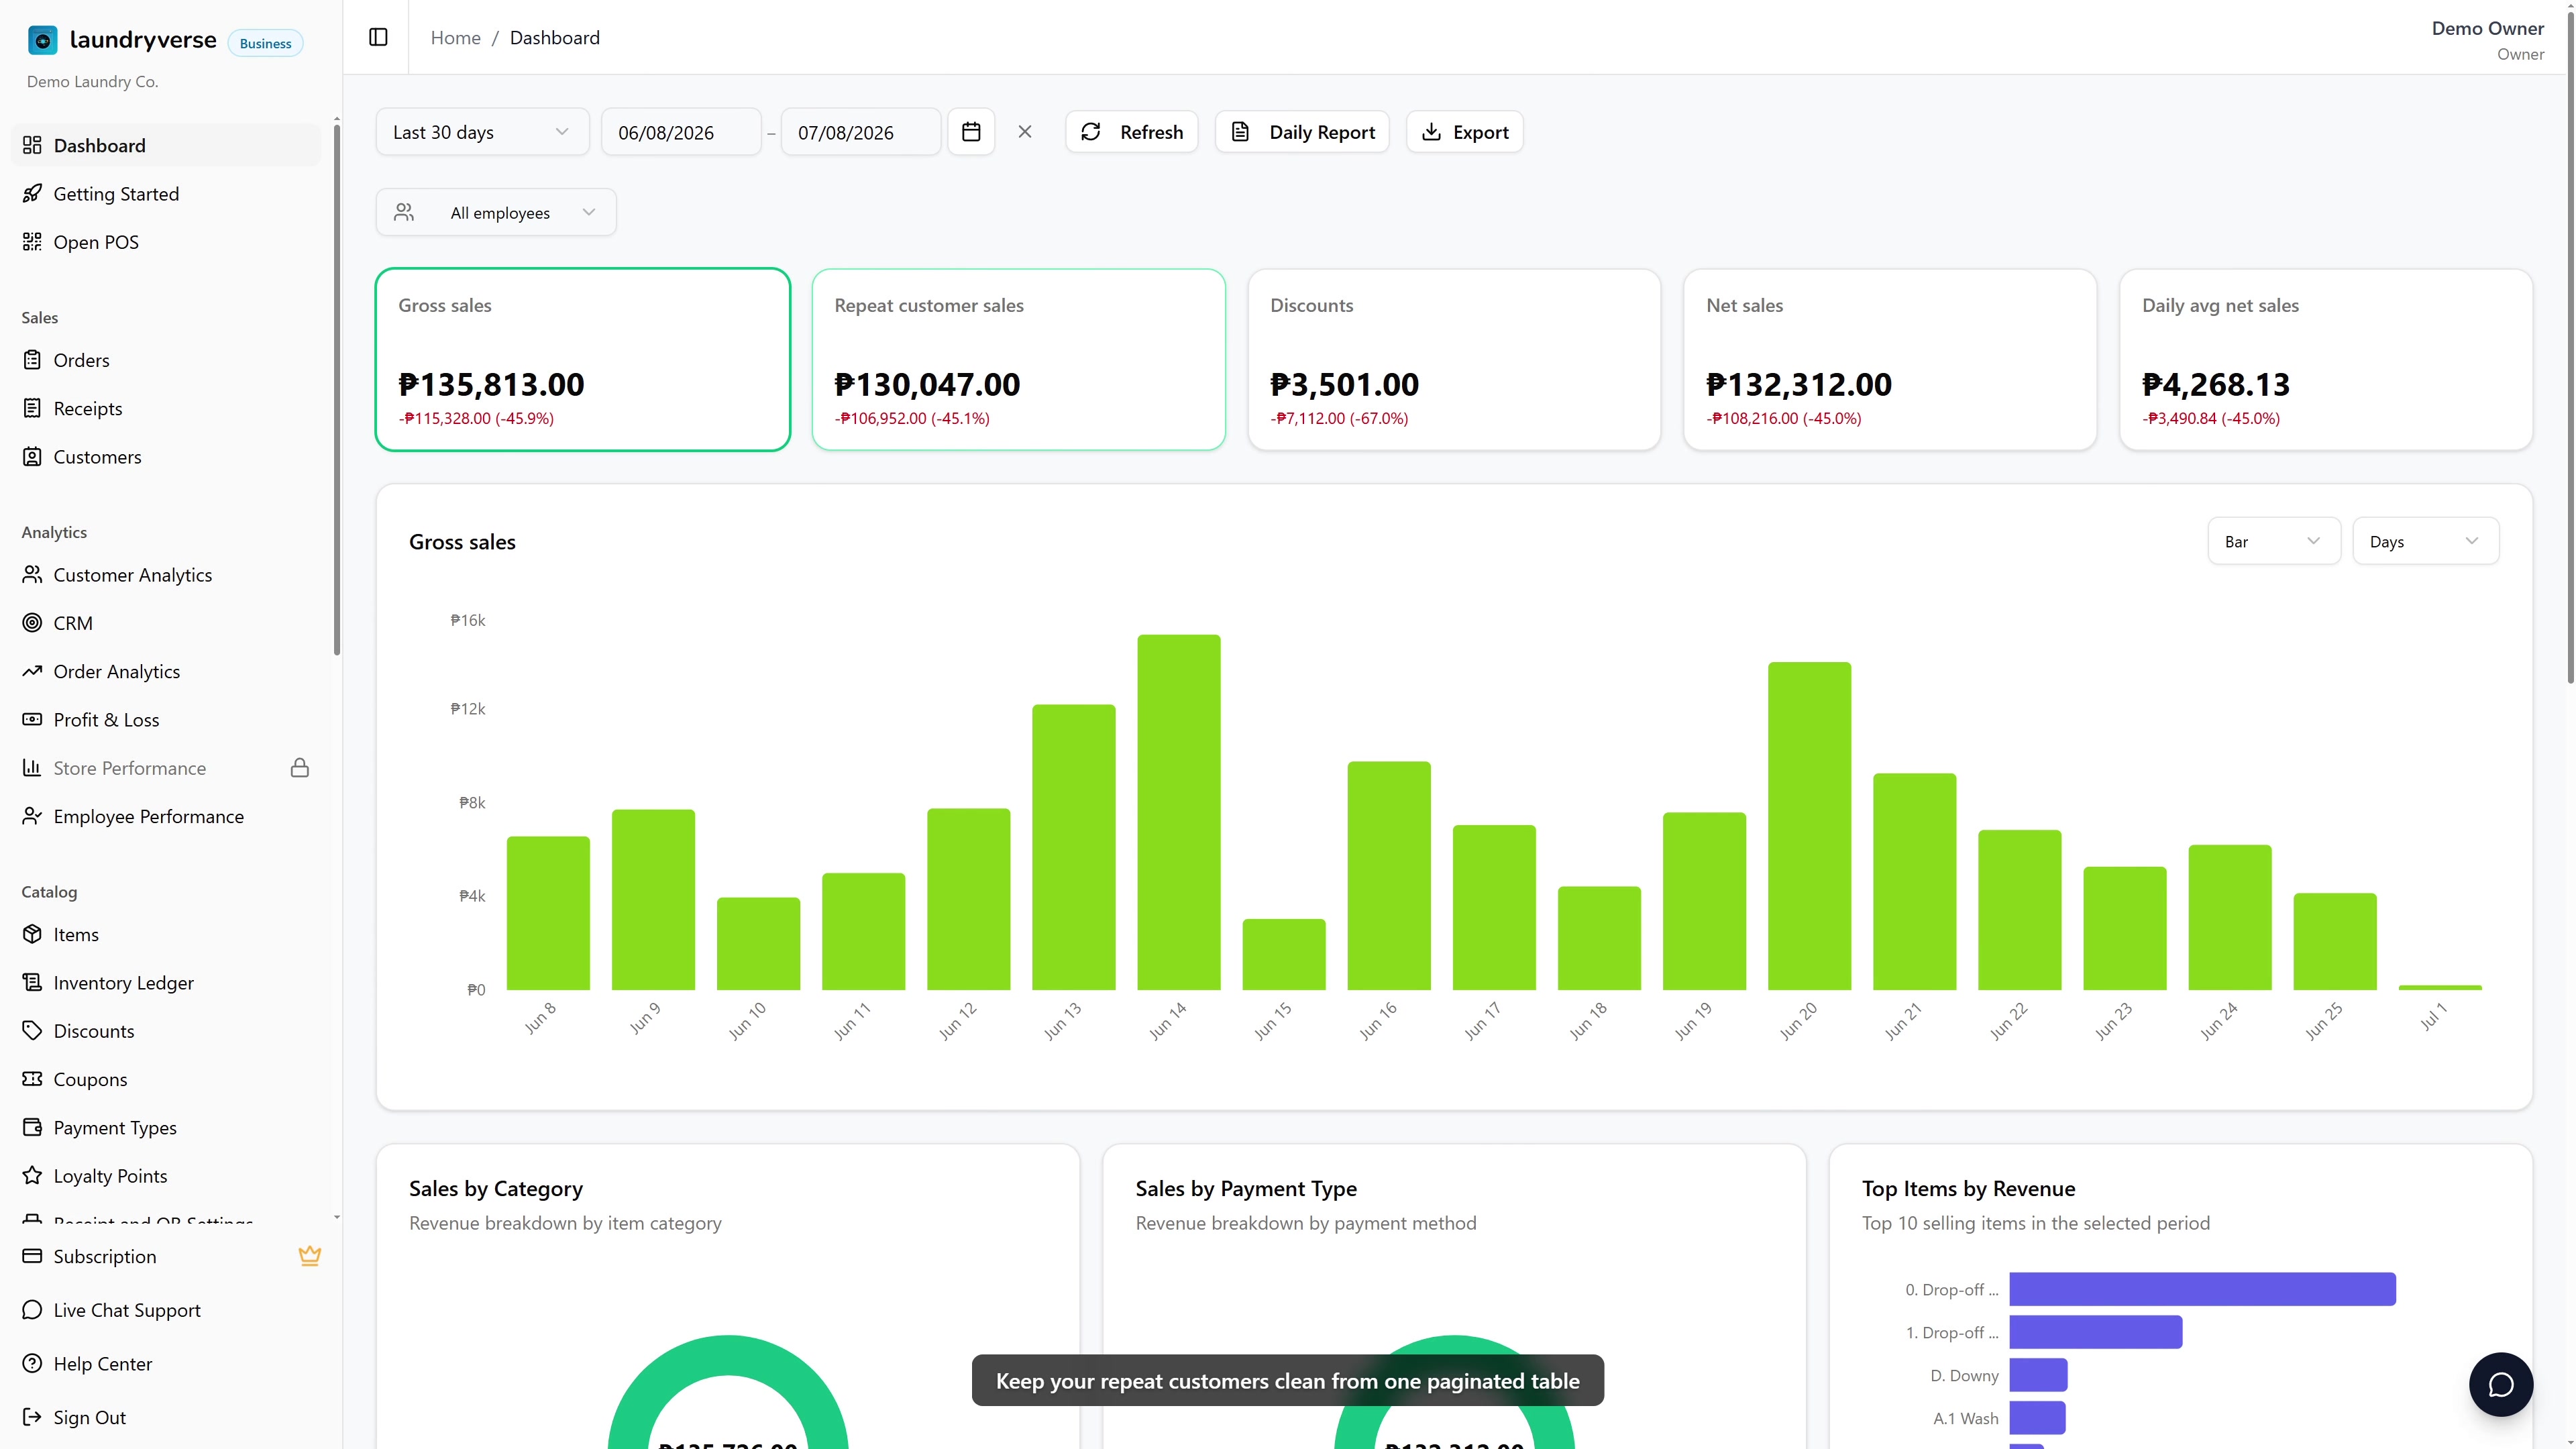
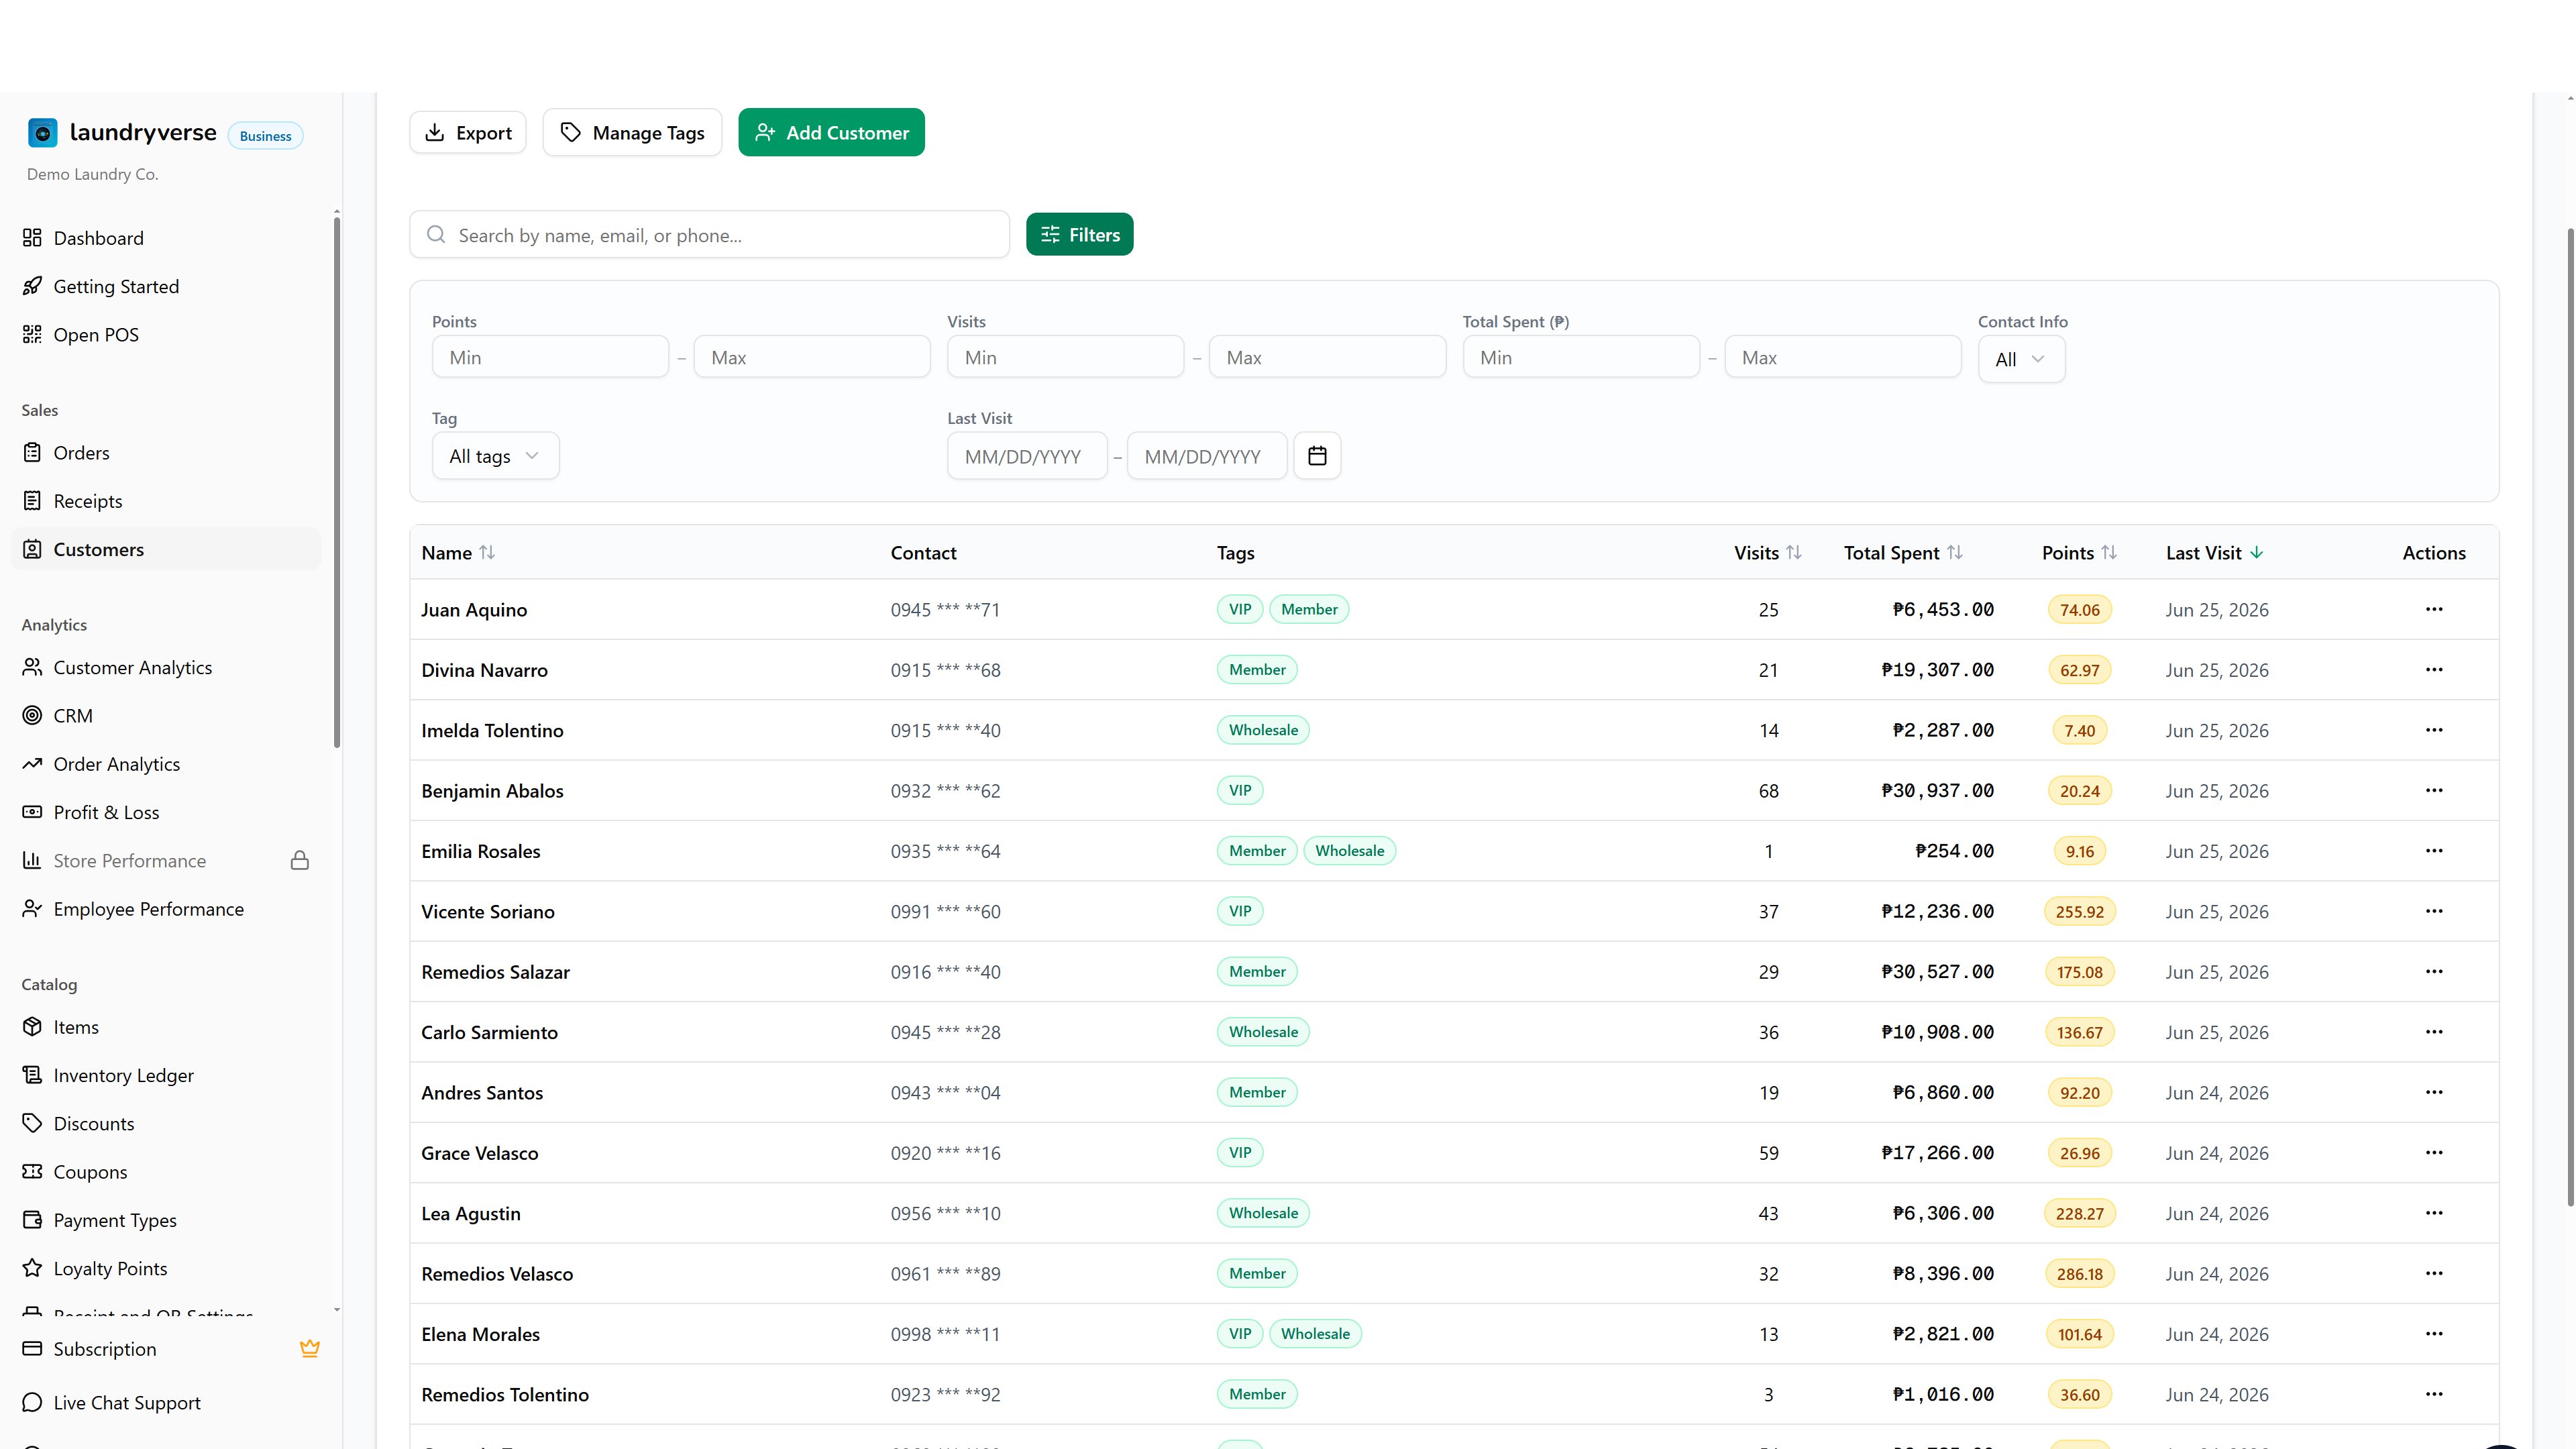
The page is a single card with a header (Customers icon, a count badge of total customers, an export menu, and an Add Customer button), a search-and-filter row, and the paginated table below. The table loads server-side so URL parameters and back/forward navigation always reflect the visible state, paste a filtered URL into Slack and a teammate lands on the same view.
2. Read the table
Each row is one customer profile. Six sortable columns, a Tags column, plus an action menu:
| Column | What it shows |
|---|---|
| Name | Display name with a small customer code badge if Loyverse imported one. Click the column header to sort ascending or descending. |
| Contact | Email above, phone number below. An em-dash means neither has been filled in yet. |
| Tags | Any tags applied to this customer, shown as small green chips. Click anywhere in the cell (or the + Add placeholder when it's empty) to open a quick editor for that one customer. This column doesn't sort. See Tag your customers. |
| Visits | Lifetime number of completed orders attached to this customer. Refunds and voids reverse the count. |
| Total Spent | Lifetime peso amount across all attached orders, post-discount and post-coupon. The format is P12,345.67. |
| Points | Current loyalty points balance, displayed in an amber badge to two decimals. See Loyalty Program for how points are earned and redeemed. |
| Last Visit | The most recent order date in MMM dd, yyyy format. Sorts the table by default, newest first. |
Hidden behind a three-dot menu on the right are Edit, Adjust Points, and Delete. Tap any column header with the up-down arrow to sort by that column, the active sort shows a green arrow.
The customer count badge in the page header shows the total across all filters, so you can see at a glance how many customers your shop has accumulated.
3. Tag your customers
Tags are freeform labels you attach to customer profiles, VIP, Member, Wholesale, Delivery, whatever fits how you group people. They do two jobs: they let you filter the table down to one group, and they can gate your loyalty program so only tagged customers earn points. See Loyalty Program > Choose who earns points for the earning side.
Tags show up in three places on this page.
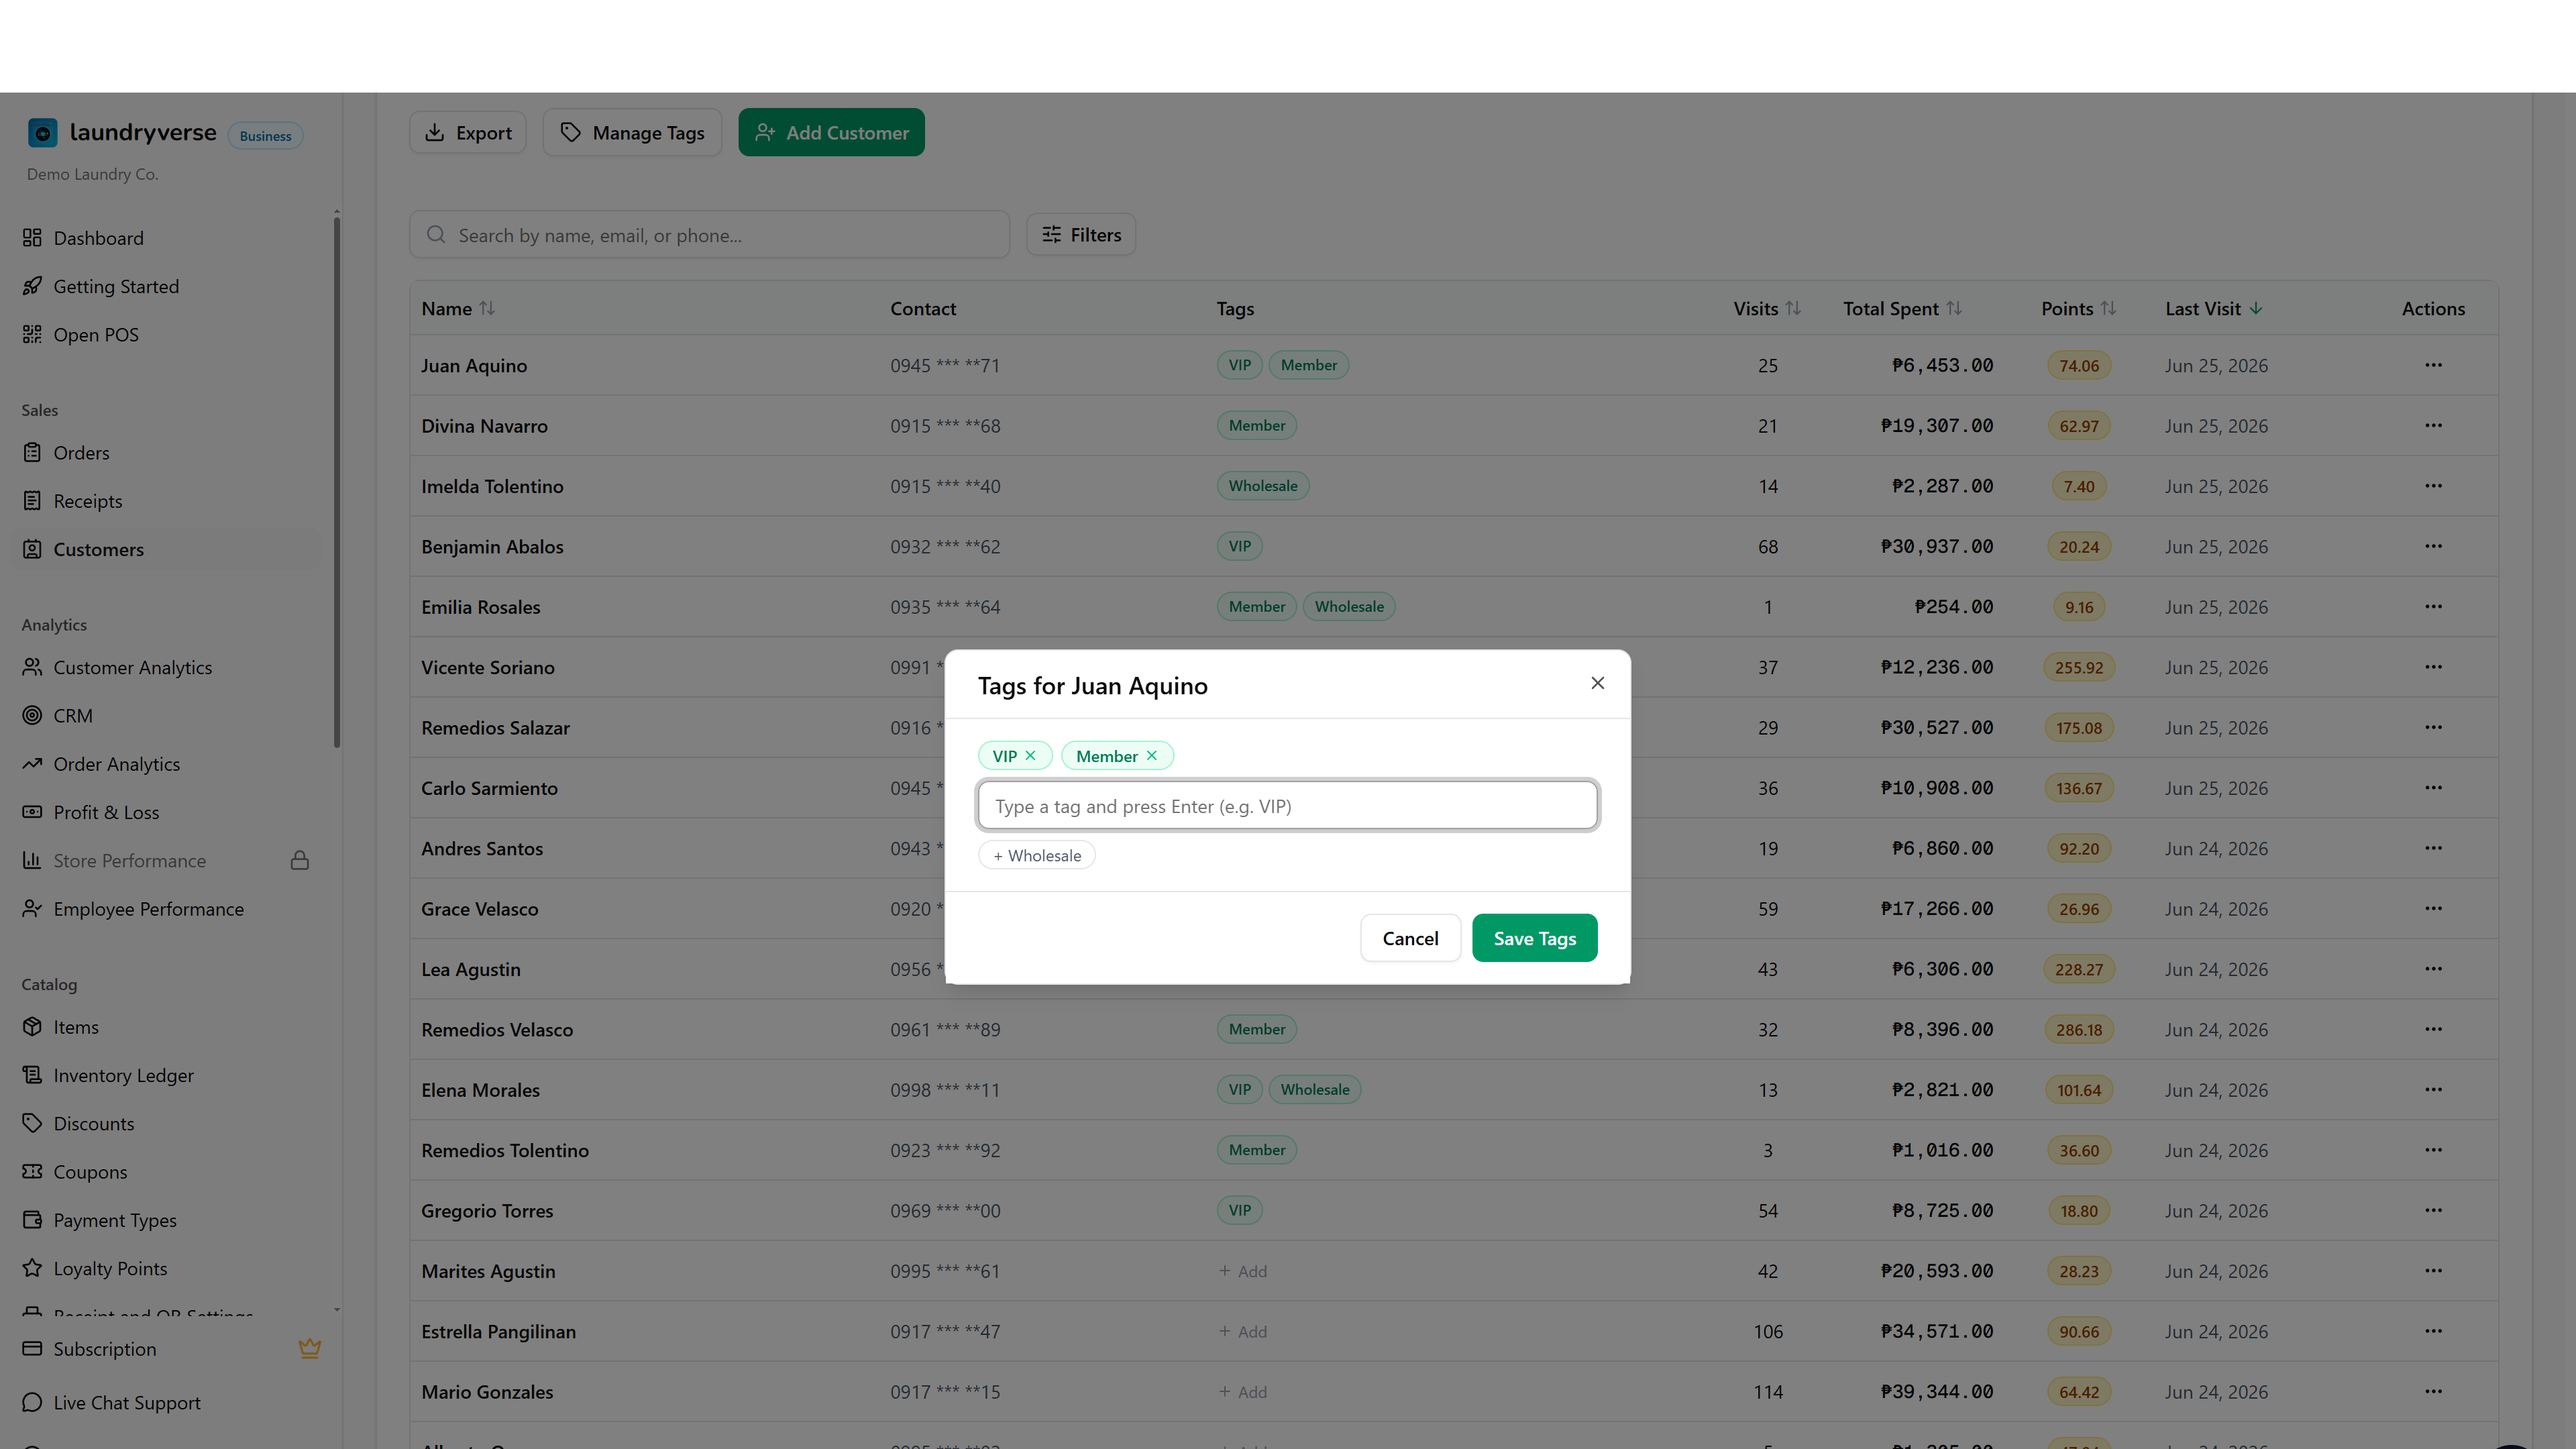
The Tags column. Every row shows that customer's tags as green chips. Click the cell (or the + Add placeholder on an untagged row) to open a quick editor for just that customer. Type to add a tag, pick from suggestions of tags you've already used, and tap Save Tags. This is the fastest way to tag one person without opening their full profile.
The Add / Edit customer form. The Add Customer and Edit dialogs both include a tag field, so you can set tags at the same time you fill in contact details.
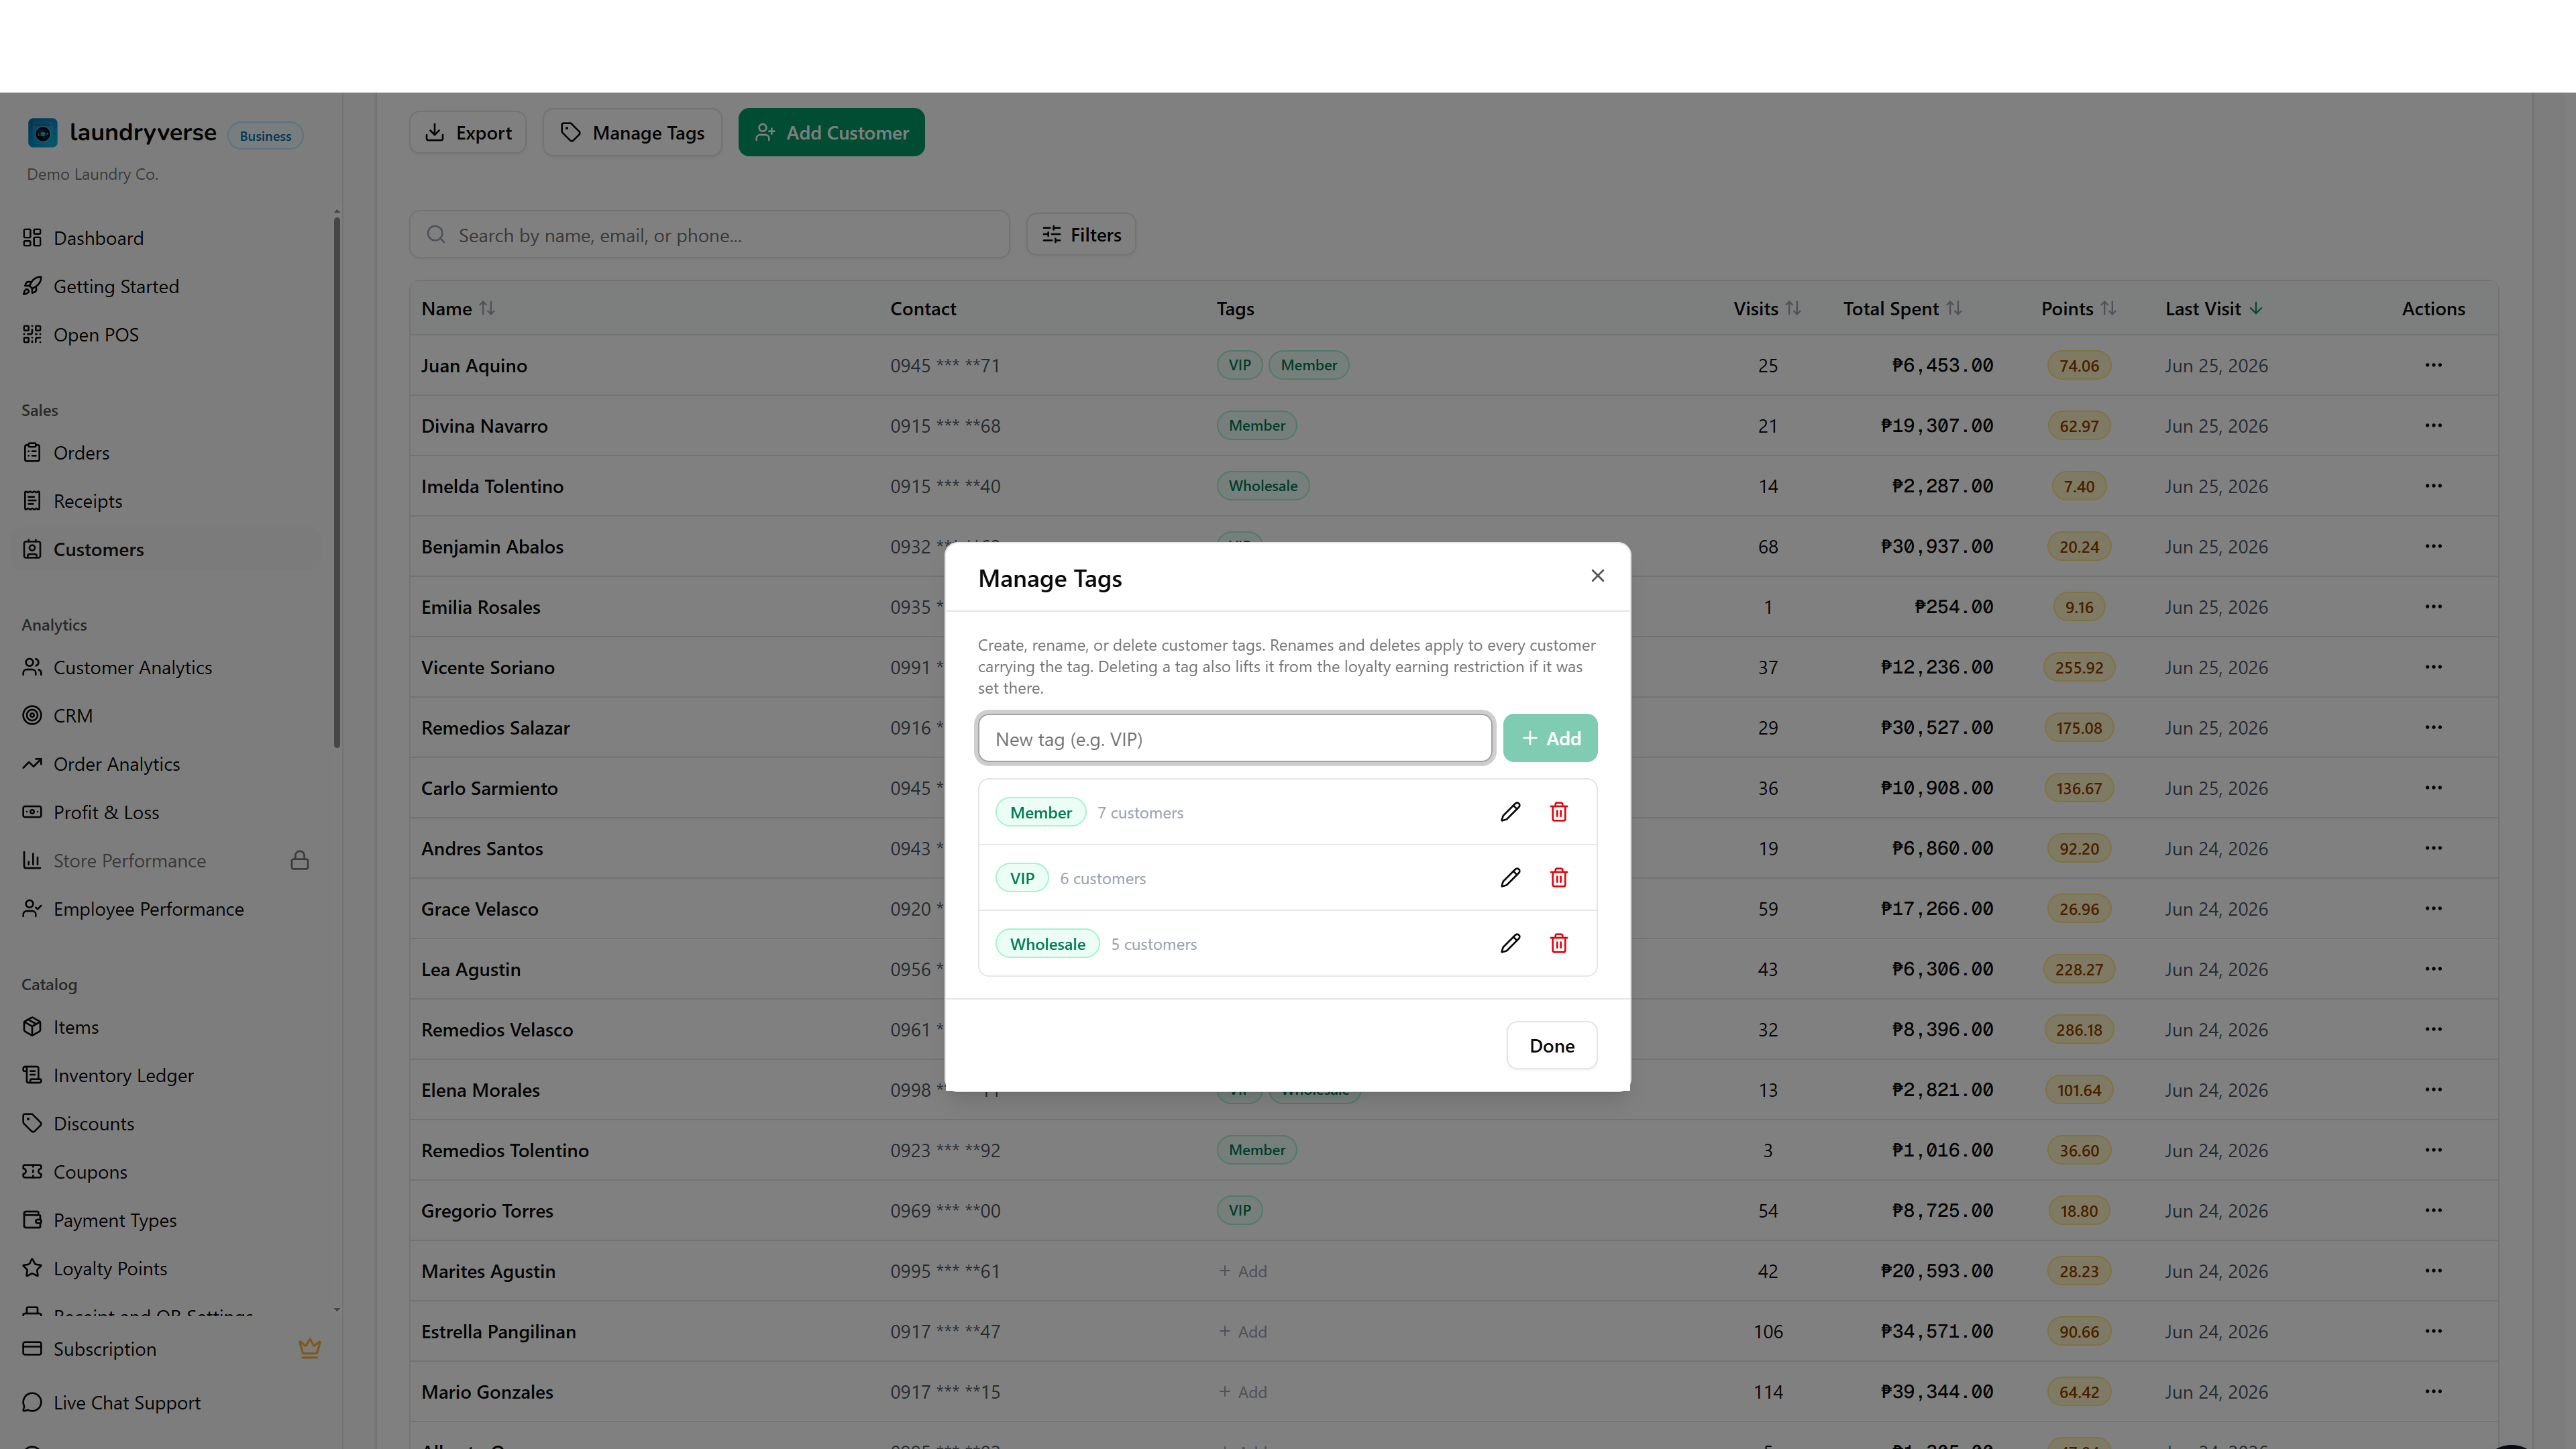
Manage Tags. The Manage Tags button in the page header opens a dialog for the tag vocabulary itself, the master list every customer draws from.
From here you can:
| Action | What happens |
|---|---|
| Add a tag | Type a name and tap Add to create a tag up front, before applying it to anyone. Handy when setting up the loyalty restriction: create Member here, then pick it on the Loyalty page. |
| See usage | Each tag lists how many customers currently carry it. |
| Rename | The pencil renames a tag everywhere at once, every customer carrying the old name moves to the new one. |
| Delete | The trash removes a tag from every customer that has it. If that tag was the one gating loyalty earning, deleting it also lifts the restriction, so earning falls back to all customers. |
Tags match case-insensitively but keep the casing you first typed, so VIP and vip count as the same tag instead of splitting into two. A customer can carry up to 20 tags.
4. Search and filter
The search box at the top of the card matches name, email, or phone number with a case-insensitive substring match. Type three characters and the table debounces for 600 ms before re-querying, no Enter key required. Searches are pushed to the URL as ?q=... so the filtered view is shareable.
For tighter slicing, open the Filters panel.
| Filter | What it does |
|---|---|
| Points | Min and max for current points balance. Both are optional, fill either or both. |
| Visits | Min and max for lifetime visit count. Useful for finding one-and-done customers (visits = 1) or your top regulars. |
| Total Spent (P) | Min and max for lifetime spend. The pesos number, not points. |
| Contact Info | Three values, All, Has contact (email or phone present), or No contact (neither). The single fastest way to find rows that need a phone number added. |
| Tag | Show only customers carrying one specific tag. This filter appears once you've created at least one tag (see Tag your customers). Combine it with the ranges above to, for example, find VIP customers who haven't visited in 60 days. |
| Last Visit | Date range picker. Find customers who haven't been back since a given date by setting only the To field, or pull a list of customers who came in during a specific week. |
A blue badge next to the Filters button counts how many filters are active. Clear filters removes all of them at once. The numeric inputs debounce for 500 ms so adjusting min and max in quick succession only re-queries once.
5. Add a customer manually
Tap Add Customer in the page header to open the form. The dialog is slide-in on mobile and a centered modal on desktop.
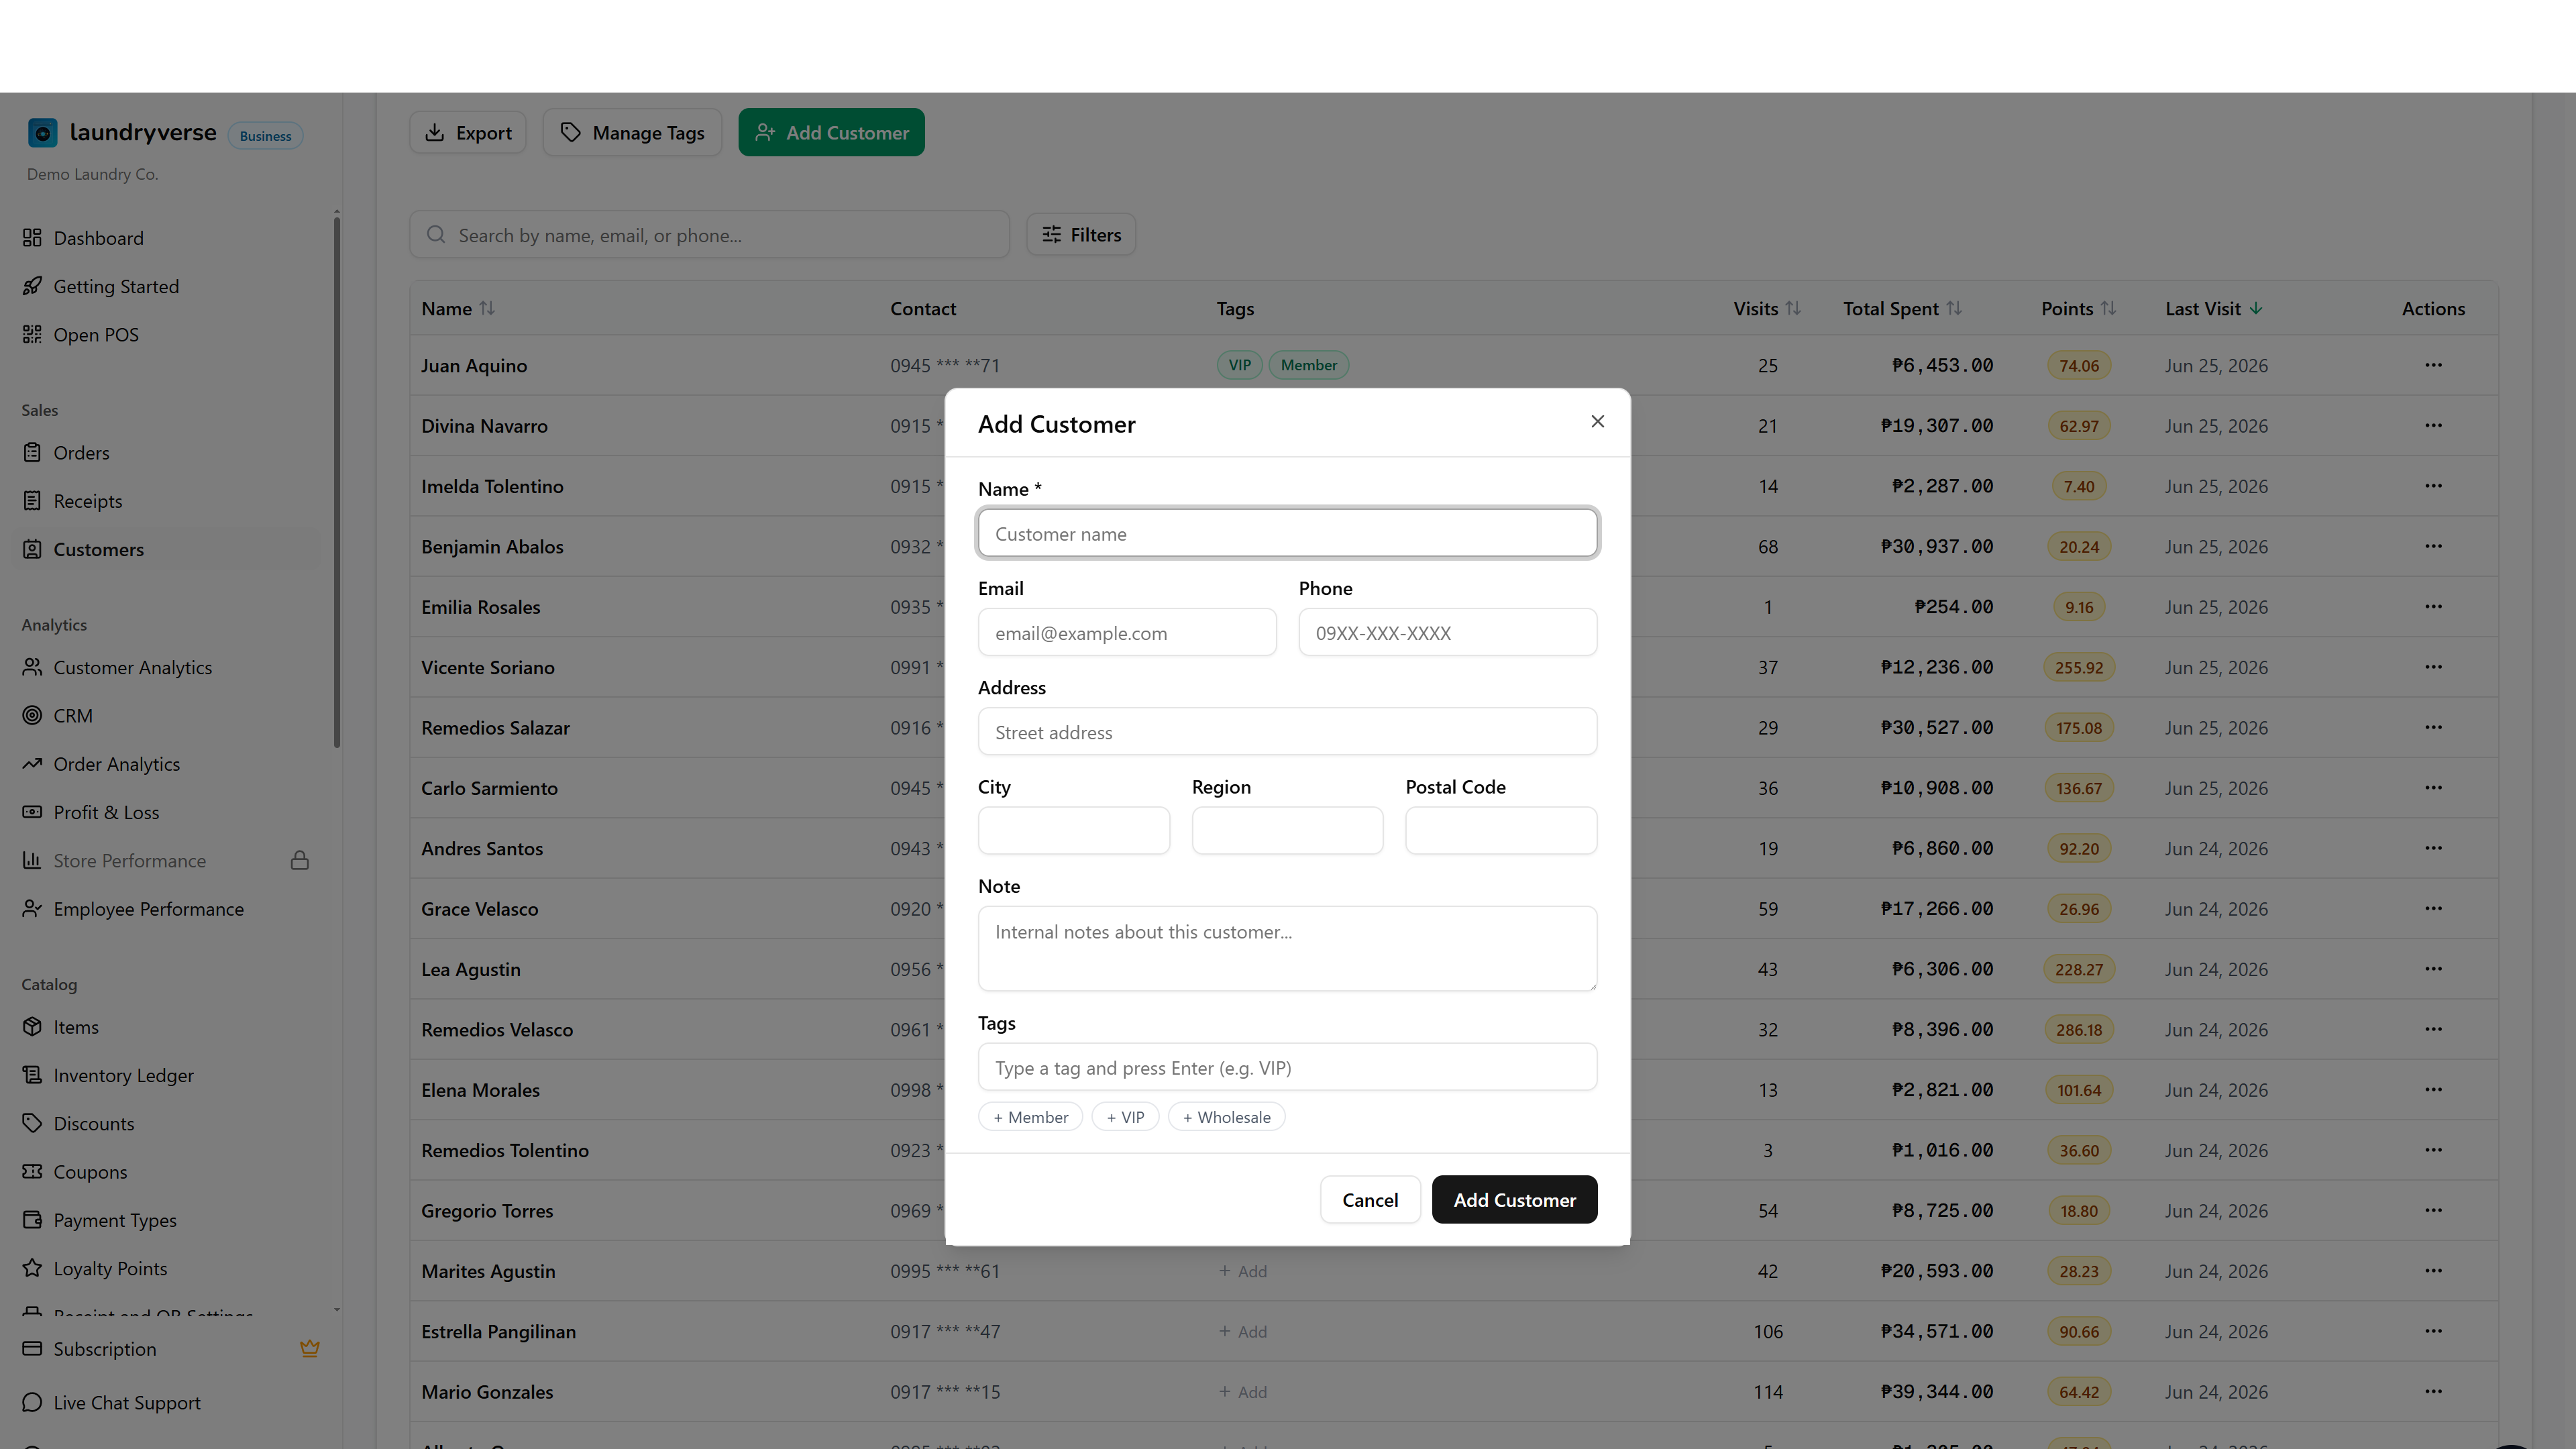
Only Name is required. Every other field is optional but worth filling for the customers you want to reach later by SMS or by address.
| Field | When to fill it |
|---|---|
| Name | Always. The display name in every receipt, list, and report. |
| If you plan to send order updates by email (see SMS Notifications for the email-vs-SMS routing rules). | |
| Phone | If you plan to send SMS at all. Use the 09XX-XXX-XXXX format the POS already handles, or the international +639XX... form, both work. |
| Address / City / Region / Postal Code | For shops that do pickup and delivery. The four fields are independent, fill what you have. |
| Tags | Optional labels for grouping and loyalty eligibility. Type to add, or pick from tags you've used before. See Tag your customers. |
| Note | Free text, internal only. Allergies, preferred turnaround, "VIP, comp the wash if late," anything you want the next cashier to see when this customer is attached at the POS. |
The Add Customer button stays enabled, the server validates Name and rejects an empty value with an inline error. Hit Cancel or Escape to close without saving.
6. Edit a customer
Tap the three-dot menu on a row and choose Edit. The dialog opens pre-filled with the current values, every field is editable except the customer code (which the POS uses to deduplicate). Tags are editable here too, the same field the Add form uses, so a full profile edit and a tag change can happen in one save. For a tag-only change, the quick editor on the Tags column is faster.
Updates are immediate, the row refreshes after Save and a green status message appears in the page header. Clearing an optional field (e.g. deleting the phone number) unsets it cleanly, so a customer who had an email and now doesn't will show an em-dash in the Contact column on the next render.
7. Adjust loyalty points
Tap the three-dot menu on a row and choose Adjust Points to open the manual-adjustment dialog. Use this for promotional bonuses, data corrections, and one-off compensation, the points-earning math on regular sales runs automatically at the POS.
The dialog shows the customer's current balance, an Add / Remove toggle, and an amount field that accepts two decimals.
| Step | What happens |
|---|---|
| 1. Pick Add or Remove | Add credits points to the balance, Remove deducts them. |
| 2. Enter an amount | A live preview shows the new balance below the field. |
| 3. Confirm with the action button | The button label updates with the action (Add 50 Points, Remove 25 Points) and stays disabled until the amount is valid and non-zero. |
The new balance cannot go below zero. If a Remove would push the customer into negative territory, the dialog shows a red warning and the action button greys out. The same check runs server-side as a race-safety guard, so two simultaneous adjustments cannot drain a balance past zero either.
When the save succeeds, the dialog closes and a status message names the new balance. Refresh the page to see the updated Points column.
For the broader loyalty rules (earn rate, redemption value, expiry windows), see Loyalty Program.
8. Delete a customer
Tap the three-dot menu on a row and choose Delete. A confirmation dialog spells out the customer's name and warns that the action cannot be undone from the UI.
Deletes are soft deletes, the record is flagged hidden but the row stays in the database. Past orders, receipts, and history that reference this customer are not touched, only the profile disappears from the Customers page and from POS search. To restore a soft-deleted customer, email support with the name and approximate creation date.
There is no merge-duplicates tool in the dashboard. To resolve a duplicate pair, manually copy any missing fields from the second profile onto the first using Edit, then delete the second. The order history will remain split between the two original IDs, only the profile name and contact details consolidate.
9. Pagination and export
The table shows 20 customers per page. The pagination row at the bottom has Prev / Next buttons plus numbered page buttons (with ellipses when the count goes past 7 pages). The page number stays in the URL as ?page=N so you can jump back to where you were.
The Export menu in the page header writes a CSV of the currently filtered customers, sorted in the order the table shows them. Up to a few thousand rows fit per export. The CSV includes Name, Email, Phone, Customer Code, Address, City, Tags, Total Visits, Total Spent, Loyalty Points, and Last Visit, the same columns you see plus the address breakdown. Tags export as a comma-separated list in a single column.
CSV export works on every plan. On the Starter plan (or an expired subscription) the file covers customers added in the last 30 days. Business and above export your full customer list. See Subscription & Billing to upgrade for full-history exports.
Common issues
"I can't find a customer who definitely placed an order"
Three usual causes. First, the order was rung up as a walk-in (no customer attached) so no profile was ever created, see Loyalty Program to require a customer on every sale going forward. Second, the customer was created under a different spelling or phone format, try a partial match on a single word of the name or the last 4 digits of the phone. Third, the customer was soft-deleted, email support with the name and we can restore it.
"Add Customer fails with 'Name is required'"
The Name field was empty or only whitespace. The server trims and re-validates, so a name made of spaces collapses to empty. Type at least one non-space character and retry.
"Adjust Points says 'Cannot remove N points. Current balance is M'"
The remove amount exceeds the balance, which the server blocks atomically to keep the balance from going negative. Pick a smaller amount, or remove the balance to exactly zero by entering the current balance value as the Remove amount.
"I deleted a customer by mistake"
Soft delete keeps the record alive in the database for an indefinite window, the profile is hidden from the Customers page but order history and receipts still reference the original ID. Email [email protected] with the customer name and the approximate date you created them. Restoration takes a few minutes once we locate the row.
"My export is missing older customers"
On the Starter plan the customer export is floored to the last 30 days by the date each customer was added, so profiles created before that window won't appear in the file even though they show in the table. Upgrade to Business or above on Subscription & Billing to export your full customer list.
"My Cashier role can see the Customers item disappear from the sidebar"
That's expected. The default Cashier role does not hold the dashboard view permission, only the POS one. Cashiers attach and create customers at the register through the POS surface (see Attaching Customers) but cannot open the dashboard Customers page, manage profiles, or adjust points from there. To change that, grant View customers and Manage customers to the Cashier role in Roles & Permissions, or create a custom role with both.
What's next?
- CRM: customer segments, churn buckets, and SMS bulk campaigns. The next layer up from the flat list on this page.
- Reports & Analytics: the Customer Analytics tab covers visit-frequency distribution, churn risk, and top-spender ranking, the analytical view of the same data.
- Loyalty Program: earn rate, redemption value, points expiry, and whether walk-in sales are allowed.
- Orders: filter by customer name or phone to see one customer's full order history.
- Attaching Customers (POS): the cashier-side flow for attaching or creating a customer during a sale.
- SMS Notifications: the notifications that go out to the customers you store here.
Stuck? Email [email protected]. The founder reads every message.