Employees
Employees are the people who clock in to your shop. Each one gets a 4-digit PIN to sign in to the POS, a role that controls what they can do, and an assigned store so they only show up where they actually work. About 4 minutes.

Adding, editing, or deleting employees requires the Manage employees permission (employees:manage). Anyone signed into the dashboard sees the Employees sidebar entry. Owners, Admin, and Manager roles have Manage employees by default; grant it to other roles in Roles & Permissions for staff who handle hiring or PIN resets. Without this permission, every Add, Edit, Toggle, and Delete action returns an error from the server.
Before you start
You'll need:
- At least one store set up so employees can be assigned somewhere. See Stores.
- At least one role to attach. LaundryVerse seeds Owner, Admin, Manager, and Cashier by default, so you can usually skip ahead. See Roles & Permissions if you want a custom role first.
Don't wait until "the shop is set up". As soon as a new hire walks in, give them a name, a PIN, and the Cashier role. They can log in to the POS within seconds and start training on real (or void) tickets. You can always edit bank info and pay rates later.
1. Open the Employees page
From the dashboard, navigate to Staff & Payroll → Employees in the sidebar. The table shows every employee on your account, active or inactive.

The badge next to the title (e.g., 3 / Unlimited active) shows your current active count against the tier limit. Inactive employees don't count toward the limit.
The table itself has these columns:
| Column | What it shows |
|---|---|
| Name | First and last name, plus email if you set one. |
| Store | Which store(s) the employee can sign in at. Shows +N more if assigned to several. |
| PIN | 4-digit POS login code, masked by default. Click the eye icon to reveal. |
| Role | The role(s) attached to this employee. Controls what they can do once signed in. |
| Status | Active or Inactive badge. |
| Actions | Active switch, edit (pencil), delete (trash). |
Filters above the table: search by name, and a status dropdown (All / Active / Inactive). With multiple stores configured, the global store selector in the dashboard header also filters this list.
2. Add an employee
Click Add Employee in the card header to open the new-employee form.
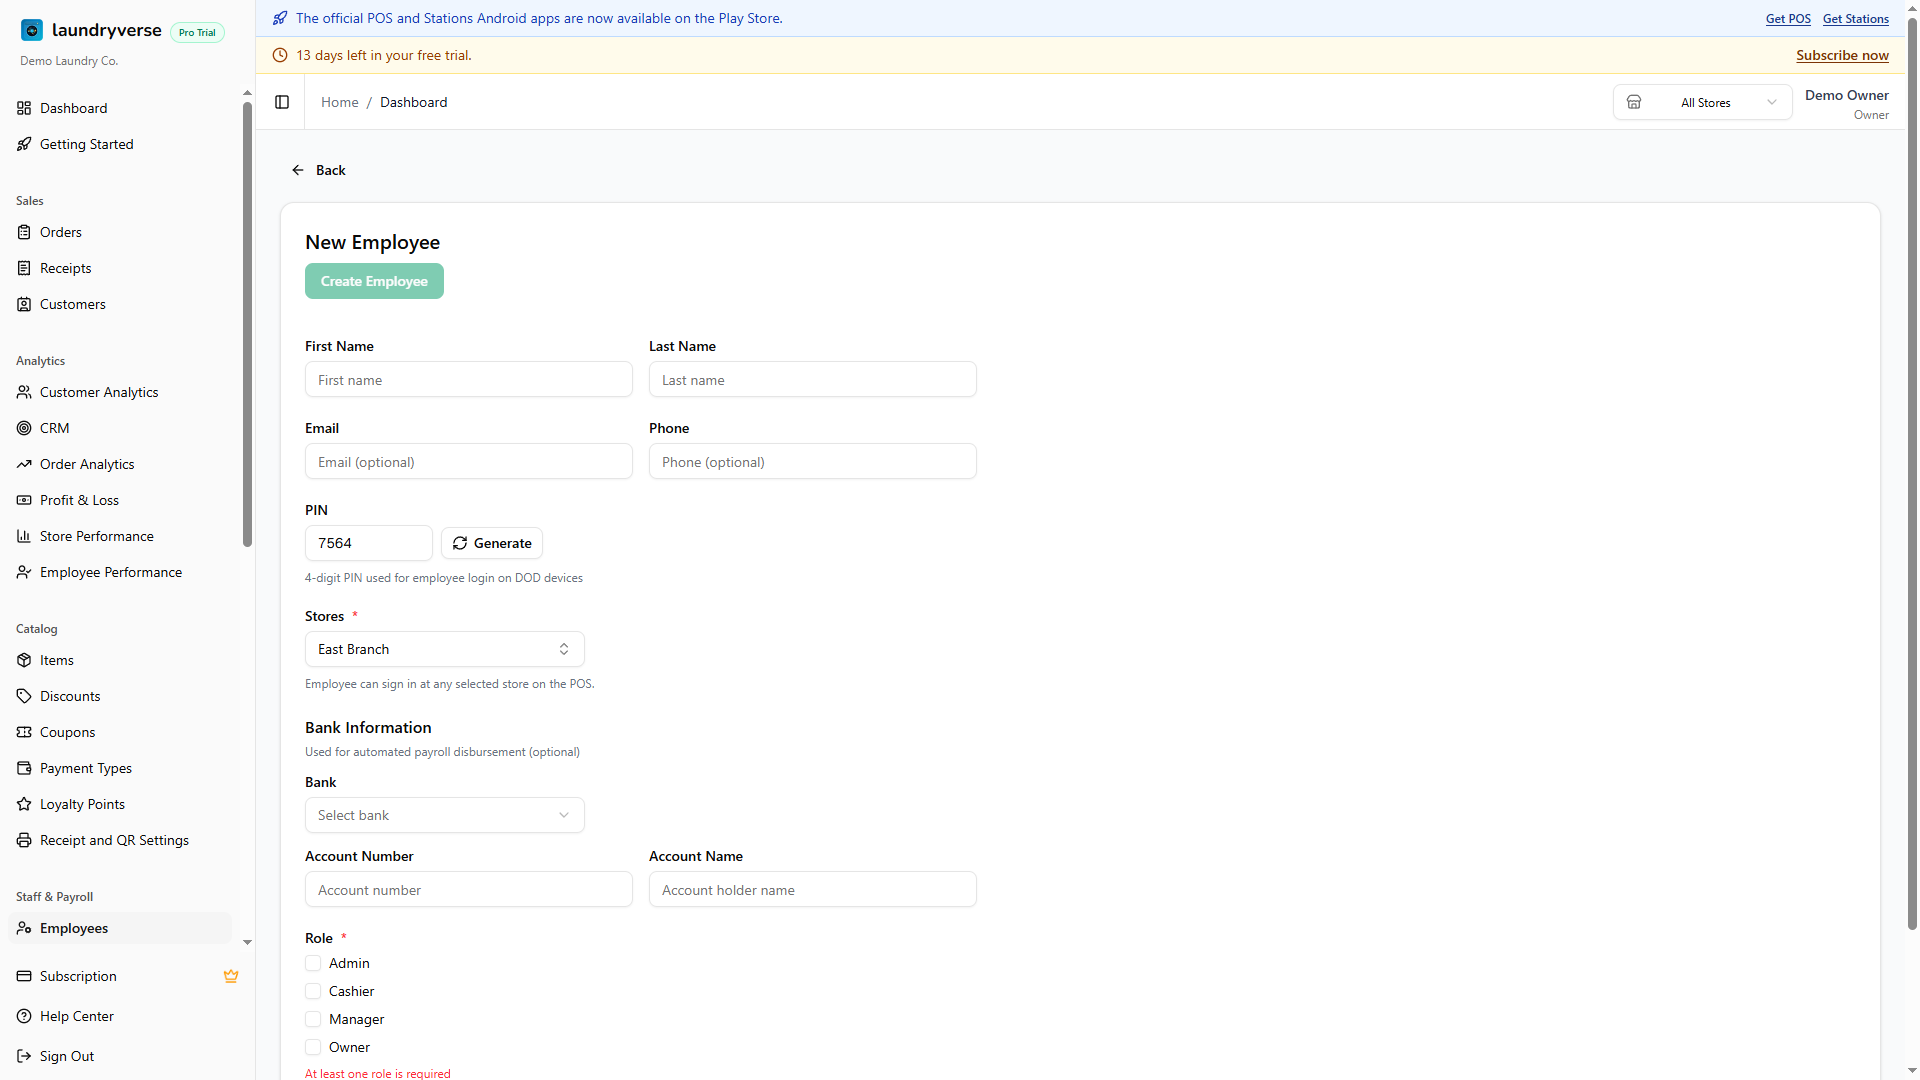
Required fields
- First Name and Last Name are what cashiers see on the POS PIN screen and what the order board prints next to each ticket.
- PIN is a 4-digit code typed at the POS PIN screen. The form pre-fills a random one. Click Generate for a new one or type your own. Keep PINs unique per employee so shift reports can tell who opened a given shift.
- Stores is a multi-select. Pick every store the employee can sign in at. At least one is required.
- Role is a checkbox list of every role you've defined. Pick at least one. Most cashiers get Cashier, shift leads get Manager, and owners stay on Owner.
Optional fields
- Email and Phone are stored on the employee record for your reference. They don't get login credentials, only the PIN does.
- Hourly Rate and Daily Rate feed the Payroll calculator. Leave at 0 if you haven't set up payroll yet.
- Bank Information (Bank, Account Number, Account Name) is used for automated payroll disbursement once that's wired up. Optional.
Click Create Employee. As soon as it saves, the employee can sign in at any tablet bound to their assigned stores. Cashiers don't need to reload the POS, the new PIN appears on the next pull-to-refresh.
3. Edit an employee
Click the pencil icon on any row to open the detail page. Every field from the new-employee form is editable, including the PIN, which makes this the same workflow as a PIN reset (covered in section 5).
The detail page also shows the employee's recent timecards, payroll history, and any 13th-month pay records once you've run payroll.
4. Active vs Deleted
You have two ways to take an employee out of circulation:
| Action | What happens |
|---|---|
| Toggle Active off (the switch in the row) | Employee can no longer log in at the POS. PIN is preserved. Past timecards, receipts, and payroll records stay intact. Frees up an active slot on your tier limit. Toggle back on to restore. |
| Delete (trash icon) | Permanently removes the employee record after a confirmation dialog. Past receipts keep the original cashier name for accounting integrity, but the employee disappears from filters and reports. Cannot be undone. |
Use Inactive for staff who quit, are on extended leave, or cycle in seasonally. That way you keep their PIN, history, and bank details if you re-hire later. Use Delete only when you're sure you'll never re-hire and want the record gone for good.
5. PIN reset
There's no separate "reset PIN" workflow. Open the employee's detail page, overwrite the PIN field with a new value (or click Generate for a random one), and save. The next time the employee logs in at the POS, they enter the new PIN.
If a cashier forgets their PIN mid-shift, you can also reveal the current one from the table without resetting. Click the eye icon next to the masked PIN on their row.
6. Dashboard access
The POS PIN handles counter sign-in. The back-office dashboard uses email + password instead, and that login is invite-only. Open any employee's detail page and use the Dashboard access card to send the invite.
This is how you let a manager or accountant log in to the dashboard without sharing the owner's credentials. The employee's POS PIN stays untouched, the two logins are independent.
Send an invite
- From the Employees table, click the pencil icon on the employee's row to open their detail page.
- Scroll to the Dashboard access card.
- Click Invite to dashboard.
- Confirm the email (pre-filled from the employee's record if set), pick the role they should hold in the dashboard, and click Send invite.
The role picker only lists roles that grant the Sign in to dashboard permission. If the picker is empty, the card shows a No roles grant dashboard access yet warning. Open Roles & Permissions and add Sign in to dashboard to at least one role first, then come back here.
The employee gets an email with a link to set their dashboard password. Links expire after 7 days. If they don't click in time, use Resend invite to mint a fresh one.
Invite states
The badge on the Dashboard access card changes as the invite moves through its lifecycle:
| Badge | What it means | Available actions |
|---|---|---|
| (no badge) | Never invited. | Invite to dashboard |
| Invited (amber) | Email sent, employee hasn't set a password yet. | Resend invite, Revoke |
| Active (green) | Employee has set a password and can sign in. | Revoke access |
| Disabled (gray) | Access was revoked. Their employee record stays, they just can't sign in to the dashboard. | Re-invite |
Resending an invite generates a fresh 7-day link and emails it; any previous link stops working immediately. Revoking access signs the employee out of the dashboard on their next request, but their POS PIN keeps working.
Permissions inside the dashboard
What the invited employee sees in the dashboard is driven entirely by the role you picked. A Manager-role employee sees Operations, Staff & Payroll, and reporting pages but not Subscription or other Owner-only areas. A custom role with only View receipts sees just the Receipts page. The role's dashboard permissions take effect as soon as they sign in, no separate approval step.
Changing their role from this same employee page applies the new permission set on their next request, no sign-out required on their side.
7. Multi-store assignments
The Stores field on the new-employee form is multi-select. An employee can be assigned to one branch or several:
- One store: they only show up on that store's POS PIN list. Their timecards and payroll are scoped to that store.
- Multiple stores: they can sign in at any of the selected stores. Their shifts and payroll are calculated per store, so closing a shift at Store A and another at Store B gives you two separate shift records the same day.
Use multi-store assignments for managers who circulate between branches or for staff covering shifts at more than one location.
8. Subscription limits
Active employee count is capped per tier. The badge next to the page title shows current vs max:
| Plan | Active employees |
|---|---|
| Starter, Business, Pro, Enterprise | Unlimited |
Limits apply to active employees only. Toggling someone Inactive frees a slot immediately, no need to delete the record.
Common issues
"New employee can't sign in at the POS"
Three usual causes:
- Wrong store. Open the employee's edit page and confirm the Stores field includes the tablet's store. If the tablet is bound to Store A but the employee is only assigned to Store B, the PIN won't be in that POS's PIN list.
- Inactive employee. Check the Active switch on the row. Inactive employees are hidden from the POS PIN list even if their PIN is correct.
- Stale POS. The POS caches the PIN list for a few seconds after a change. Pull-to-refresh on the PIN screen, or close and re-open the POS app, and the new PIN appears.
"PIN already exists" when adding an employee
PINs are unique per tenant. If two cashiers had the same code, shift reports couldn't tell which one opened a given shift. Pick a different 4-digit code, or click Generate for a random one that's guaranteed not to conflict.
"I deleted an employee but they still show on old receipts"
That's the intended behaviour. Deleting an employee removes them from the POS PIN list, the table, filters, and reports going forward. Historical receipts and shift reports keep showing the original cashier name so your bookkeeping stays accurate.
"Stores filter is empty but I assigned multiple"
The dashboard's global store selector (in the header) also filters the Employees table. If you're viewing Store A and the employee is only assigned to Store B, the row drops out. Switch the header selector to All Stores to see every employee regardless of assignment.
"Reached active employee limit"
The Add Employee button greys out and a warning banner appears on the new-employee form once you hit the tier cap. Free a slot by toggling an existing employee Inactive, then return to the form. Deleting the record also works, but Inactive is reversible.
What's next?
- Roles & Permissions: customize what each role can do, both at the POS and in the dashboard.
- Stores: add the branches where employees clock in.
- Scheduling: build weekly shift schedules from your active employees.
- Payroll: run payroll using the rates and bank info set on each employee.
Stuck? Email [email protected]. The founder reads every message.