Customer Display
The Customer Display is a second screen that faces the customer. It mirrors the cart in real time as the cashier rings items, attaches a customer, applies a discount, and finishes the sale. No extra hardware beyond a second monitor or tablet, and no setup, pairing code, or separate login.
Before opening the Customer Display, make sure you have:
- A device activated and an employee logged in, see POS Setup
- A second screen to show it on (external monitor, TV via HDMI, or a tablet running in dual-screen mode)
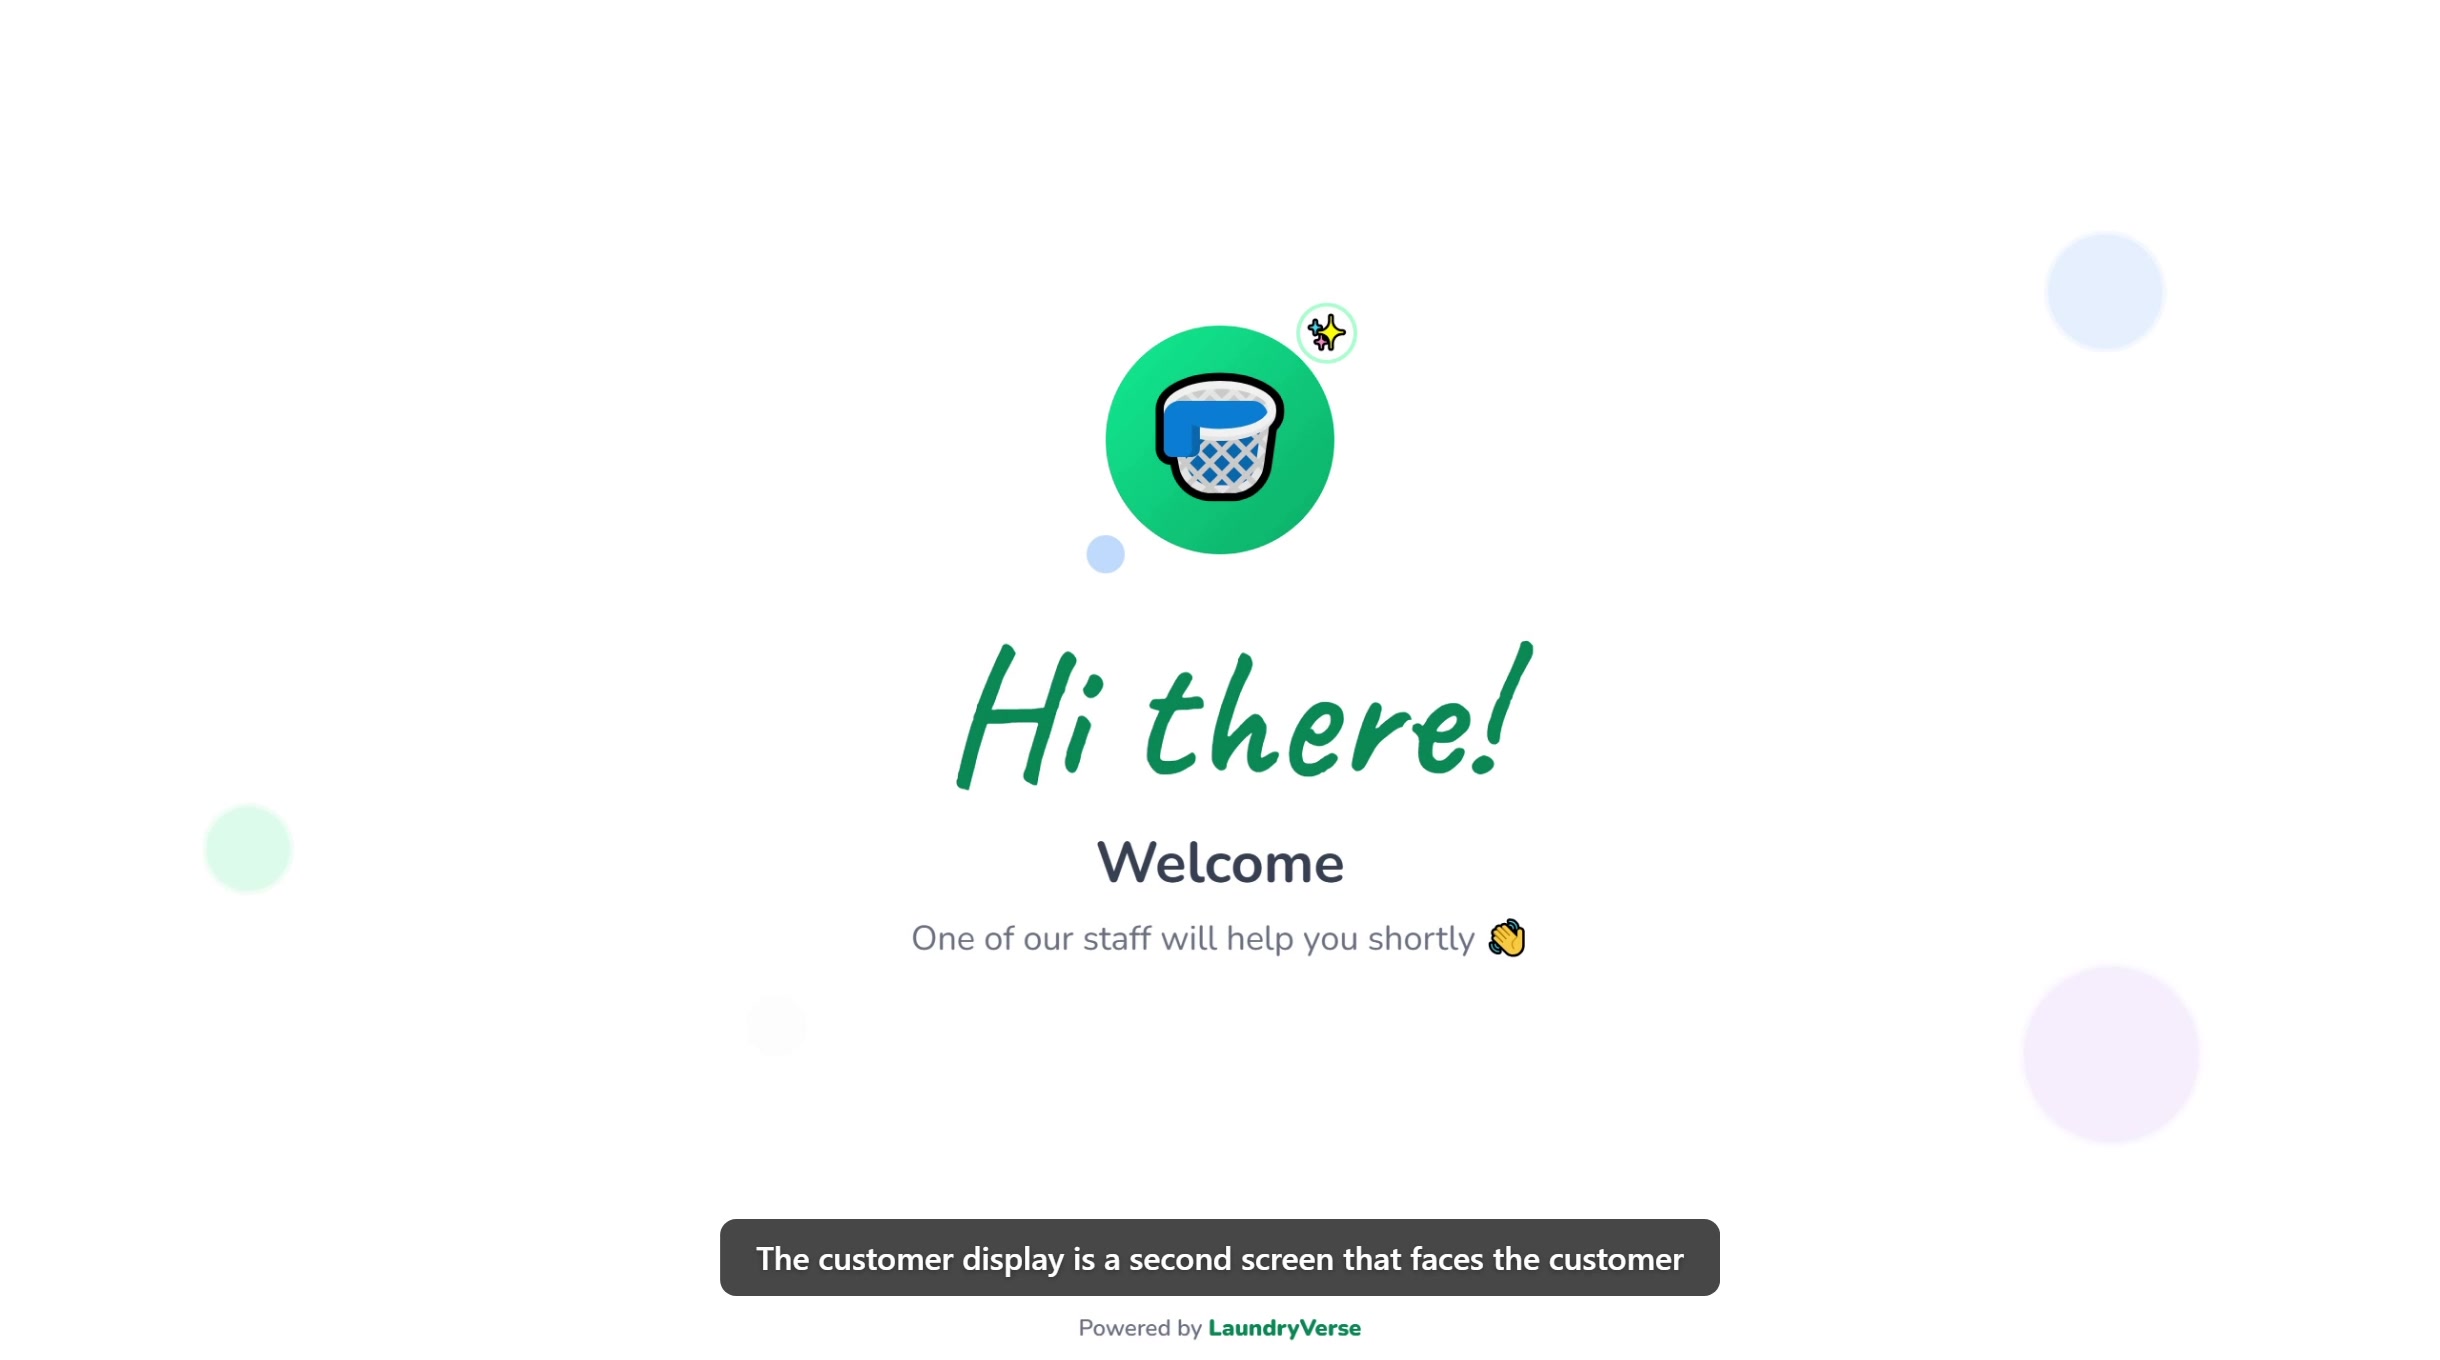
1. What the Customer Sees
The display has three states:
| State | Shown when | Content |
|---|---|---|
| Idle | No active cart | "Hi there!" welcome message with your store name |
| Cart | Cashier is ringing items | Item list with quantity and line total, customer name and loyalty points (if attached), running total, "You saved" line if any discount, coupon, or points redemption is applied |
| Paid | Receipt was just charged | Big green checkmark, "Thank you!", amount paid, and change due. Sticks for 5 seconds before returning to idle |
The display reflects the cart as the cashier adds items, attaches a customer, or applies a discount. There are no inputs and nothing to tap, it's purely a view.
2. On a desktop computer (Windows, Mac, Linux)
If your POS runs in a browser on a laptop or desktop with a second monitor or TV plugged in:
- Set the second screen to extend, not duplicate. On Windows, press Win + P and pick Extend. On macOS, open System Settings → Displays and uncheck Mirror Displays. With Duplicate or Mirror, both screens show the same thing, and you can't drag the customer display anywhere separate.
- In the POS, tap the menu icon (top-left) to open the side menu.
- Tap Customer Display near the bottom.
- A new browser window opens. Drag it onto your second screen.
- On the customer-facing screen, press F11 (Chrome or Edge) to go fullscreen.
The window is named, so your OS or browser usually remembers which monitor it lives on. The next time you open Customer Display from the menu, it should pop up on the same screen.
The cashier's POS pushes cart updates directly to the display window in the same browser, no server round-trip. As long as both windows are on the same machine in the same browser, you're set.
3. On the Android POS app (automatic dual-screen)
The LaundryVerse POS Android app (Play Store version 4.2.1 and later) launches the customer display automatically on any secondary screen attached to the tablet, whether that's a built-in cashier/customer dual-screen terminal or an external monitor connected via HDMI.
- Plug in (or boot up with) the second screen. The app detects it through Android's display framework.
- The first time you connect a second screen on a given device, Android prompts you to grant the Display over other apps permission. Tap Allow, then return to the POS, the customer display appears on the second screen with the idle welcome message.
- From then on, the customer display launches automatically every time a second screen is detected, with no further setup.
- Start a sale on the cashier-facing screen and the customer screen mirrors it in real time. Unplug the second screen and the display goes away cleanly. Plug it back in and it reappears.
The flow has been validated on cashier-terminal hardware with an integrated customer-facing screen. The same Android display framework also handles external HDMI displays, so the mechanism is the same. If you're using an HDMI setup and run into trouble, let support know.
4. Items, Customer, Discounts
Once the cashier:
- Adds items to the cart, each item appears with quantity, name, variant (if any), and line total
- Attaches a customer, their name and loyalty points balance show in the right rail, confirmation the right account got the credit
- Applies a discount, coupon, or redeems points, each shows as a separate line with a green minus, then a green "You saved" line appears below the total
If no customer is attached, the right rail simply shows "Walk-in customer".
5. Paid State
When the cashier completes payment, the display switches to a celebratory thank-you screen showing:
- A big green checkmark with confetti
- Paid, the total amount charged
- Change, if the customer paid in cash and got change back, otherwise shows "Complete"
This screen sticks for 5 seconds, then returns to the idle welcome message, ready for the next customer.
6. What the Customer Doesn't See
The display is intentionally read-only. It shows only what the customer needs to verify before paying, and nothing else:
- No prices for individual modifiers, only the line total
- No payment type breakdown, paid and change appear only after the charge
- No employee name, the customer doesn't need it
- No order number, receipt number, or QR codes, those are for the cashier
7. Permissions
There's no permission to enable. Any employee who can reach the POS can open Customer Display from the menu, and any device on the same network can show the display window. There's nothing sensitive on it: it's a customer-facing view of the cart that's already in front of them.
What's Next?
- Register, how the cashier rings items, attaches a customer, and charges a sale
- Payments, the checkout flow that triggers the Paid state on the display
- Attaching a Customer, customer name and points show on the display once attached
- Hardware Requirements, recommended second monitor or TV for the display