Creating Your First Order
This guide walks you through ringing up a real order from start to finish, opening the register, adding items, attaching a customer, taking payment, and printing the receipt. About 3 minutes.
Ringing up an order requires the Use POS register permission (pos:register). Attaching an existing customer needs Search customers (customers:view); creating a new customer from the register needs Manage customers (customers:manage). Owners have all three by default. To let cashiers attach customers but not create new ones, grant customers:view and withhold customers:manage in Dashboard → Roles & Permissions.
Before you start
You'll need:
- At least one item in your catalog, pre-filled if you signed up fresh, or imported via Loyverse Import.
- An active POS device with an employee logged in via PIN. See Setting Up the POS.
- (Optional) A connected printer to print the receipt and QR label. See Setting Up the Printer. You can still finish an order without one; the receipt stays viewable on-screen.
Use a real customer if you have one, or just tap an item and charge yourself ₱0 cash. The point is to walk the loop end-to-end once before the first paying customer is in front of you.
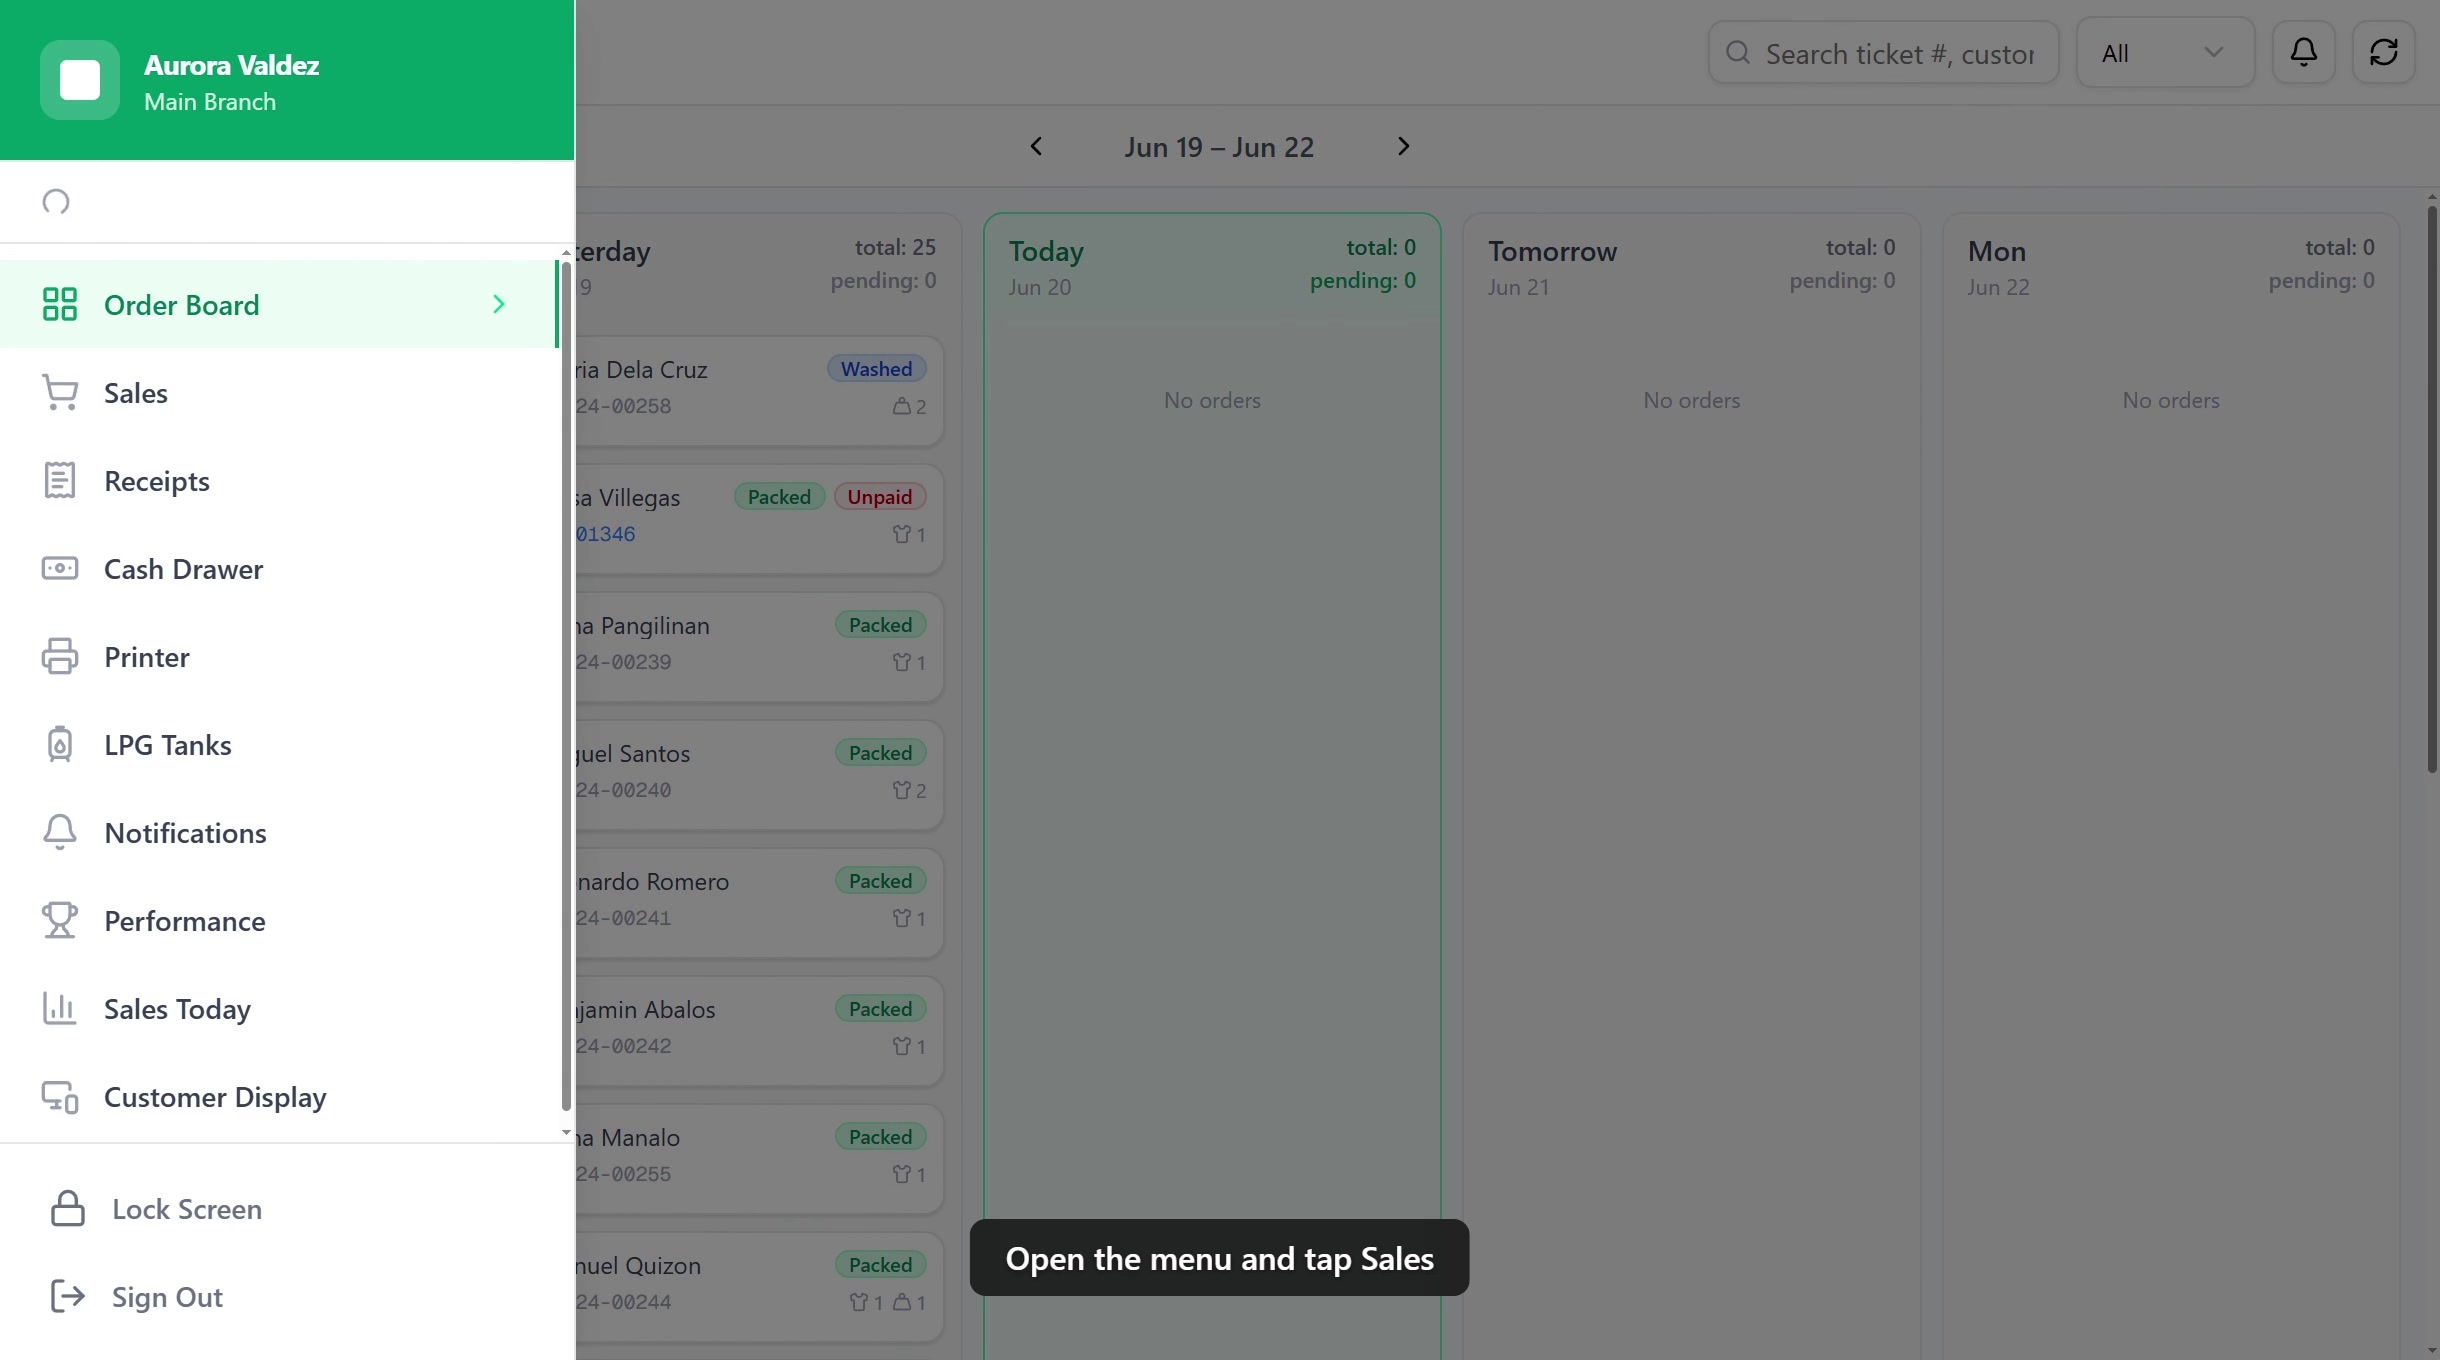
1. Open the register
From the POS order board, tap the hamburger menu (top-left) and select Sales to open the register. You'll see two panels:
- Left: Item catalog with a search bar and category tabs
- Right: Cart panel with customer attachment, line items, and the Charge / Save Order buttons
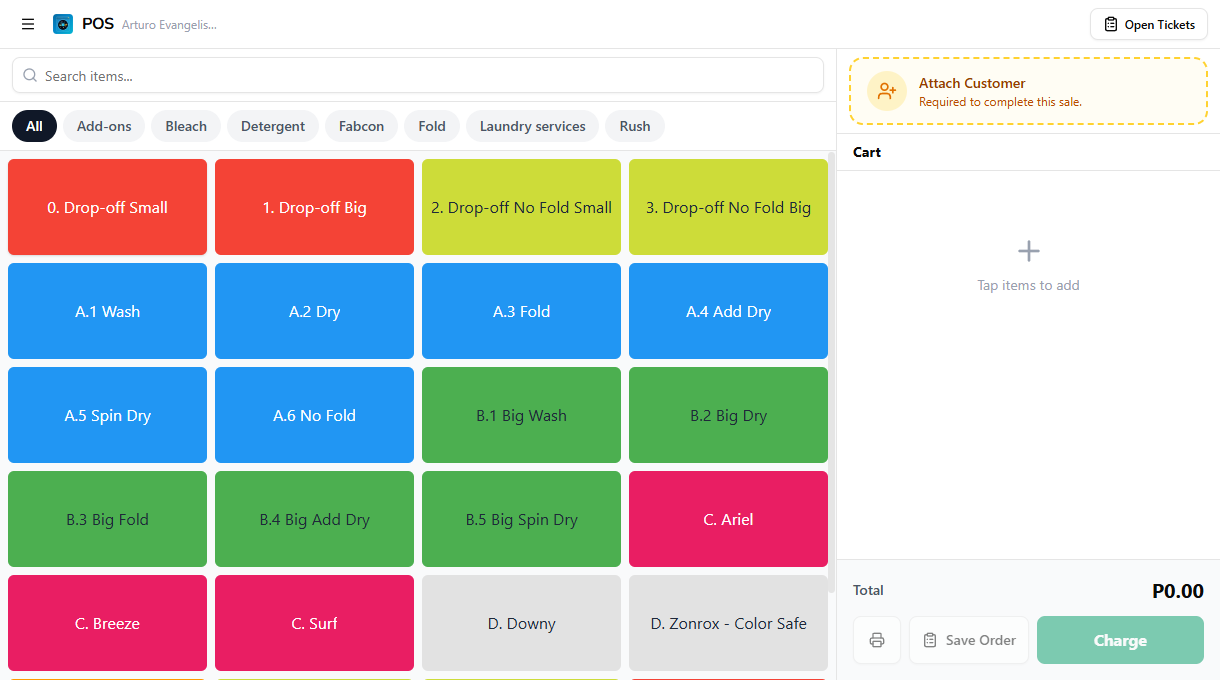
2. Add items to the cart
Tap any item tile to add it to the cart. Each tap adds one unit. You can also:
- Search for items using the search bar at the top
- Filter by category using the tabs (e.g., Wash Services, Dry Services, Fold Services)
- Adjust quantity using the + and − buttons on each cart item
- Remove an item by tapping the trash icon
If an item has variants (sizes, scents, add-ons), tapping it opens a picker. Choose the variant, then it lands in the cart. The cart total updates automatically.
Items tagged as Drop-Off (set in Dashboard → Items) flow through the order board's wash → dry → fold → pack workflow. Self-Service items are for customers running the machines themselves and skip the board.
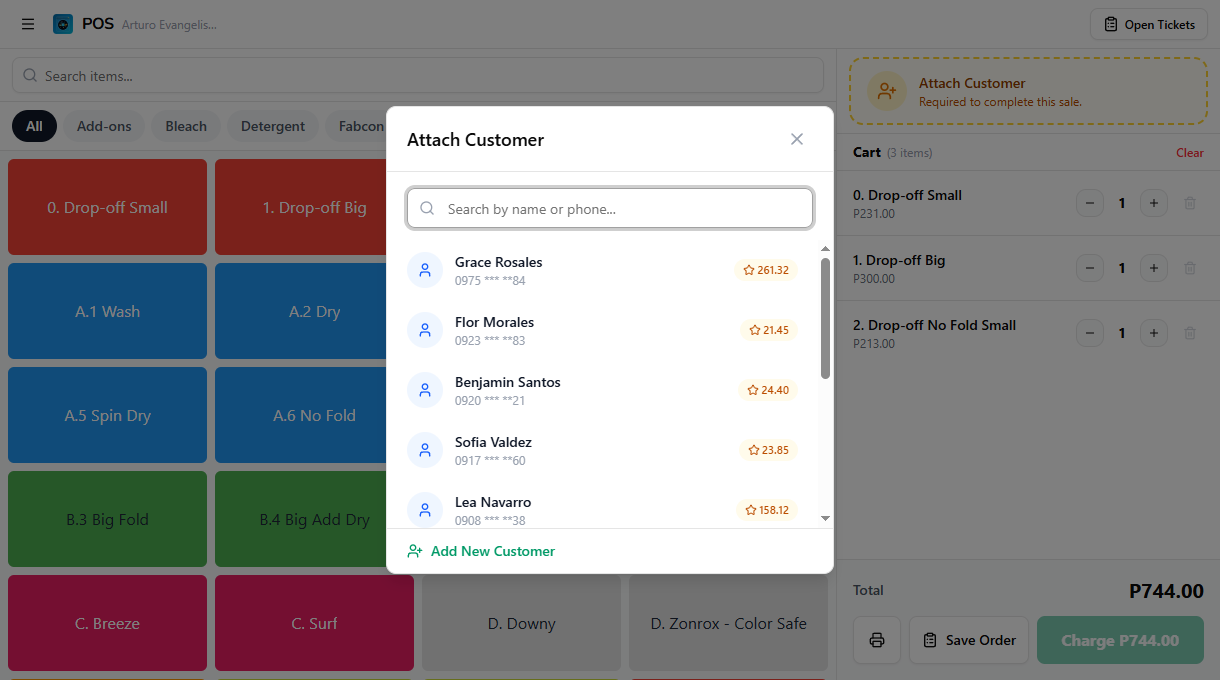
3. Attach a customer
Tap Attach Customer in the cart panel to link the order to a customer. Attaching a customer enables:
- Loyalty points earning and redemption
- Customer order history tracking
- SMS notifications when the order is ready. See SMS Notifications for setup
Search by name or phone number, then tap a row to pick a customer. Tap Attach Customer in the details panel to confirm. To create a new one on the spot, tap Add New Customer at the top of the dialog.
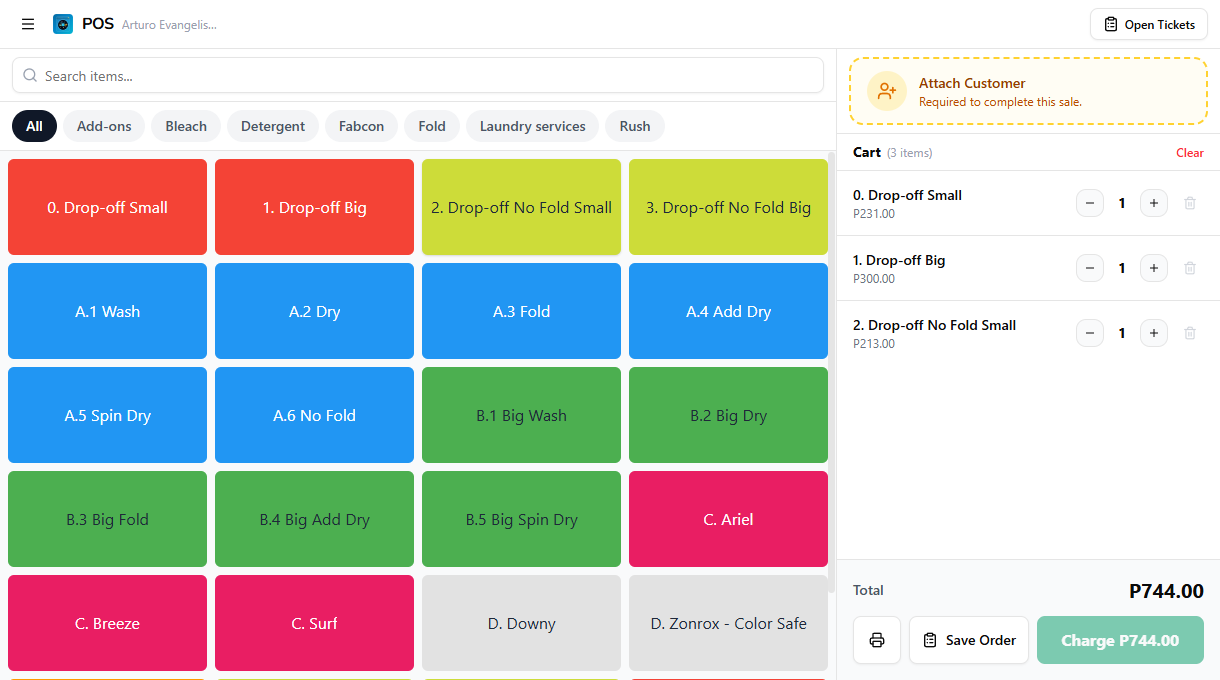
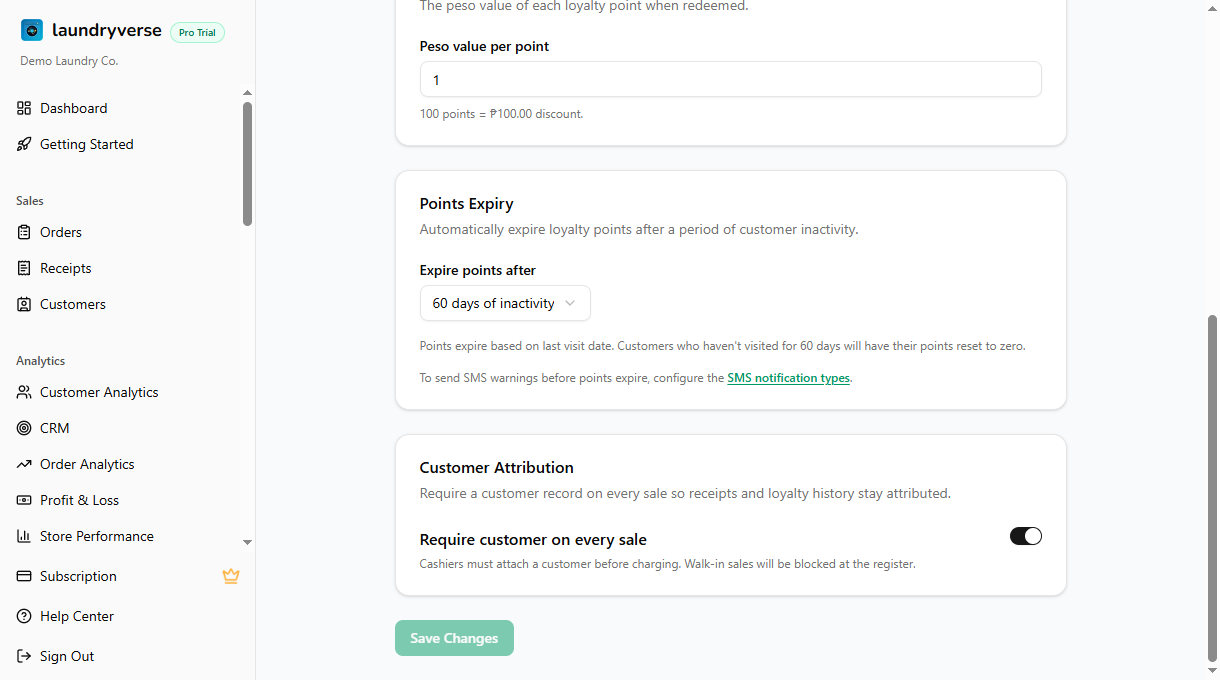
New tenants can ring up walk-in sales right away, so Charge works even with no customer attached. Want to capture a customer on every sale for loyalty points and order history? Turn on Require customer on every sale in Dashboard → POS → Loyalty → Customer Attribution. With it on, Charge stays disabled until you attach someone.
4. Charge the order
When the cart is ready, tap the green Charge button at the bottom of the cart. The checkout screen opens with:
- Amount input at the top, autofocused so you can start typing right away. On phone, your device's native numeric keyboard appears. On tablet and desktop, an on-screen numpad shows up next to the input.
- Quick-fill bills (₱500, ₱1,000, and similar) sit just below the amount so cashiers can tap a bill amount instead of typing it. These appear on phone, tablet, and desktop.
- Payment method chips row, with CASH always first, followed by G-CASH, QR-Maya, and any other methods you've added in Dashboard → Payment Types.
- Applied payments and the Remaining pill. On phone, these live in a sticky bar pinned to the bottom of the screen so you can always see what's been paid and what's left. On tablet and desktop, they sit in the order summary on the right.
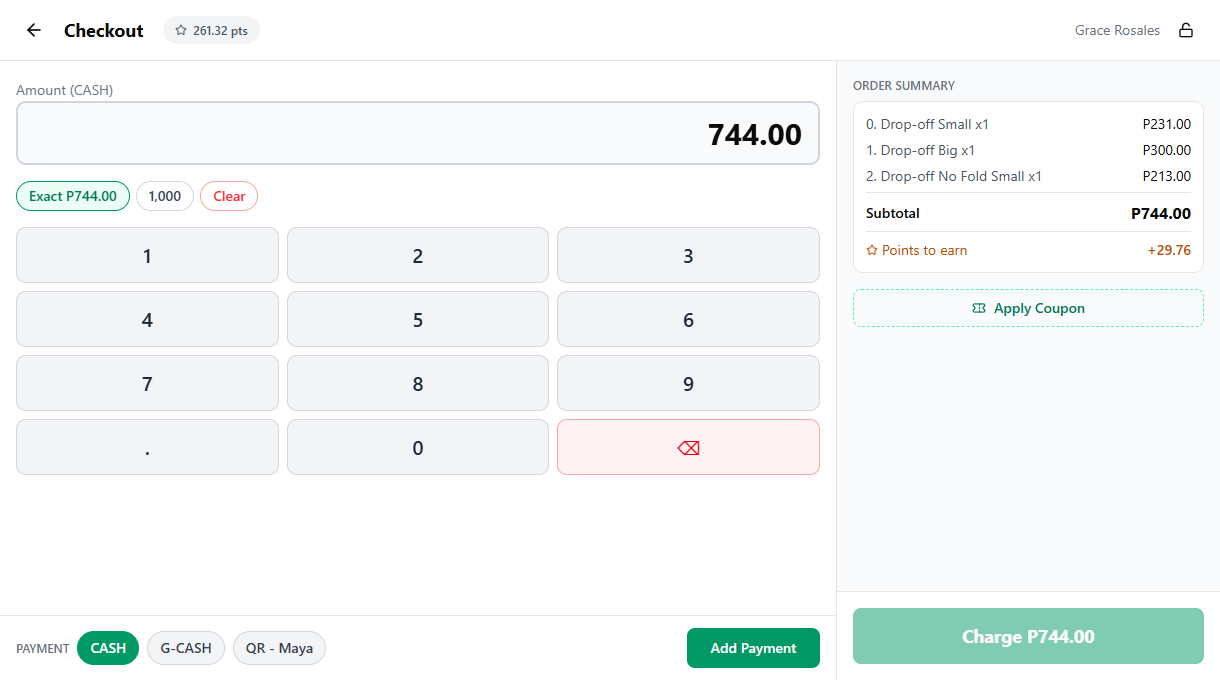
To record a payment:
- Type the amount in the input (use the native keyboard on phone or the on-screen numpad on tablet and desktop), or tap a quick-fill bill (₱500, ₱1,000, etc.) to drop that amount in.
- Tap the per-method commit chip for the method the customer is paying with: Add CASH Payment, Add G-CASH Payment, Add QR-Maya Payment, and so on. The applied payment shows up in the sticky bar on phone or the right-side summary on tablet/desktop, and the Remaining pill updates.
- Once Remaining hits ₱0, tap the green Charge button to finalize.
Need to split across methods? Type the first amount (e.g., ₱200) and tap Add CASH Payment. The Remaining pill updates to show what's left. Type the rest and tap a different commit chip (e.g., Add G-CASH Payment) to apply the second payment. The checkout tracks the remaining balance automatically.
5. Payment complete
After charging, you'll see the success screen with the receipt number and four options:

| Button | What it does |
|---|---|
| Print Receipt | Sends the receipt to your connected printer |
| Print QR | Prints a QR label for the laundry bag (used for station scanning) |
| Back to Sales | Returns to the register for the next customer |
| Go to Orders | Opens the order board to track this order's progress |
If you turned on Auto-print receipt in Setting Up the Printer, the receipt prints automatically. No need to tap Print Receipt manually.
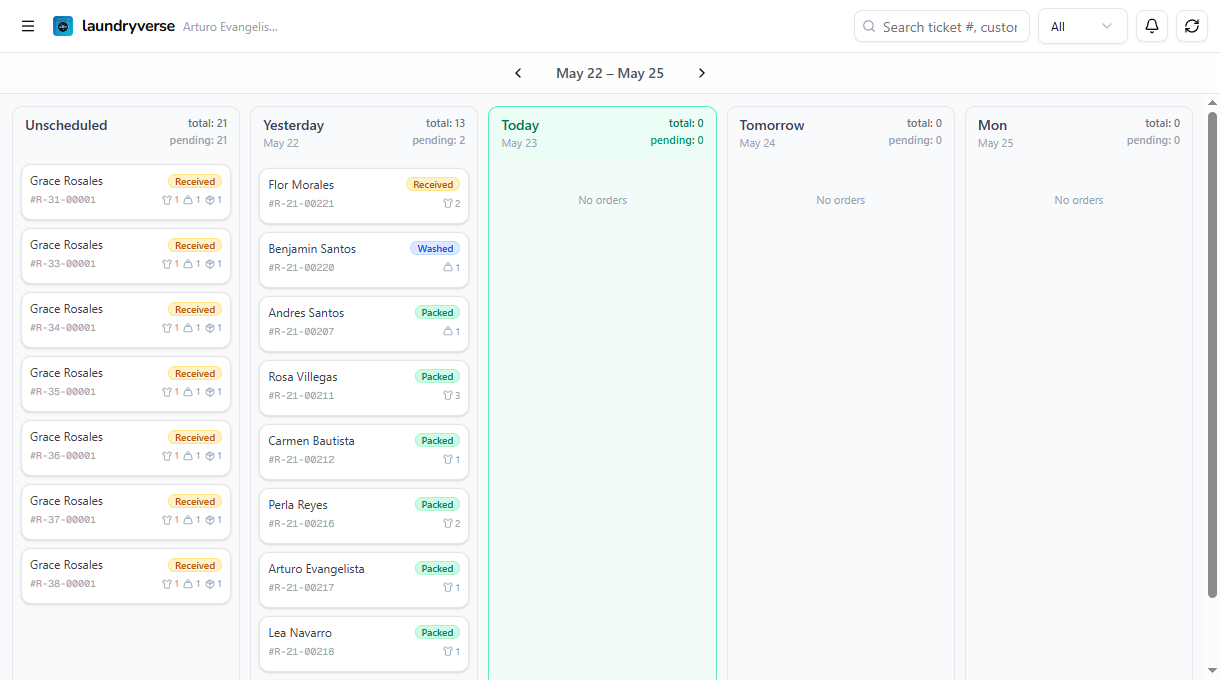
6. Track on the order board
Tap Go to Orders to see the new order on the Order Board. Drop-off orders flow through columns as your staff processes them:
Received → Washed → Dried → Packed (Ready) → Claimed
Each card shows the customer name, receipt number, and current status badges.
Saving orders without payment
Not every customer pays upfront. Drop-off shops usually collect on pickup. Tap Save Order instead of Charge to create an unpaid ticket. The order:
- Appears on the order board immediately
- Shows up in Open Tickets (top-right of the register)
- Can be charged later by reopening the ticket and tapping Charge
Common issues
"No items shown" on the register
The register only shows items that are active and visible at this store. Check Dashboard → Items and make sure the items aren't archived and that the current store is in the item's "Available at" list. After importing from Loyverse, items default to active at every store.
Charge button is greyed out
Three common causes:
- No items in the cart. Add at least one item.
- No customer attached, and you've turned on the require-customer setting (it's off by default). The Attach Customer card shows "Required to complete this sale." Either attach a customer, or turn the setting off in Dashboard → POS → Loyalty → Customer Attribution.
- Discount or coupon brings the total negative. Scroll up; the POS won't accept a negative total.
The "Add [Method] Payment" chips don't enable
The amount in the input must be greater than ₱0 before any commit chip lights up. Type or quick-fill an amount first, then tap the chip for the method the customer is paying with (Add CASH Payment, Add G-CASH Payment, etc.).
Customer didn't get an SMS notification
SMS only fires when the customer is attached to the order and SMS notifications are enabled for that event in Dashboard → SMS. Check both, then resend manually from the order detail page if needed.
Receipt didn't print after charging
The printer needs to be paired on this device. Open POS → Printer and check the status card. See Setting Up the Printer if it's not connected.
What's next?
You've finished the activation loop: signup, device, printer, first order. From here, the customize and optimize phases unlock the rest of LaundryVerse:
- Order Board: view, search, and manage every order from the admin dashboard
- Employees & Roles: invite staff and assign roles so each cashier has their own PIN
- SMS Notifications: turn on automatic "your laundry is ready" texts for attached customers
- Stations Setup: let your wash/dry/fold crew scan QR labels and advance orders without touching the POS
Stuck? Email [email protected]. The founder reads every message.